Equipment
- 30KV DC source
- Large Capacitor 0.1uF 35Kv
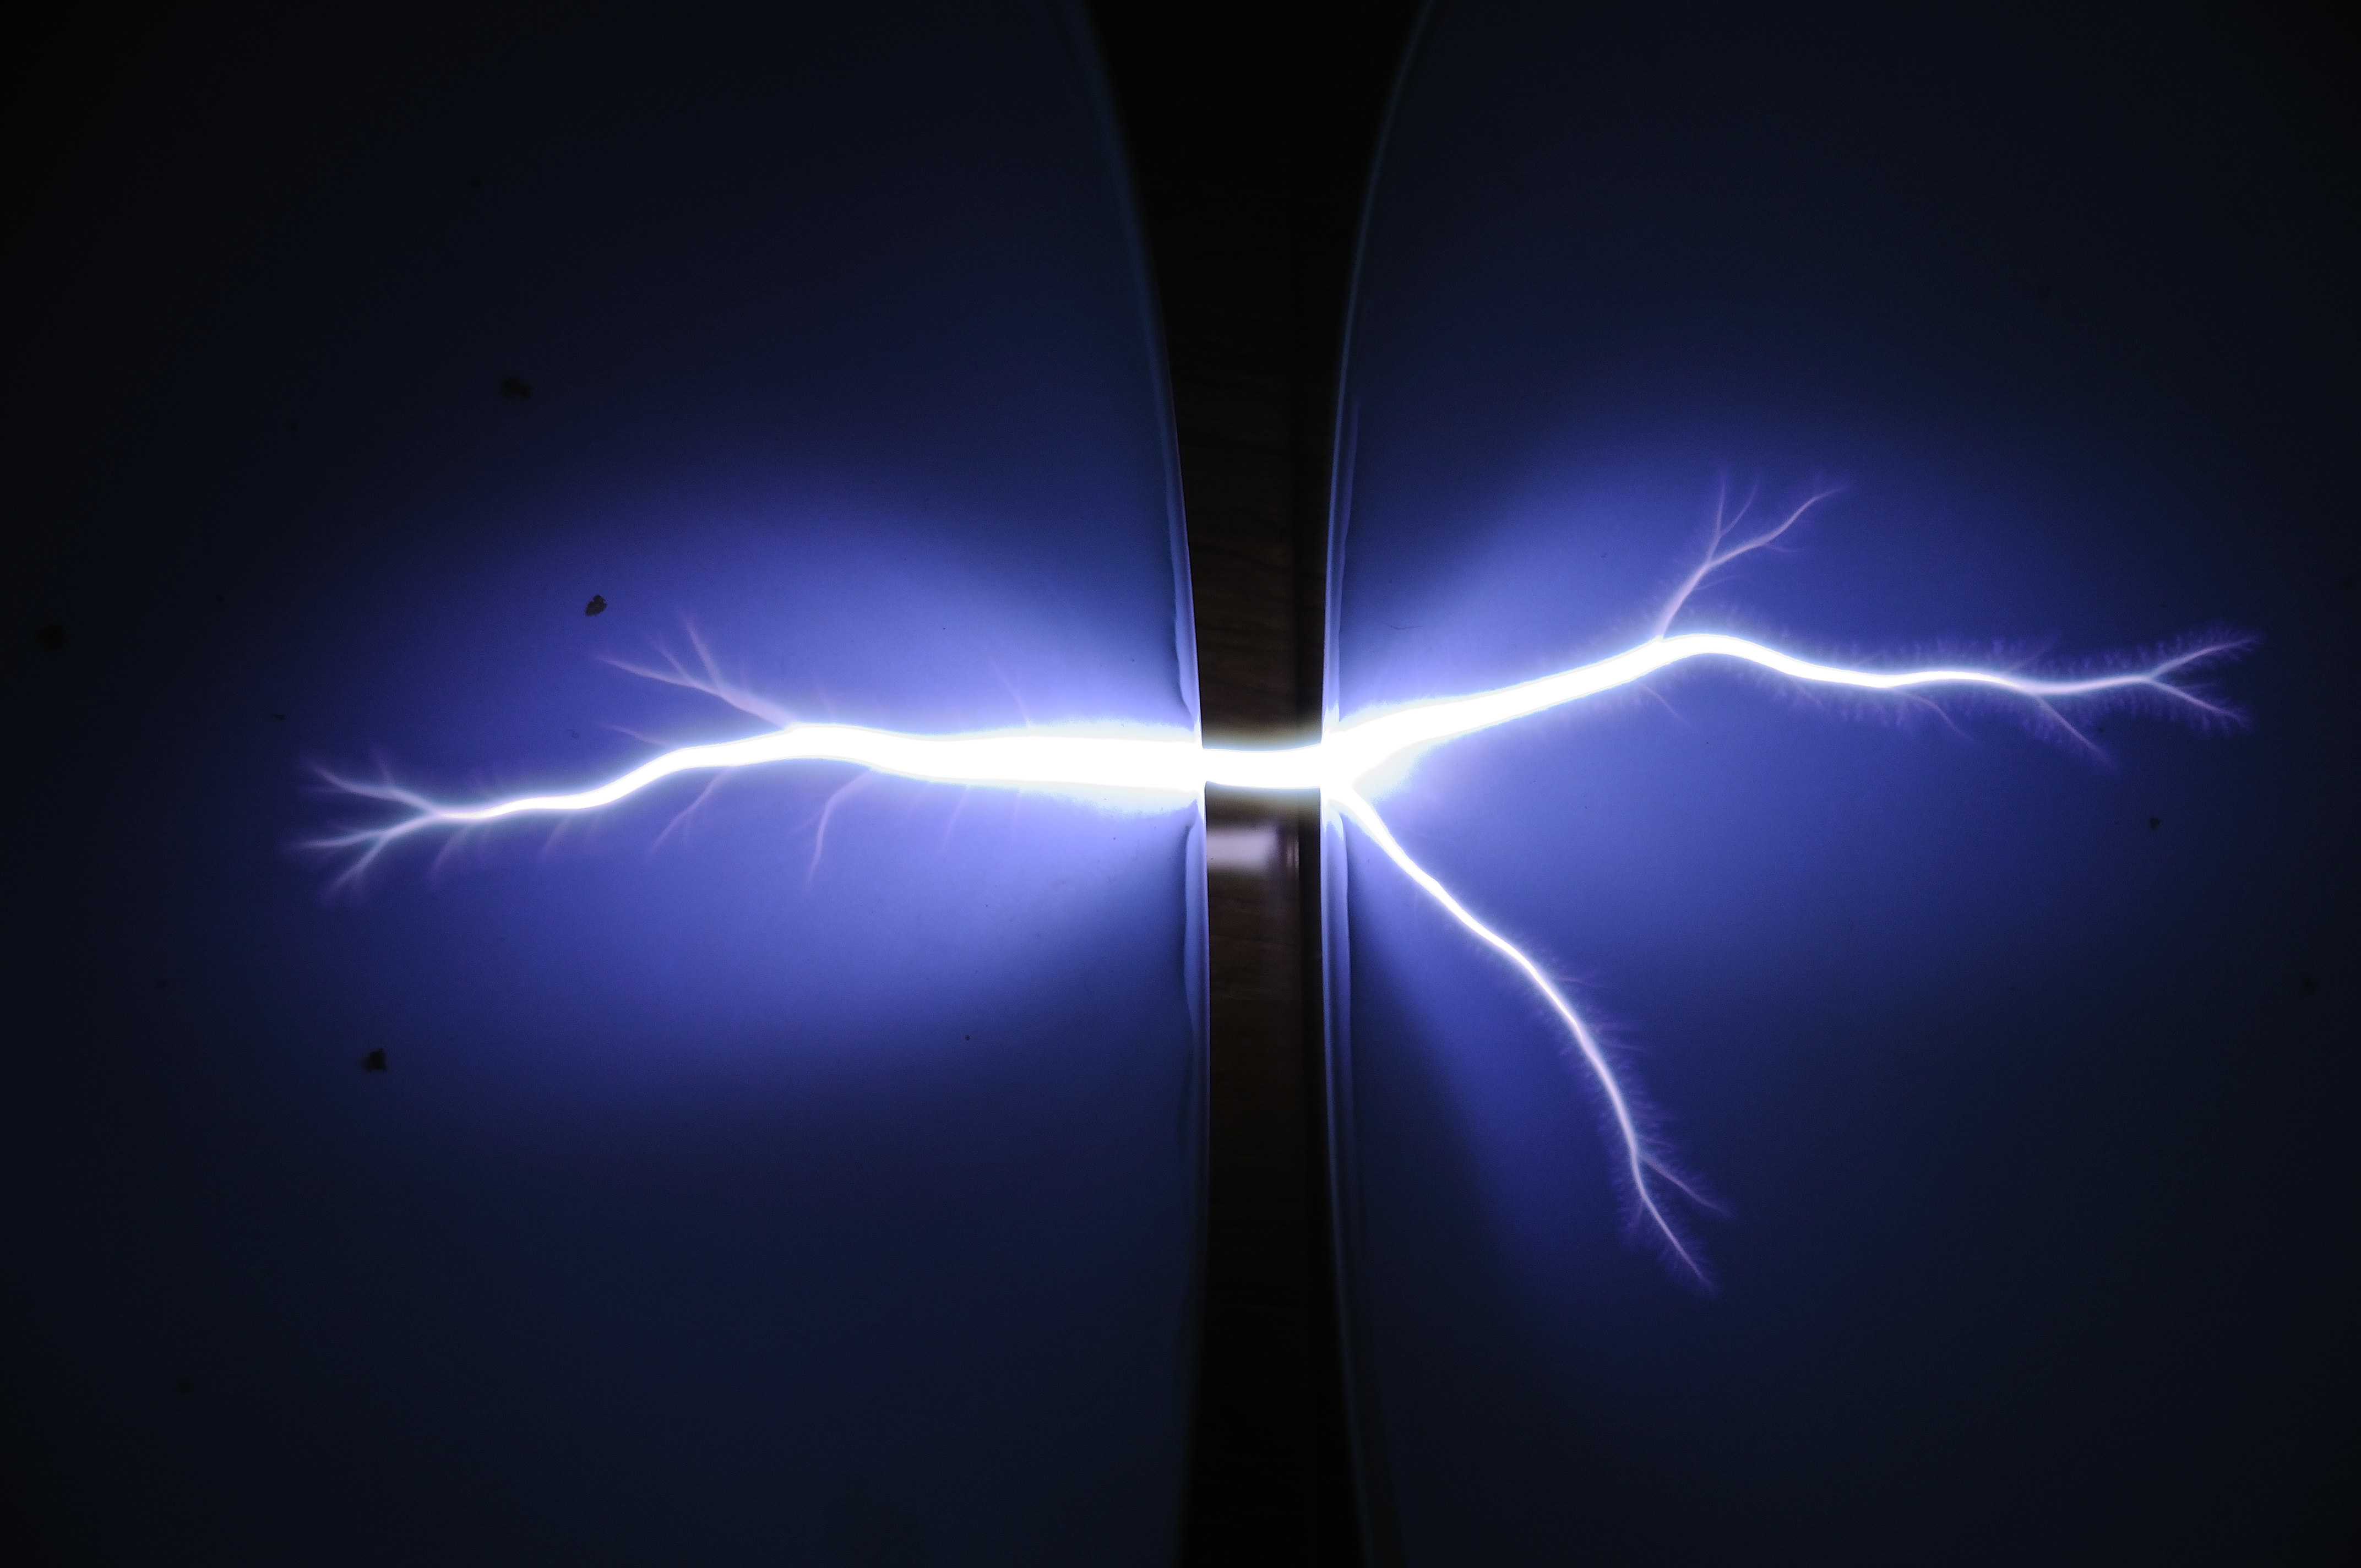
- 10mm Spark Gap
- Conductive Ink
- Cardboard
- Chicken Stick (Hot Stick http://en.wikipedia.org/wiki/Hot_stick) to short out capacitor.
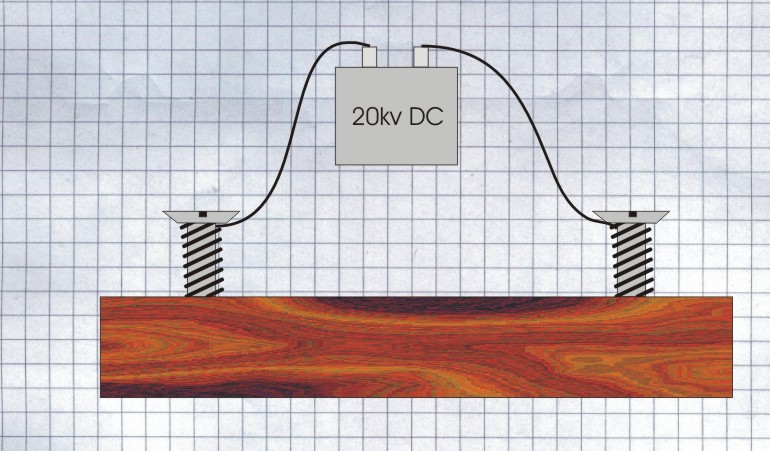
Diagram
Method
Create your fuses by drawing a fuse shape onto a piece of card (I used an inkjet printer) then using the Conductive Ink pen, draw a fuse wire through the middle.
Connect as in Diagram above.
Use EXTREME CAUTION, the charge in the capacitor is LETHAL. After each run turn off the supply and short out the capacitor before touching any part of the circuit. Ensure all connections will not come loose during the run.
I used a car ignition coil and a 50KV string of diodes to charge my cap.
Let the HV supply charge up the capacitor and the spark gap will fire, dumping the stored charge from the cap into the “fuse”. Warning, it can be VERY loud and VERY Bright.
If for any reason the spark gap doesn’t fire, use the chicken stick to short out the cap and make the gap smaller.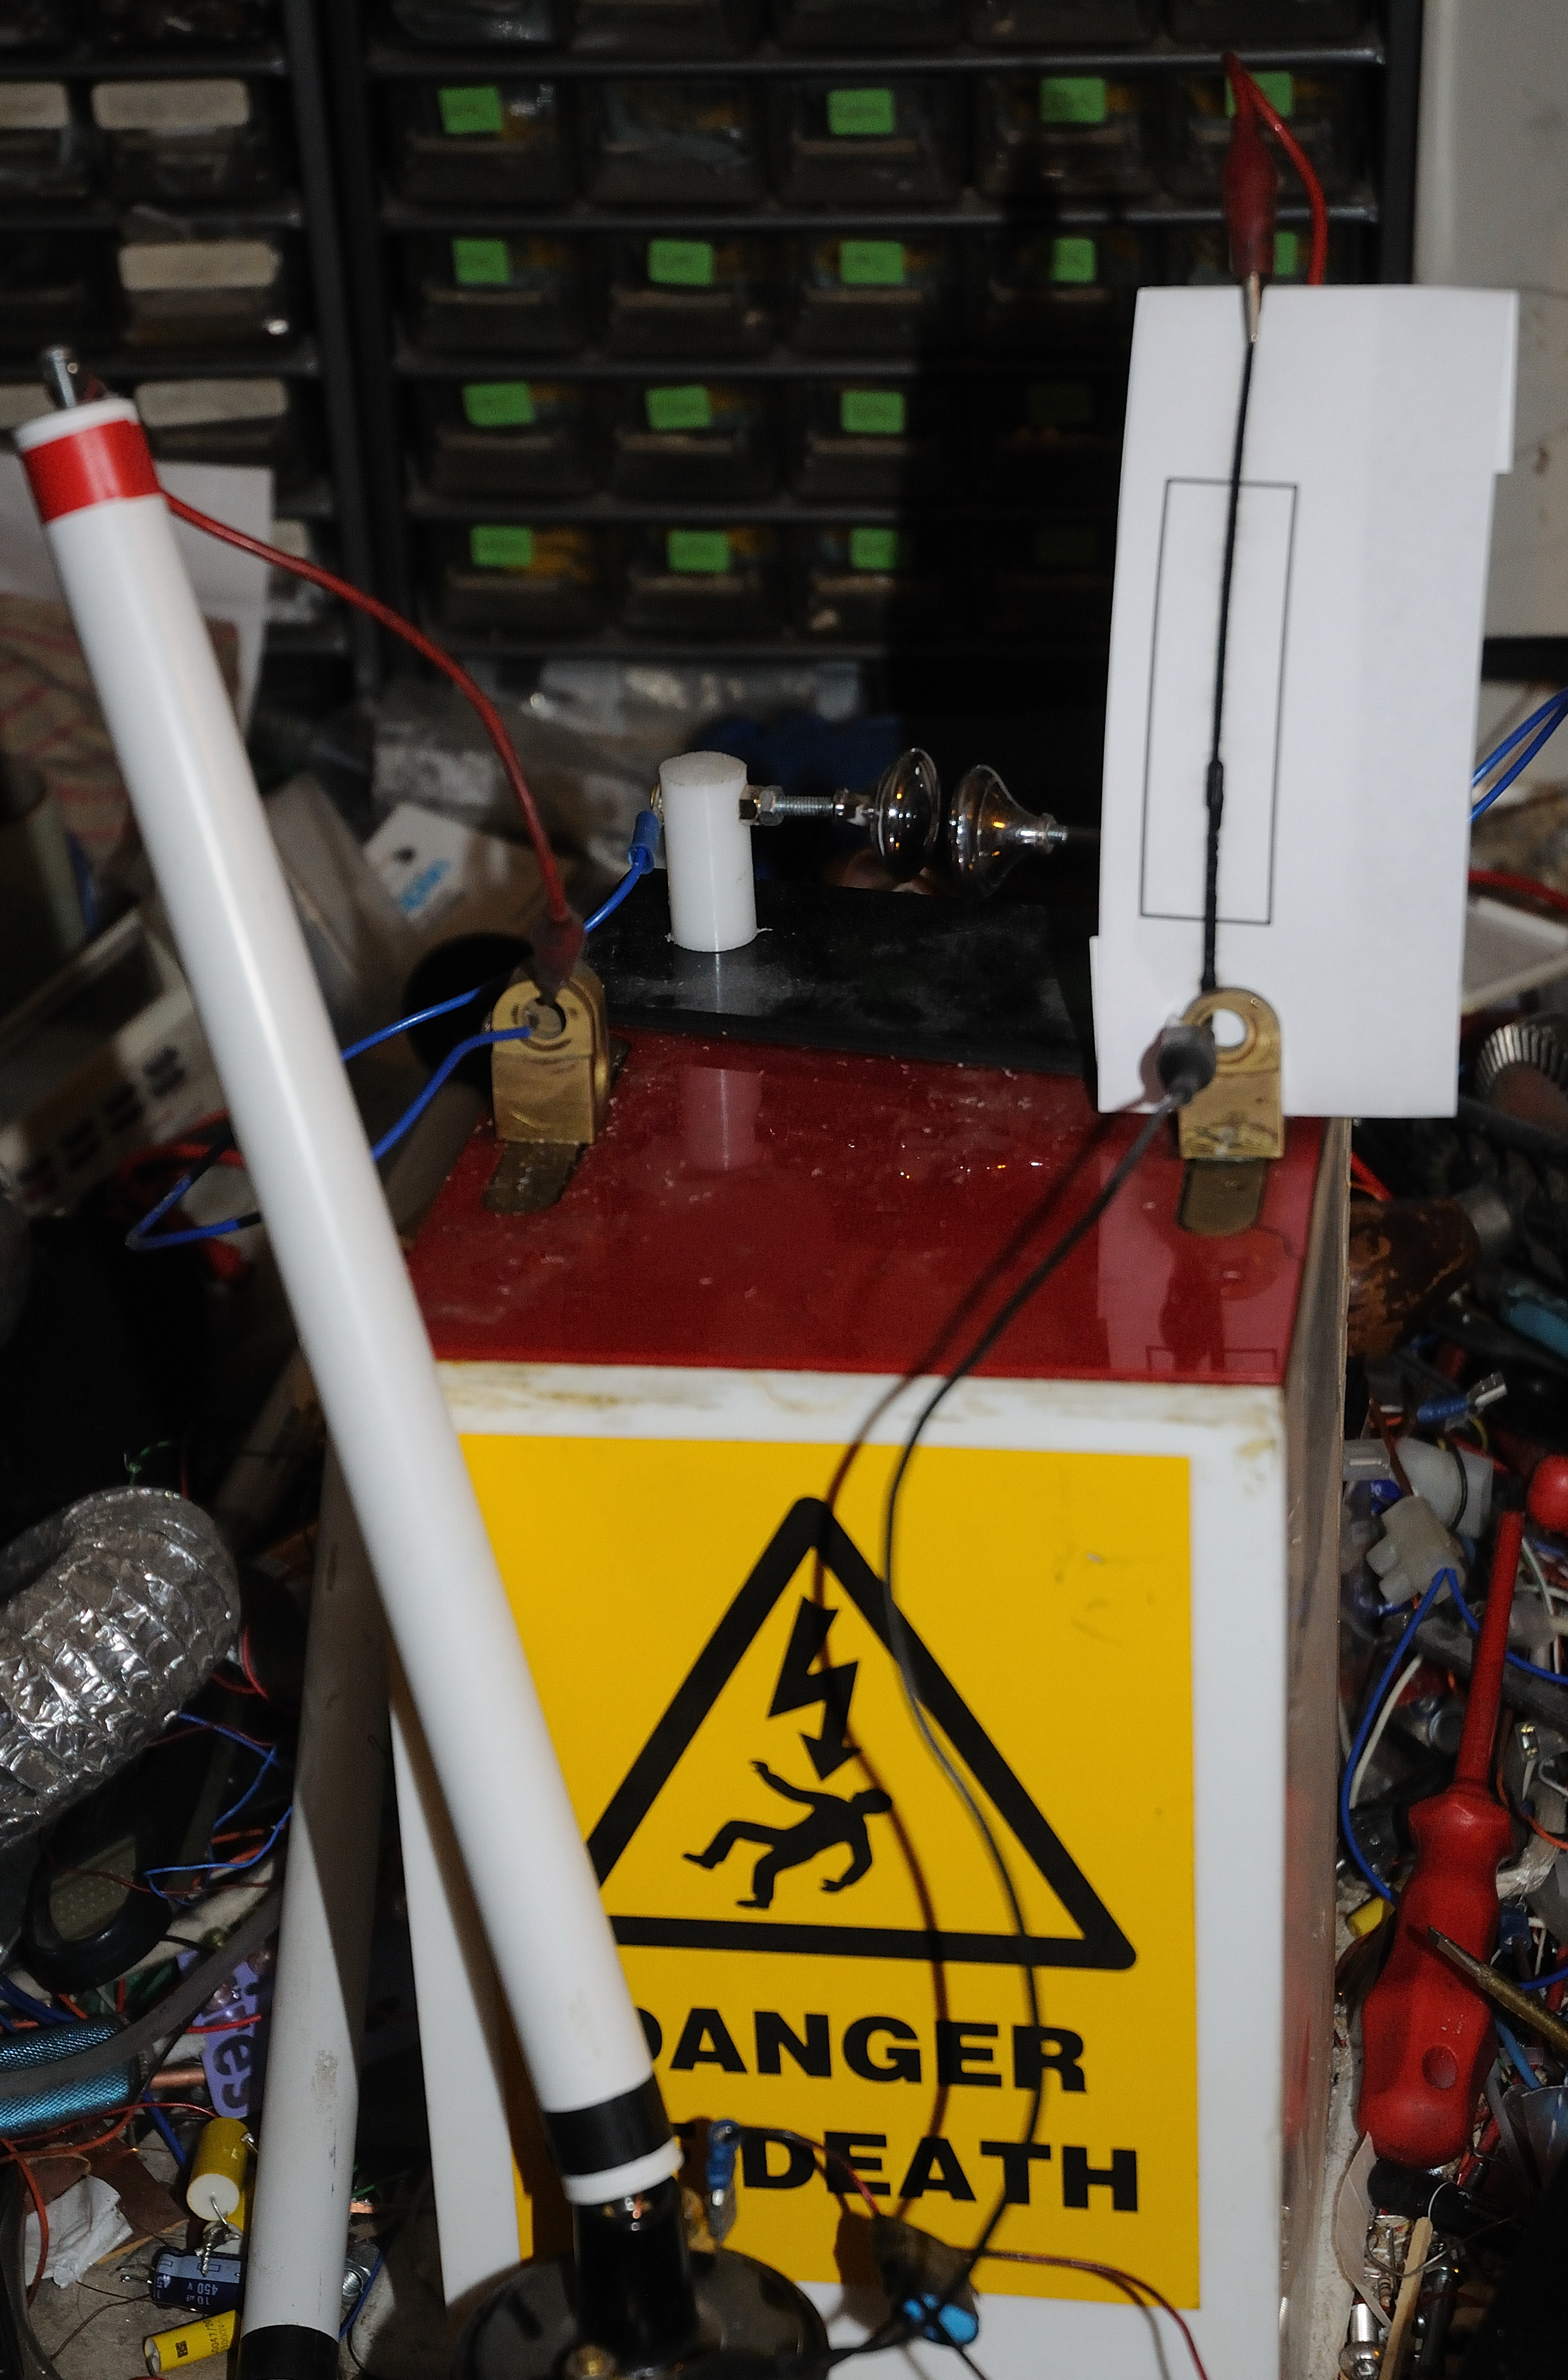
Results
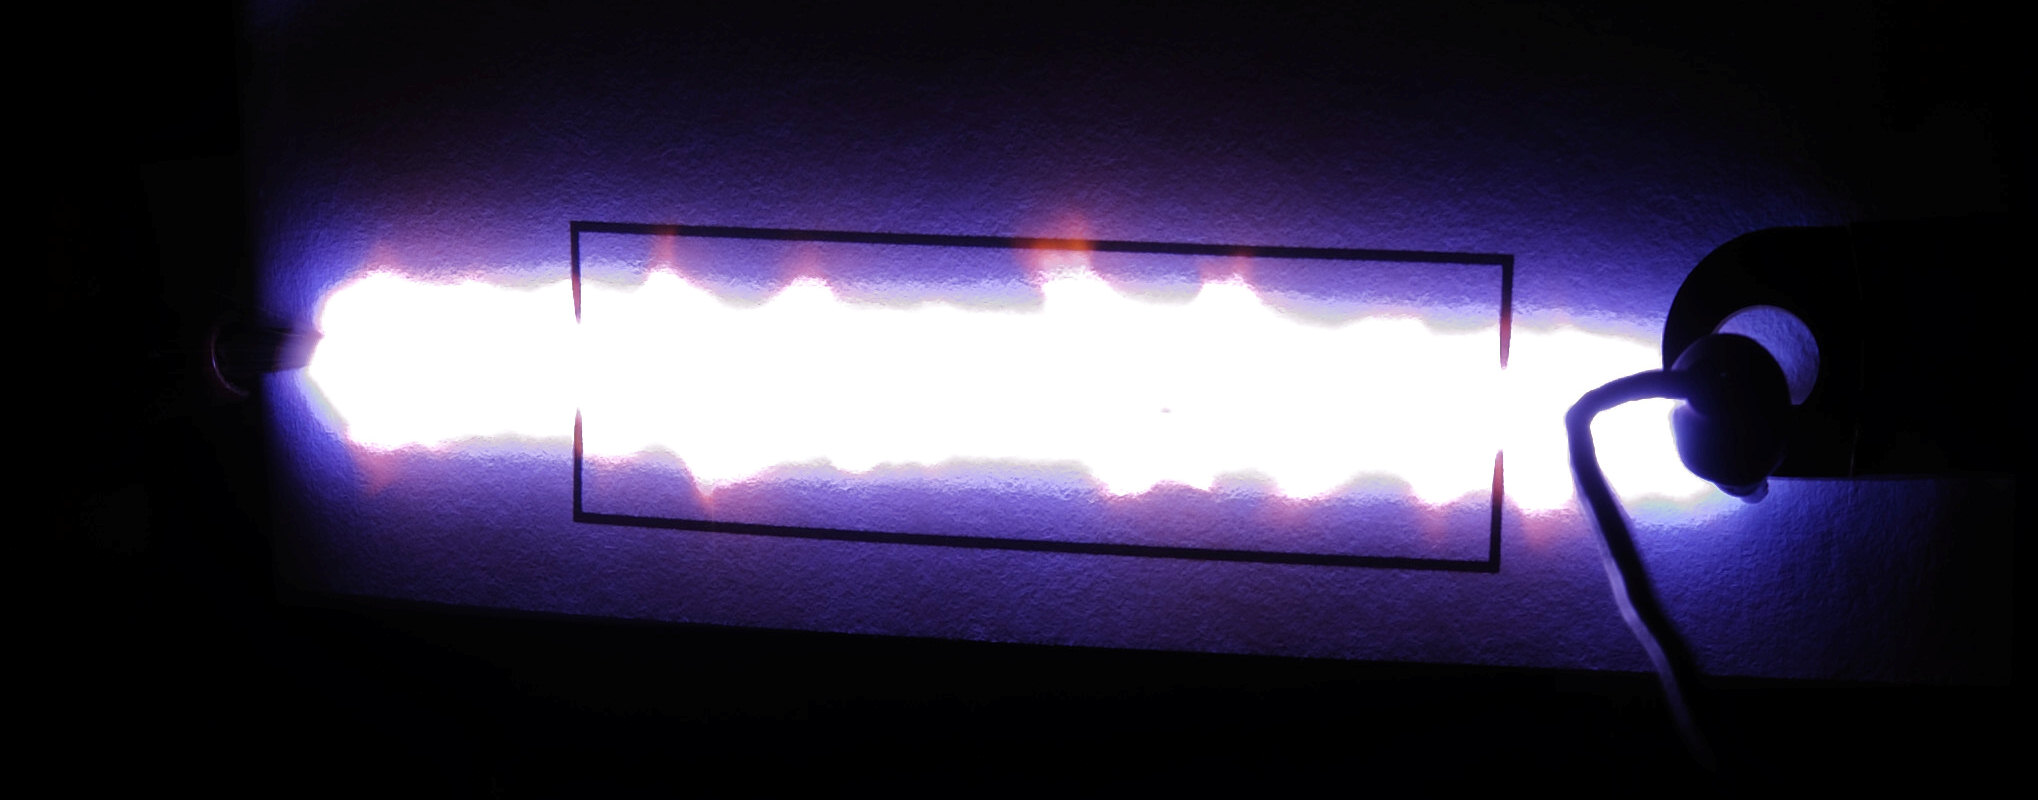
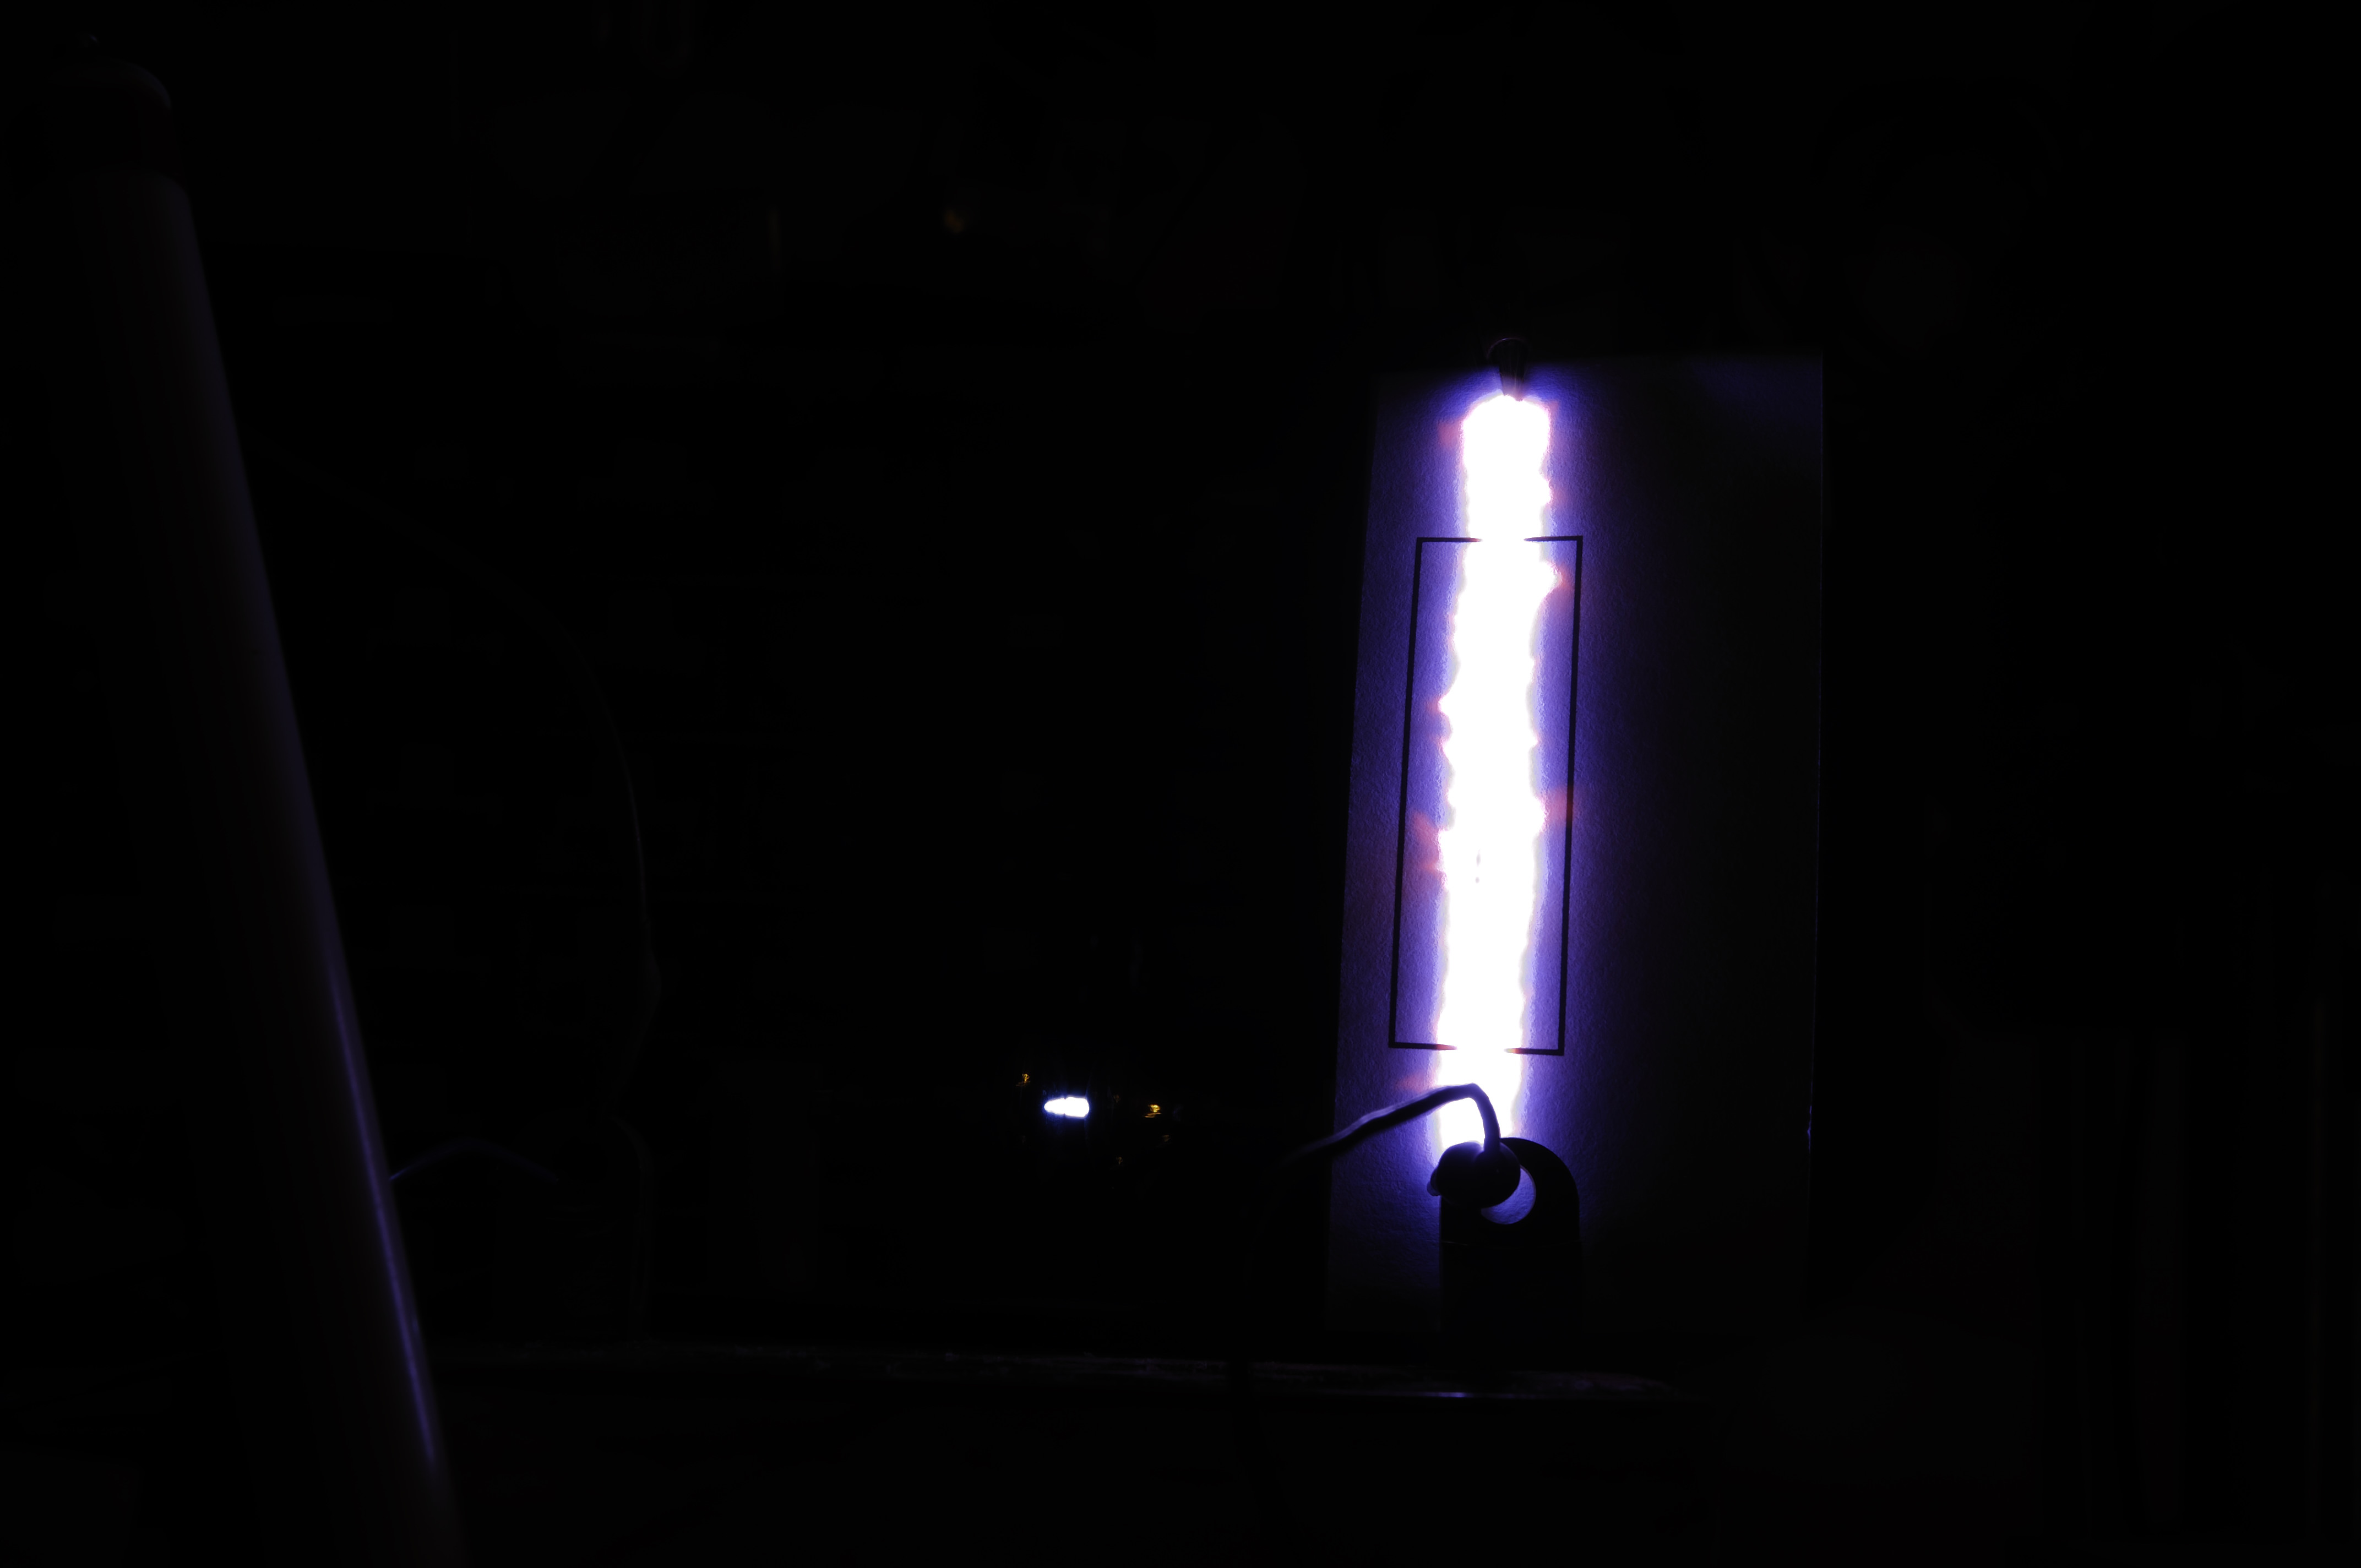
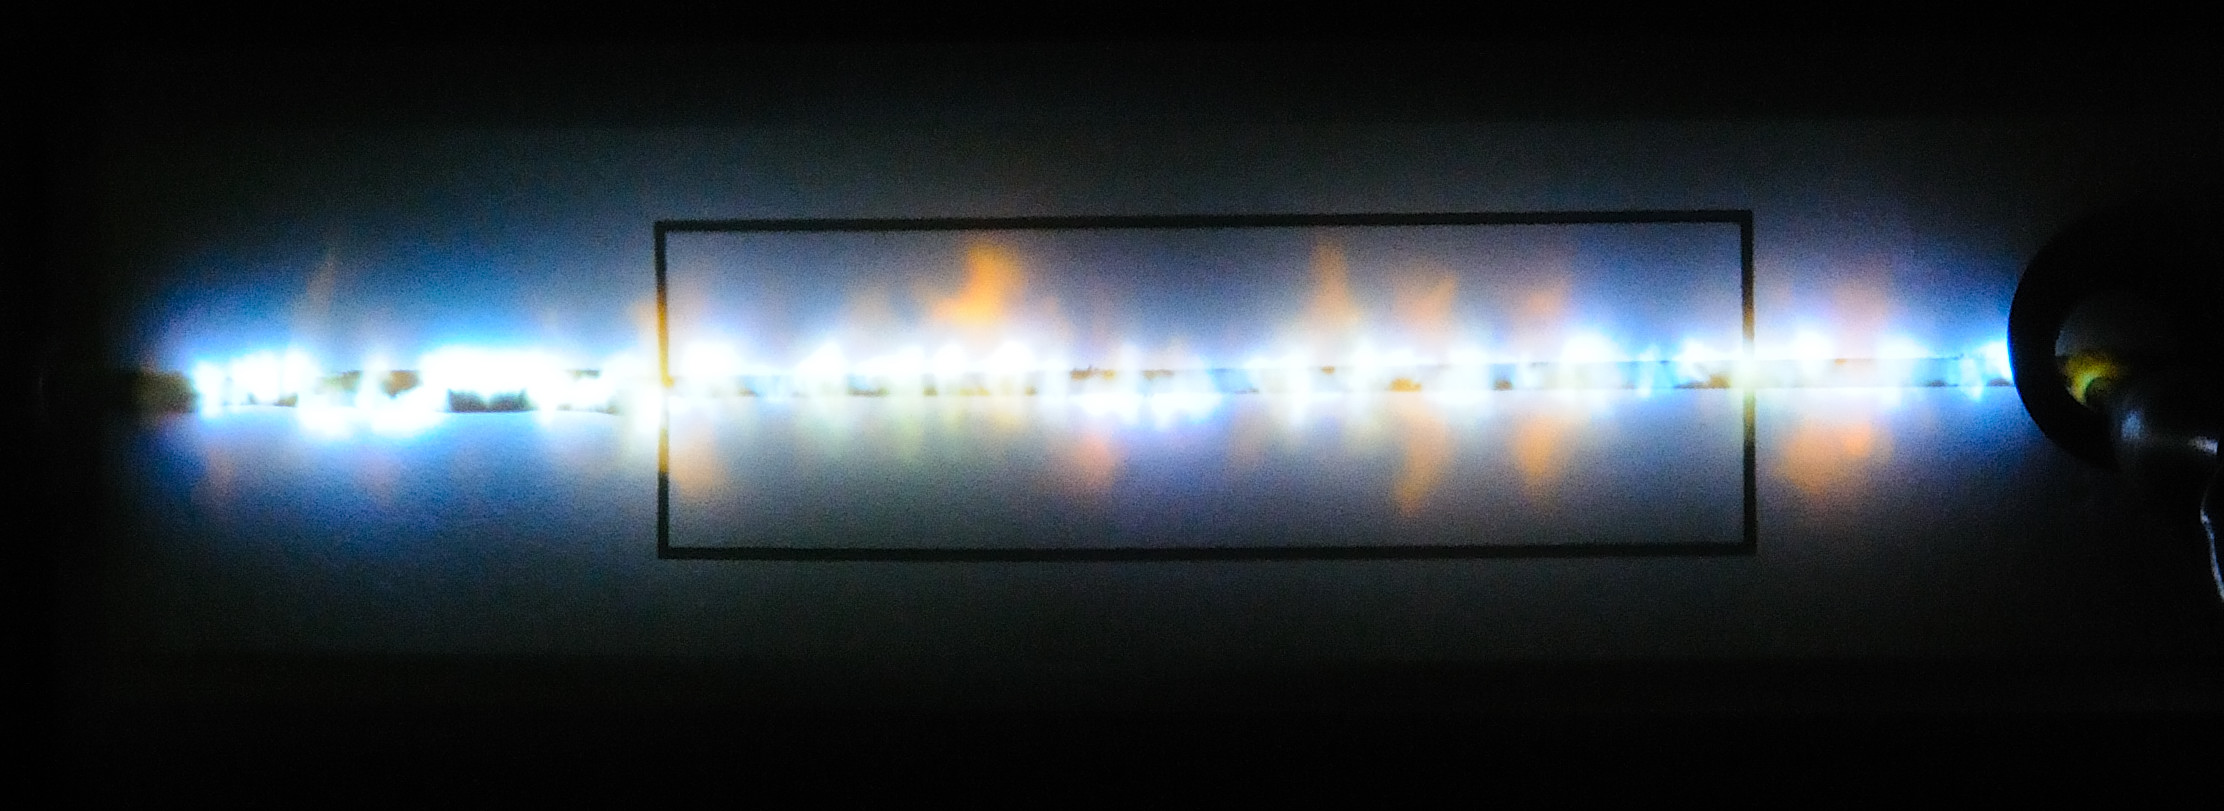
The resultant arc is VERY bright, the photos above were taken at F29 on the slowest setting on my camera (well under ISO 50) and they are still white out.
The best thing is that the “fuse” can be blown many times, the discharge doesn’t take off all of the Ink and will keep going (total surprise)
Maybe I need a bigger Cap ?
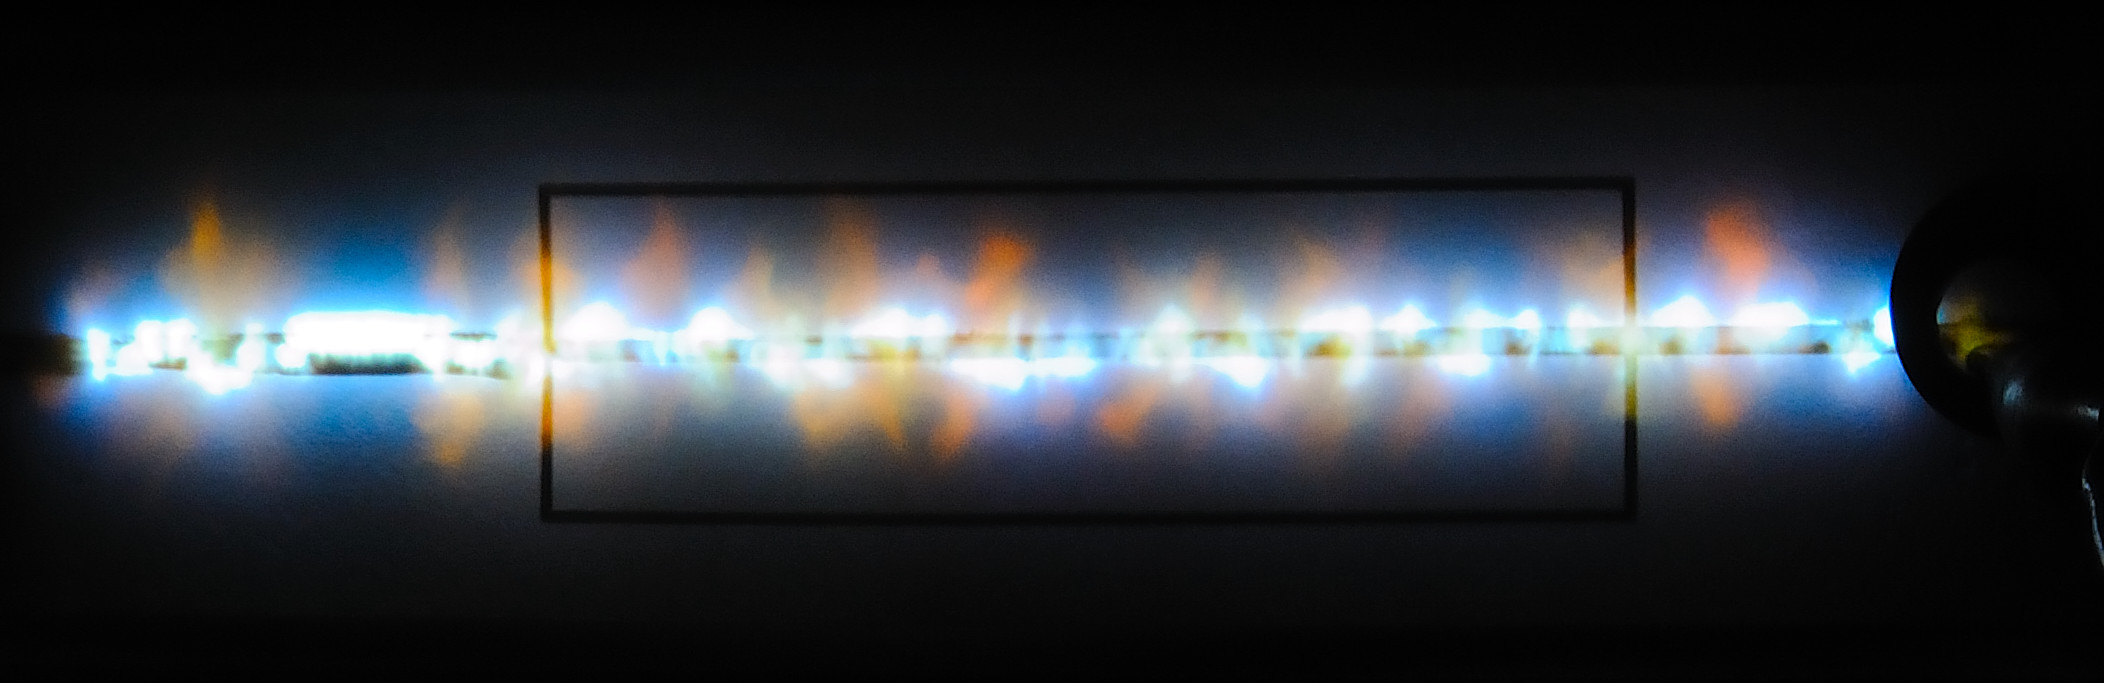
After a suggestion to use welding goggle glass as a filter, a couple of better fuse photos
Still very bright, Camera was at F29 and on its slowest ISO setting (~iso50)