How to create conductive balls for HV experiments
Start with some light balls,ping pong balls or polystyrene balls are ideal.
For coverings see below.
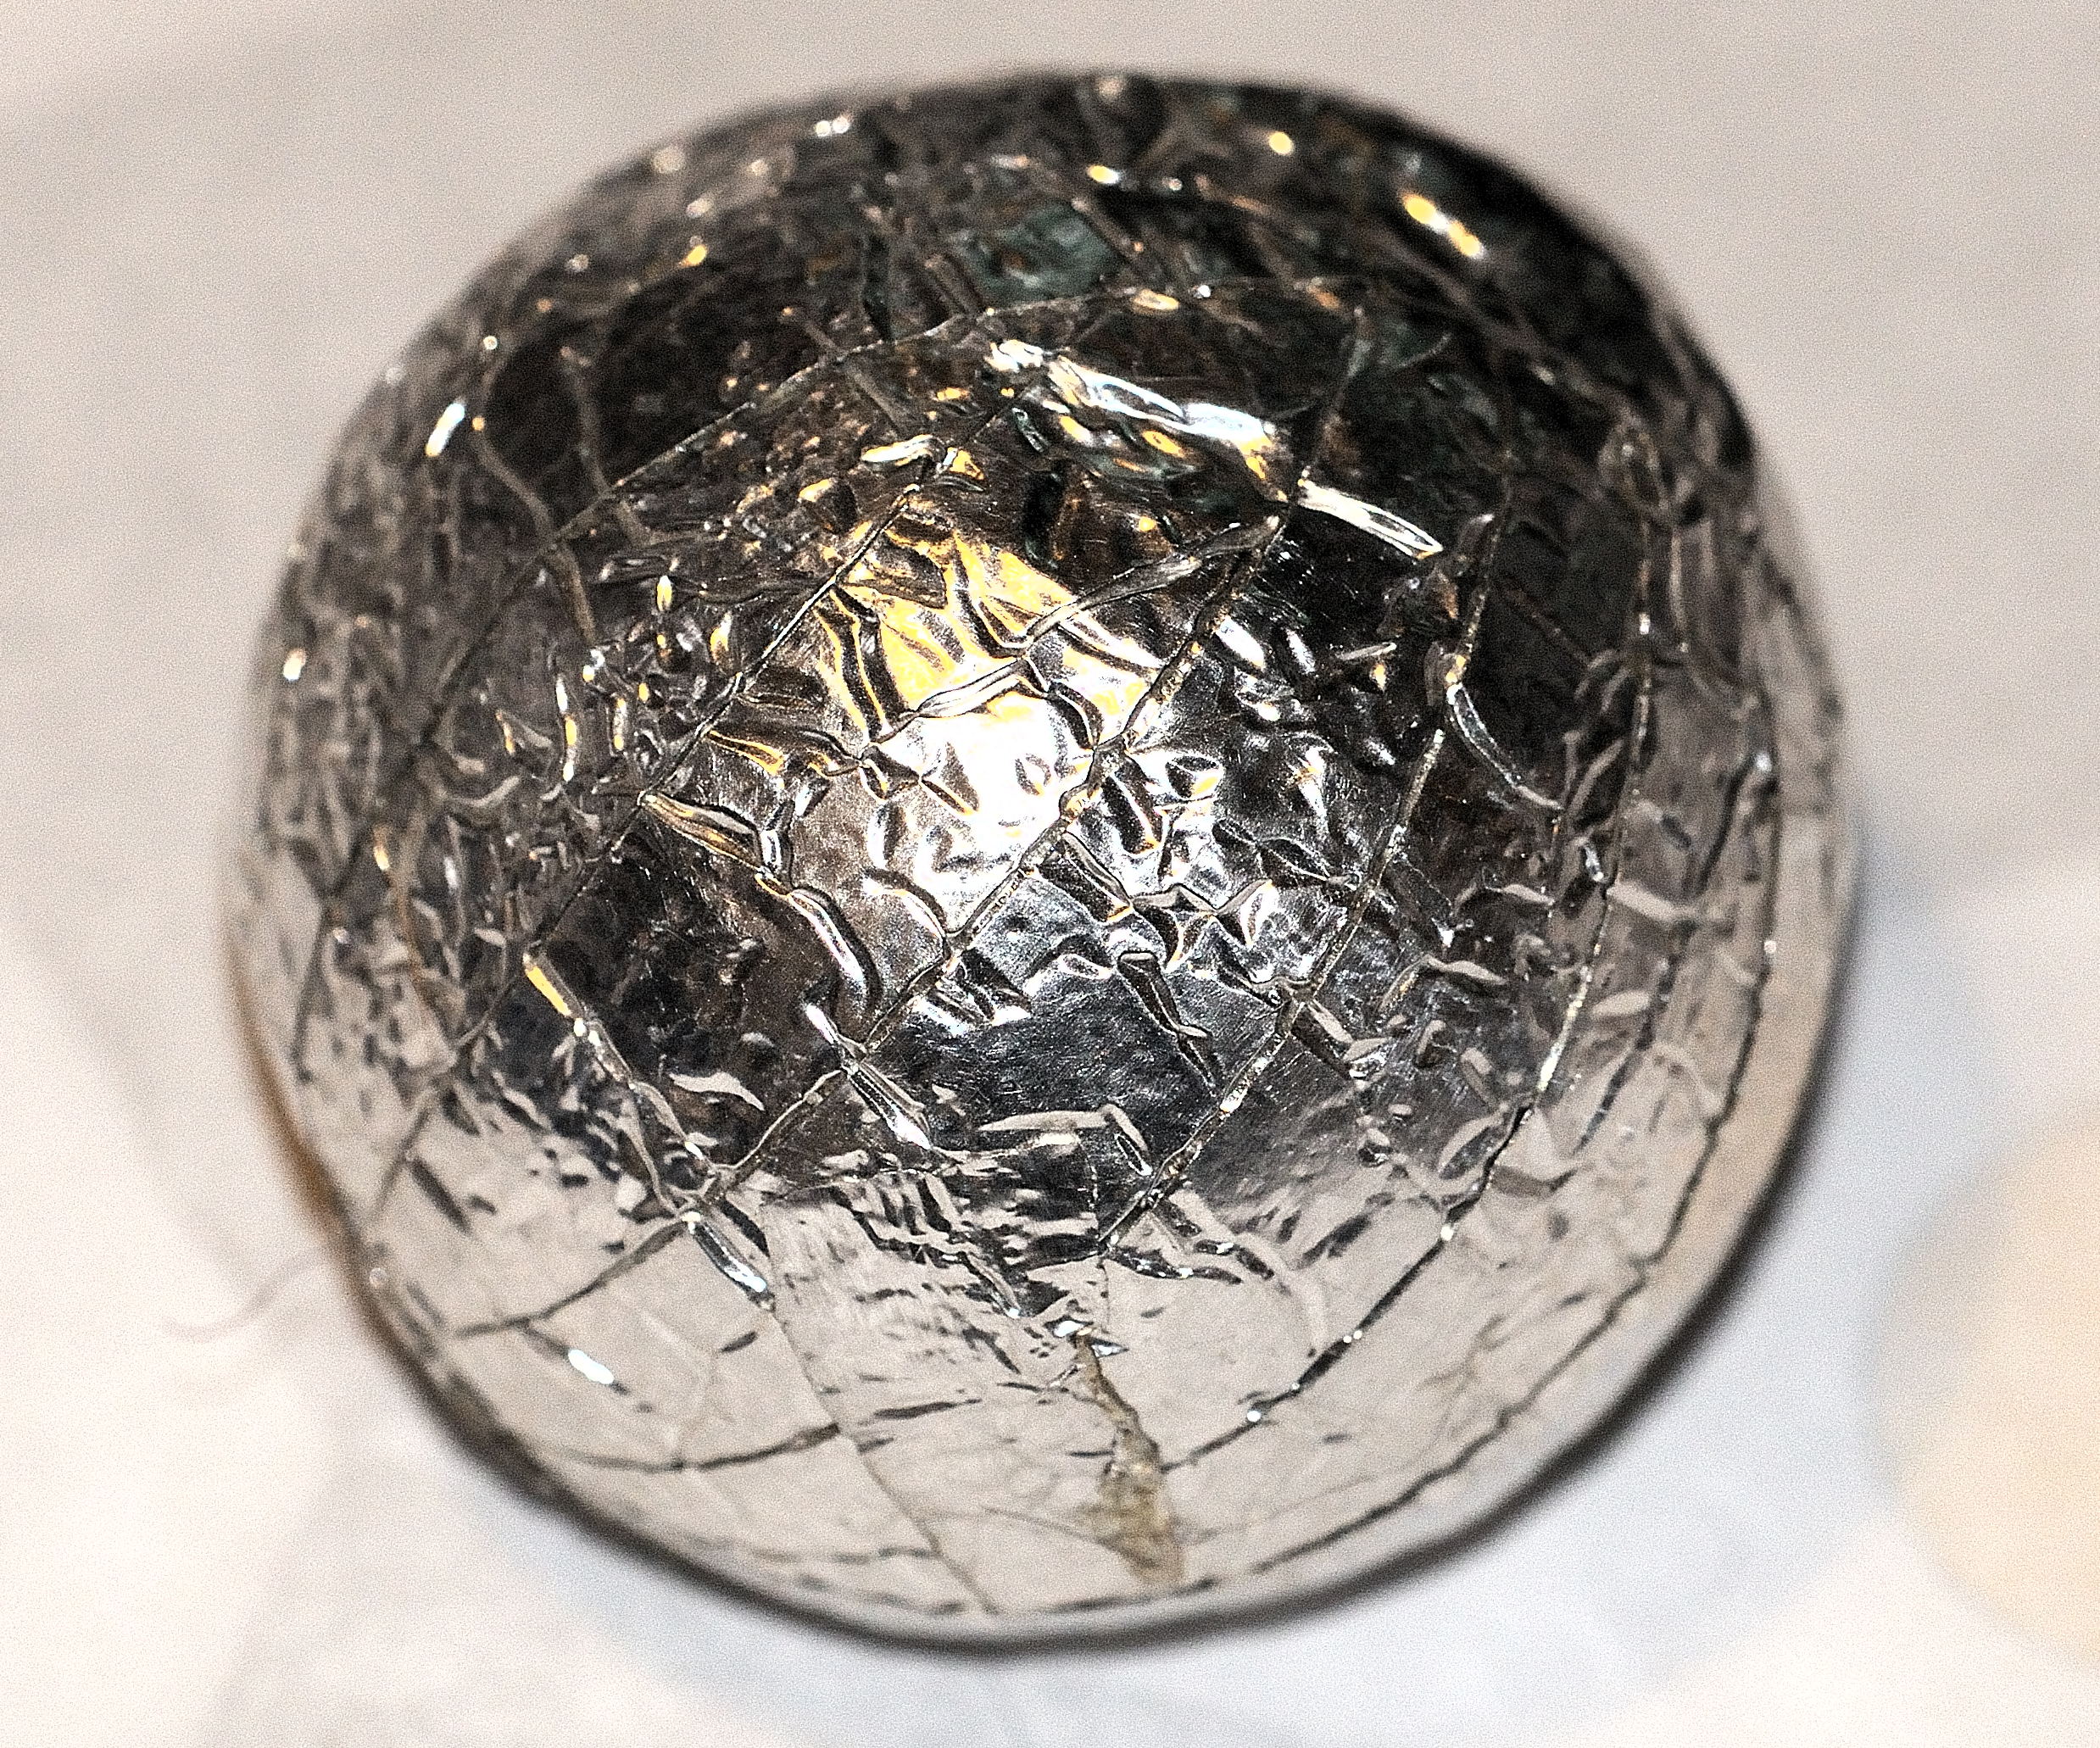
Method 1 (Aluminium foil)
Cover the ball in adhesive aluminium foil. Burnish to a good finish, If using polystyrene balls, be careful not to burnish too hard as the surface is easily deformed..
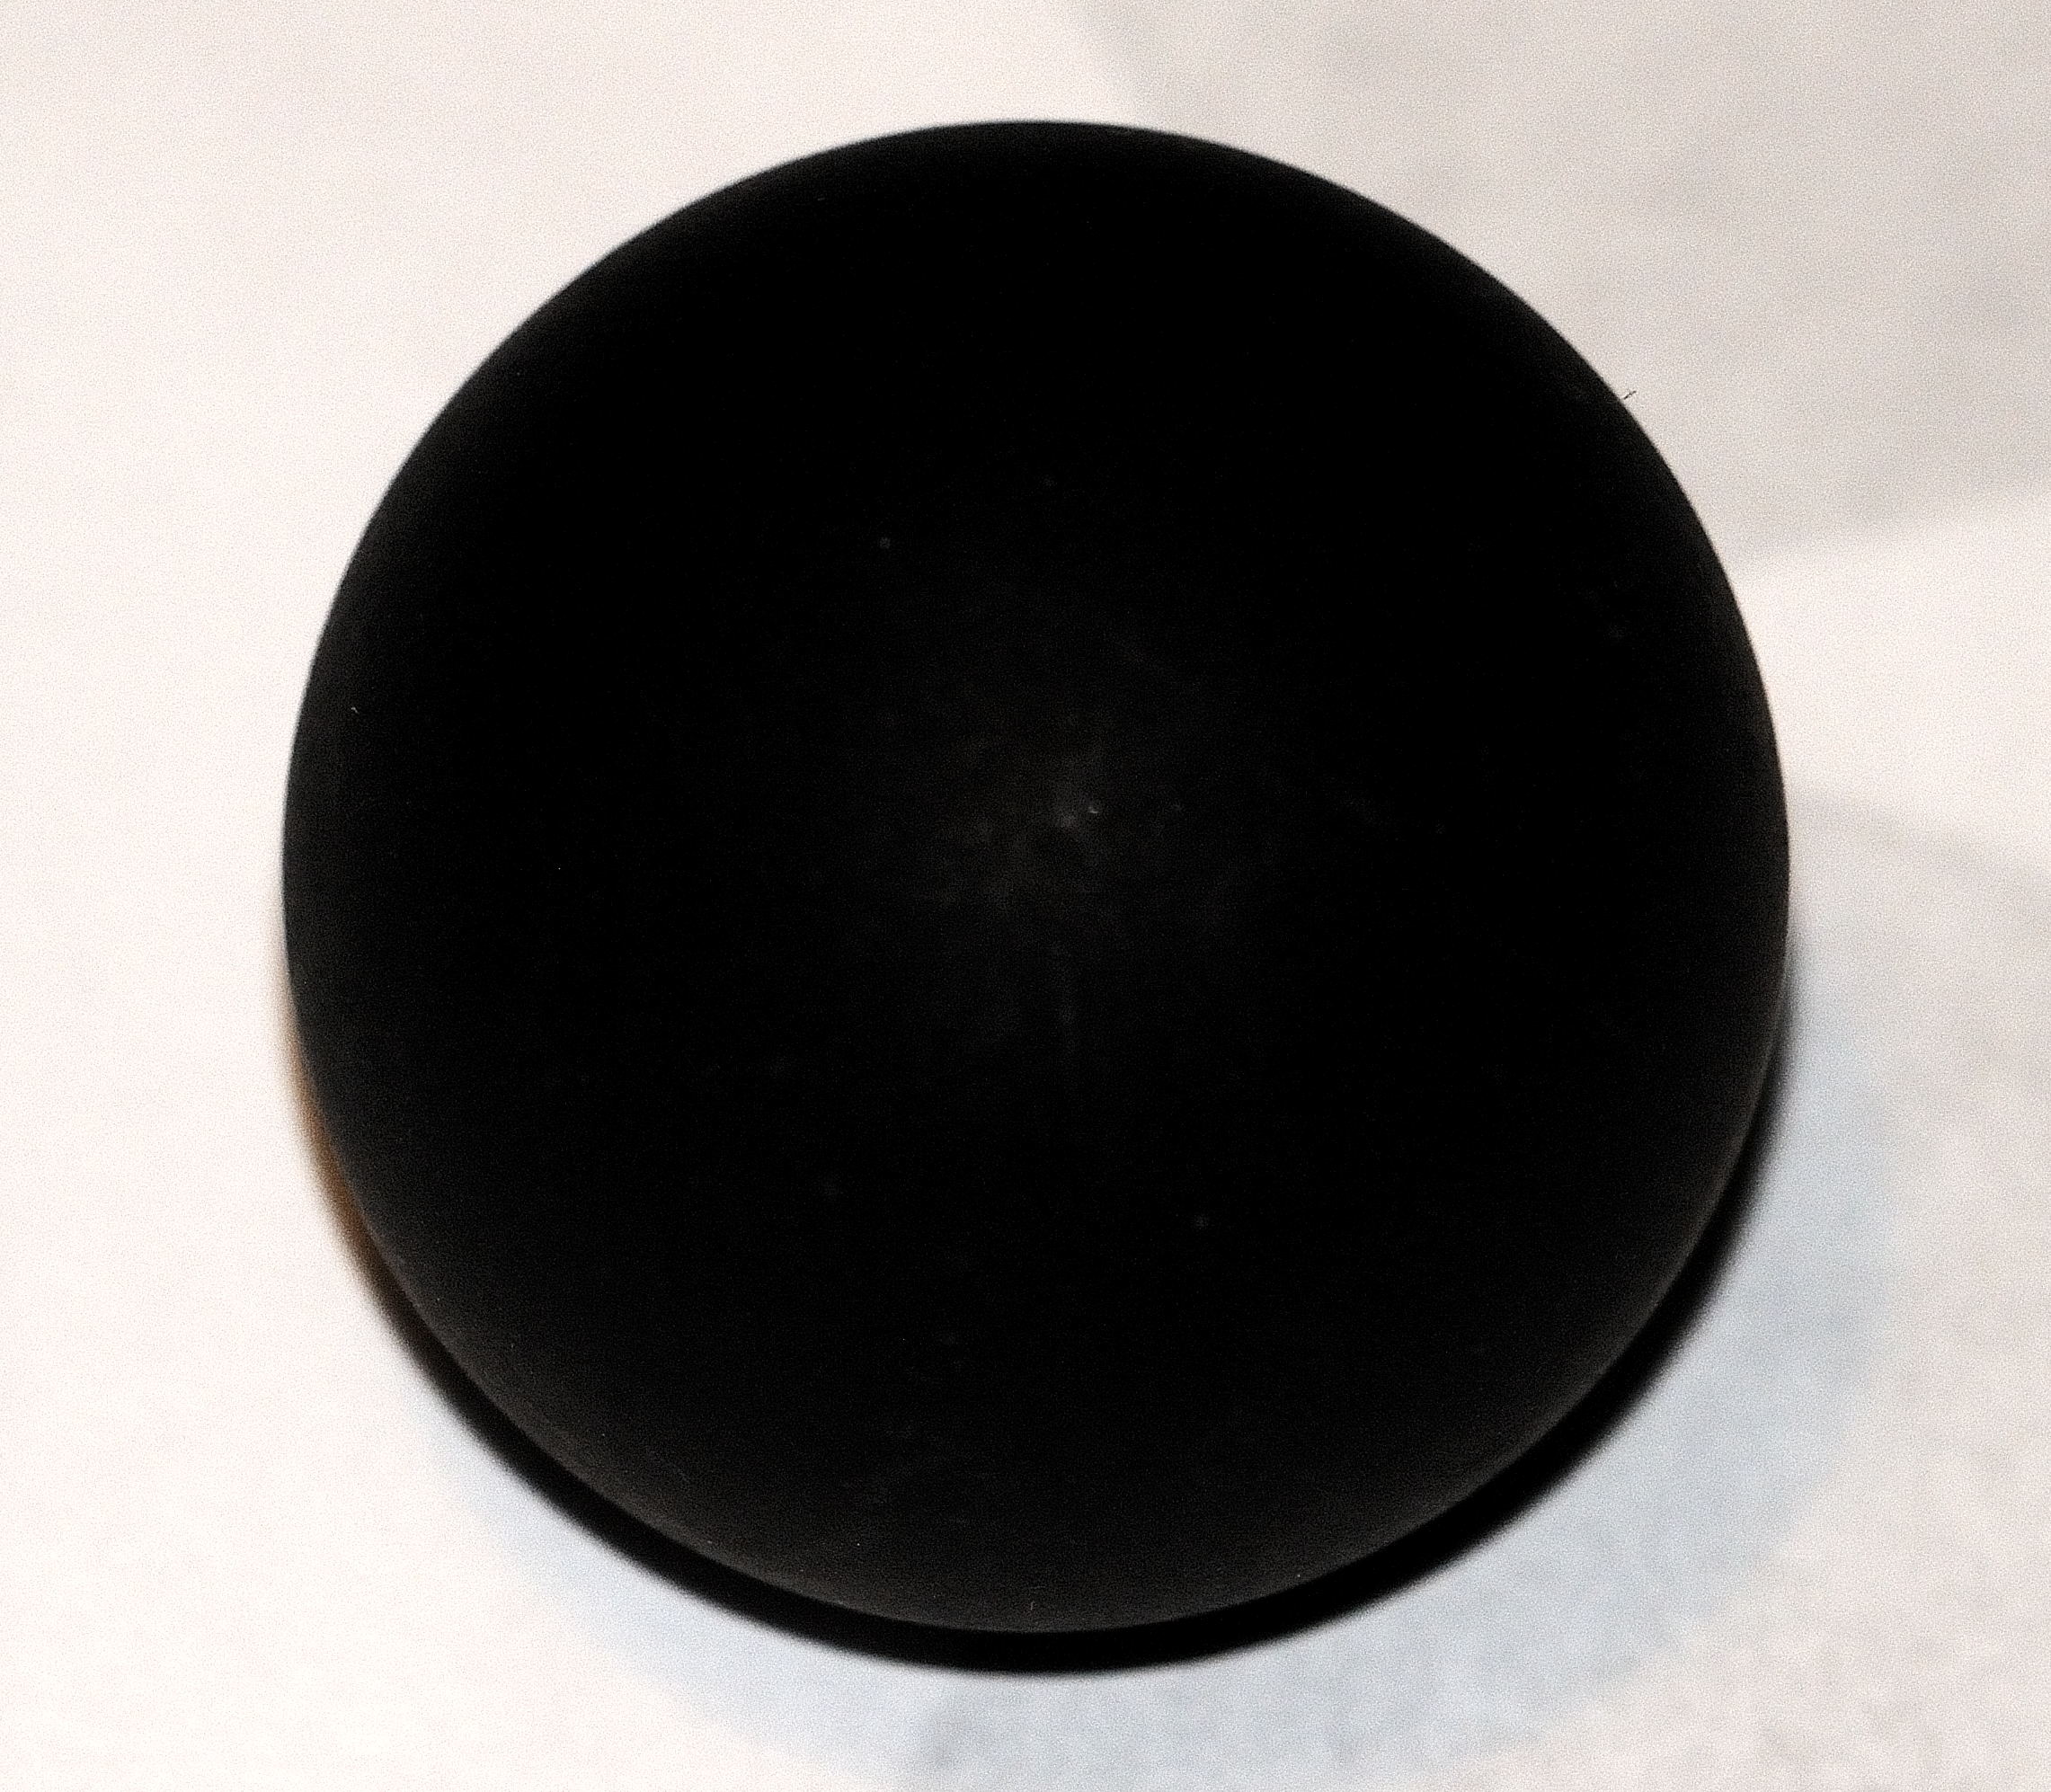
Method 2 (India Ink)
Coat the surface of the ball with India Ink. India ink is slightly conductive and will form a conductive outer shell. coat the ball by holding it between the fingers. When dry coat the bits that were covered by your fingers. Polystyrene balls may need a coating of an acrylic sealant to stop the ink from being absorbed into the polystyrene.
Be warned, many products that say they are India ink are actually an acrylic substitute and not conductive at all.
Method 3 (Graphite powder)
Evenly coat the surface of the ball with glue (be careful not to pick a glue that will react to the plastic surface, PVA works well for both polystyrene and ping pong balls) To get an even finish I rolled the ball against a couple of pieces of acrylic. When the glue starts to become tacky, coat the ball in Graphite lubricant, keep rolling until the surface of the ball has an even coating. Allow to dry thoroughly before using.
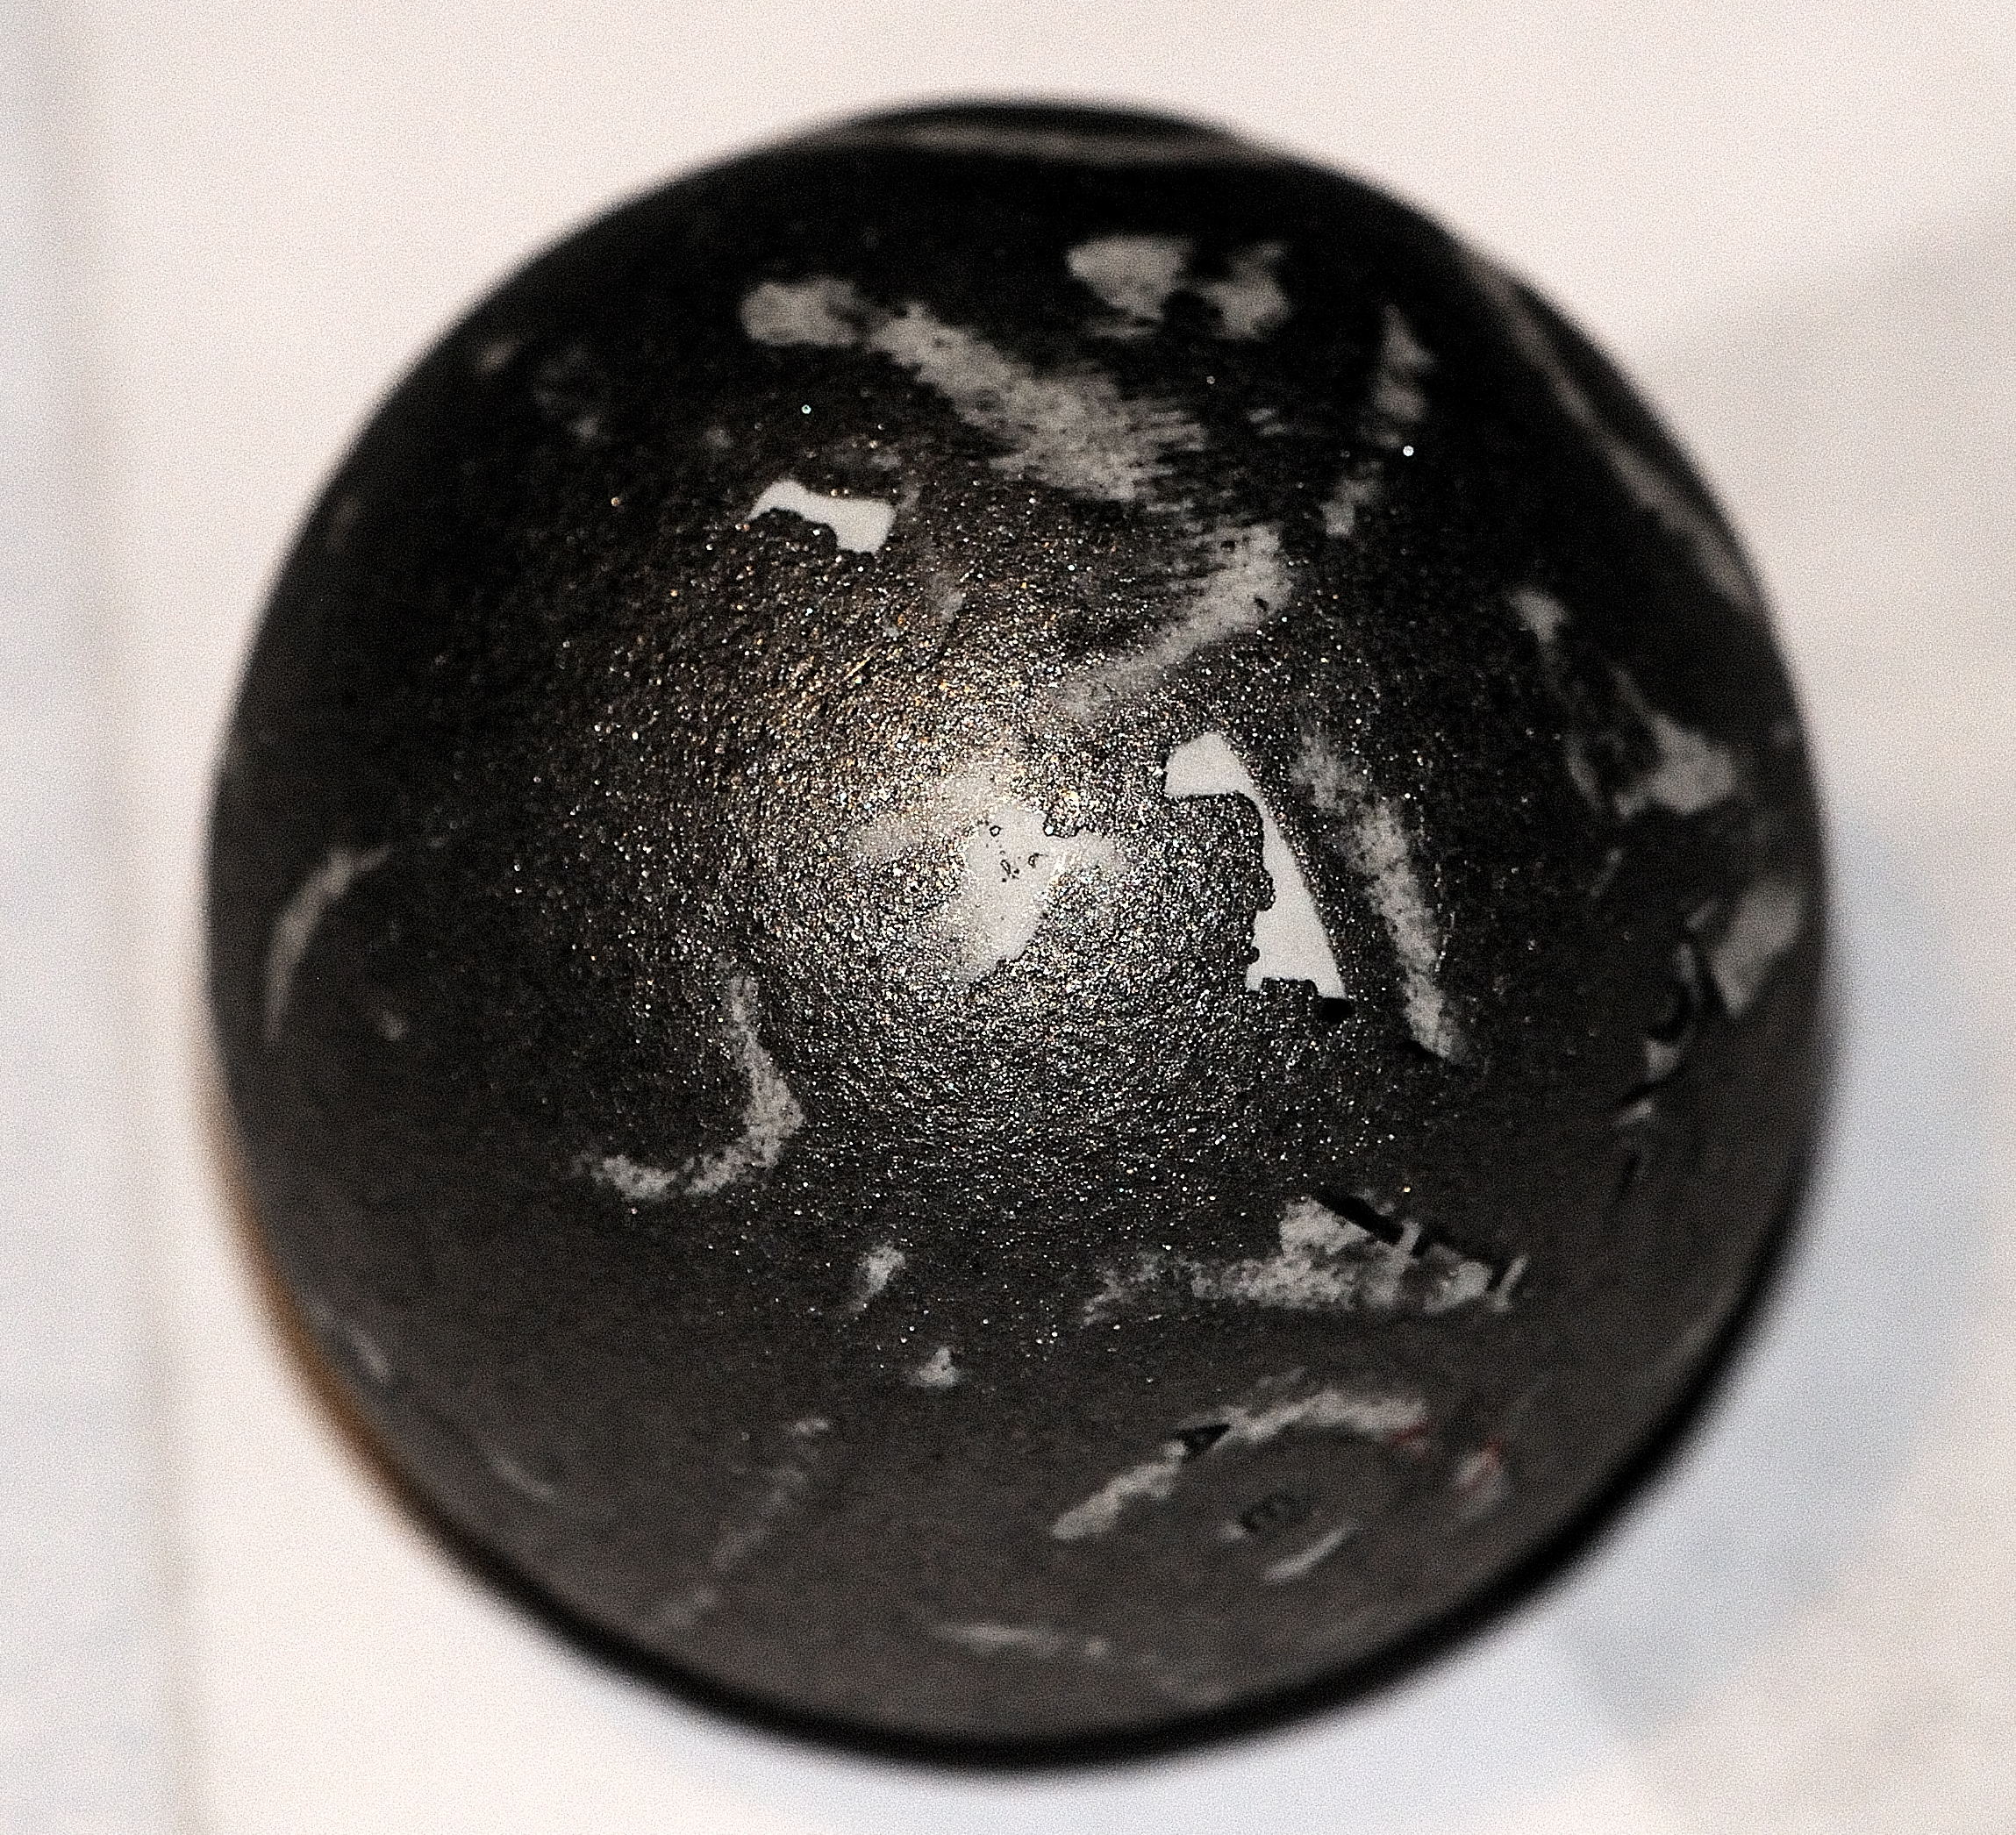
After some use…
Be warned that arcs to the surface will quickly heat up the pingpong ball and a fire may result.
Method 4 (Aluminium Foil)
Screw up aluminium foil and roll until a small ball shape is formed. Fine for small suspended balls, but not round enough to roll and difficult to make with any large diameter.
Method 5 (Bear Conductive – conductive Paint http://www.bareconductive.com/) The Best method so far.
Recently this paint has come on to the market. Its is a thick paint that comes in either a pen or a bottle. After a number of experiments I have found that the best way to coat a ping pong ball, this should apply to other balls too.
To coat a ping pong ball water down the paint to 50%/50% paint to water, this gives a much thinner and therefore more even coat. Run the ball through a bath of the paint until all of the surface is covered, Don’t worry too much about where your fingers have been as this doesn’t seem to make any difference to the end result. (another advantage of watering down the paint is with 100% paint your fingers leave lumps in the finish.)
Please note that this paint is recommended for voltages of up to 12V. So if you are applying higher voltages than this, you are on your own.
Be warned that arcs to the surface will quickly heat up the ping pong ball and a fire may result.
A rough guide to coating, conductivity and surface after paining ping-pong balls, conductivity is measured across the furthest points of the sphere. Coating is given in water / paint percentages.
100% – too thick after one coat – long time to dry – uneven surface – 500 Ohms
50%/50% – Quick Dry good coverage – 1 coat – good surface – 6k
75%/25% – Bad coverage – needs multiple coats – long drying time – good surface – missing coverage where handled – 10 k – 20k (variance due to uneven coverage)
See also
>> http://smackaay.com/2009/01/13/making-a-conductive-adhesive/
>> http://www.instructables.com/id/Conductive-Glue-And-Conductive-Thread-Make-an-LED/step1/Make-Conductive-Glue-Conductive-Paint-and-Conduc/
>> http://www.talkbass.com/forum/f38/diy-conductive-paint-cavity-shielding-589012/
>> http://www.ehow.com/how_5031497_make-conductive-ink.html
Extreme Electronics will not be held responsible for any electric shock, burn or injury. These experiments are done entirely at your own risk. Please read our safety instructions