 |
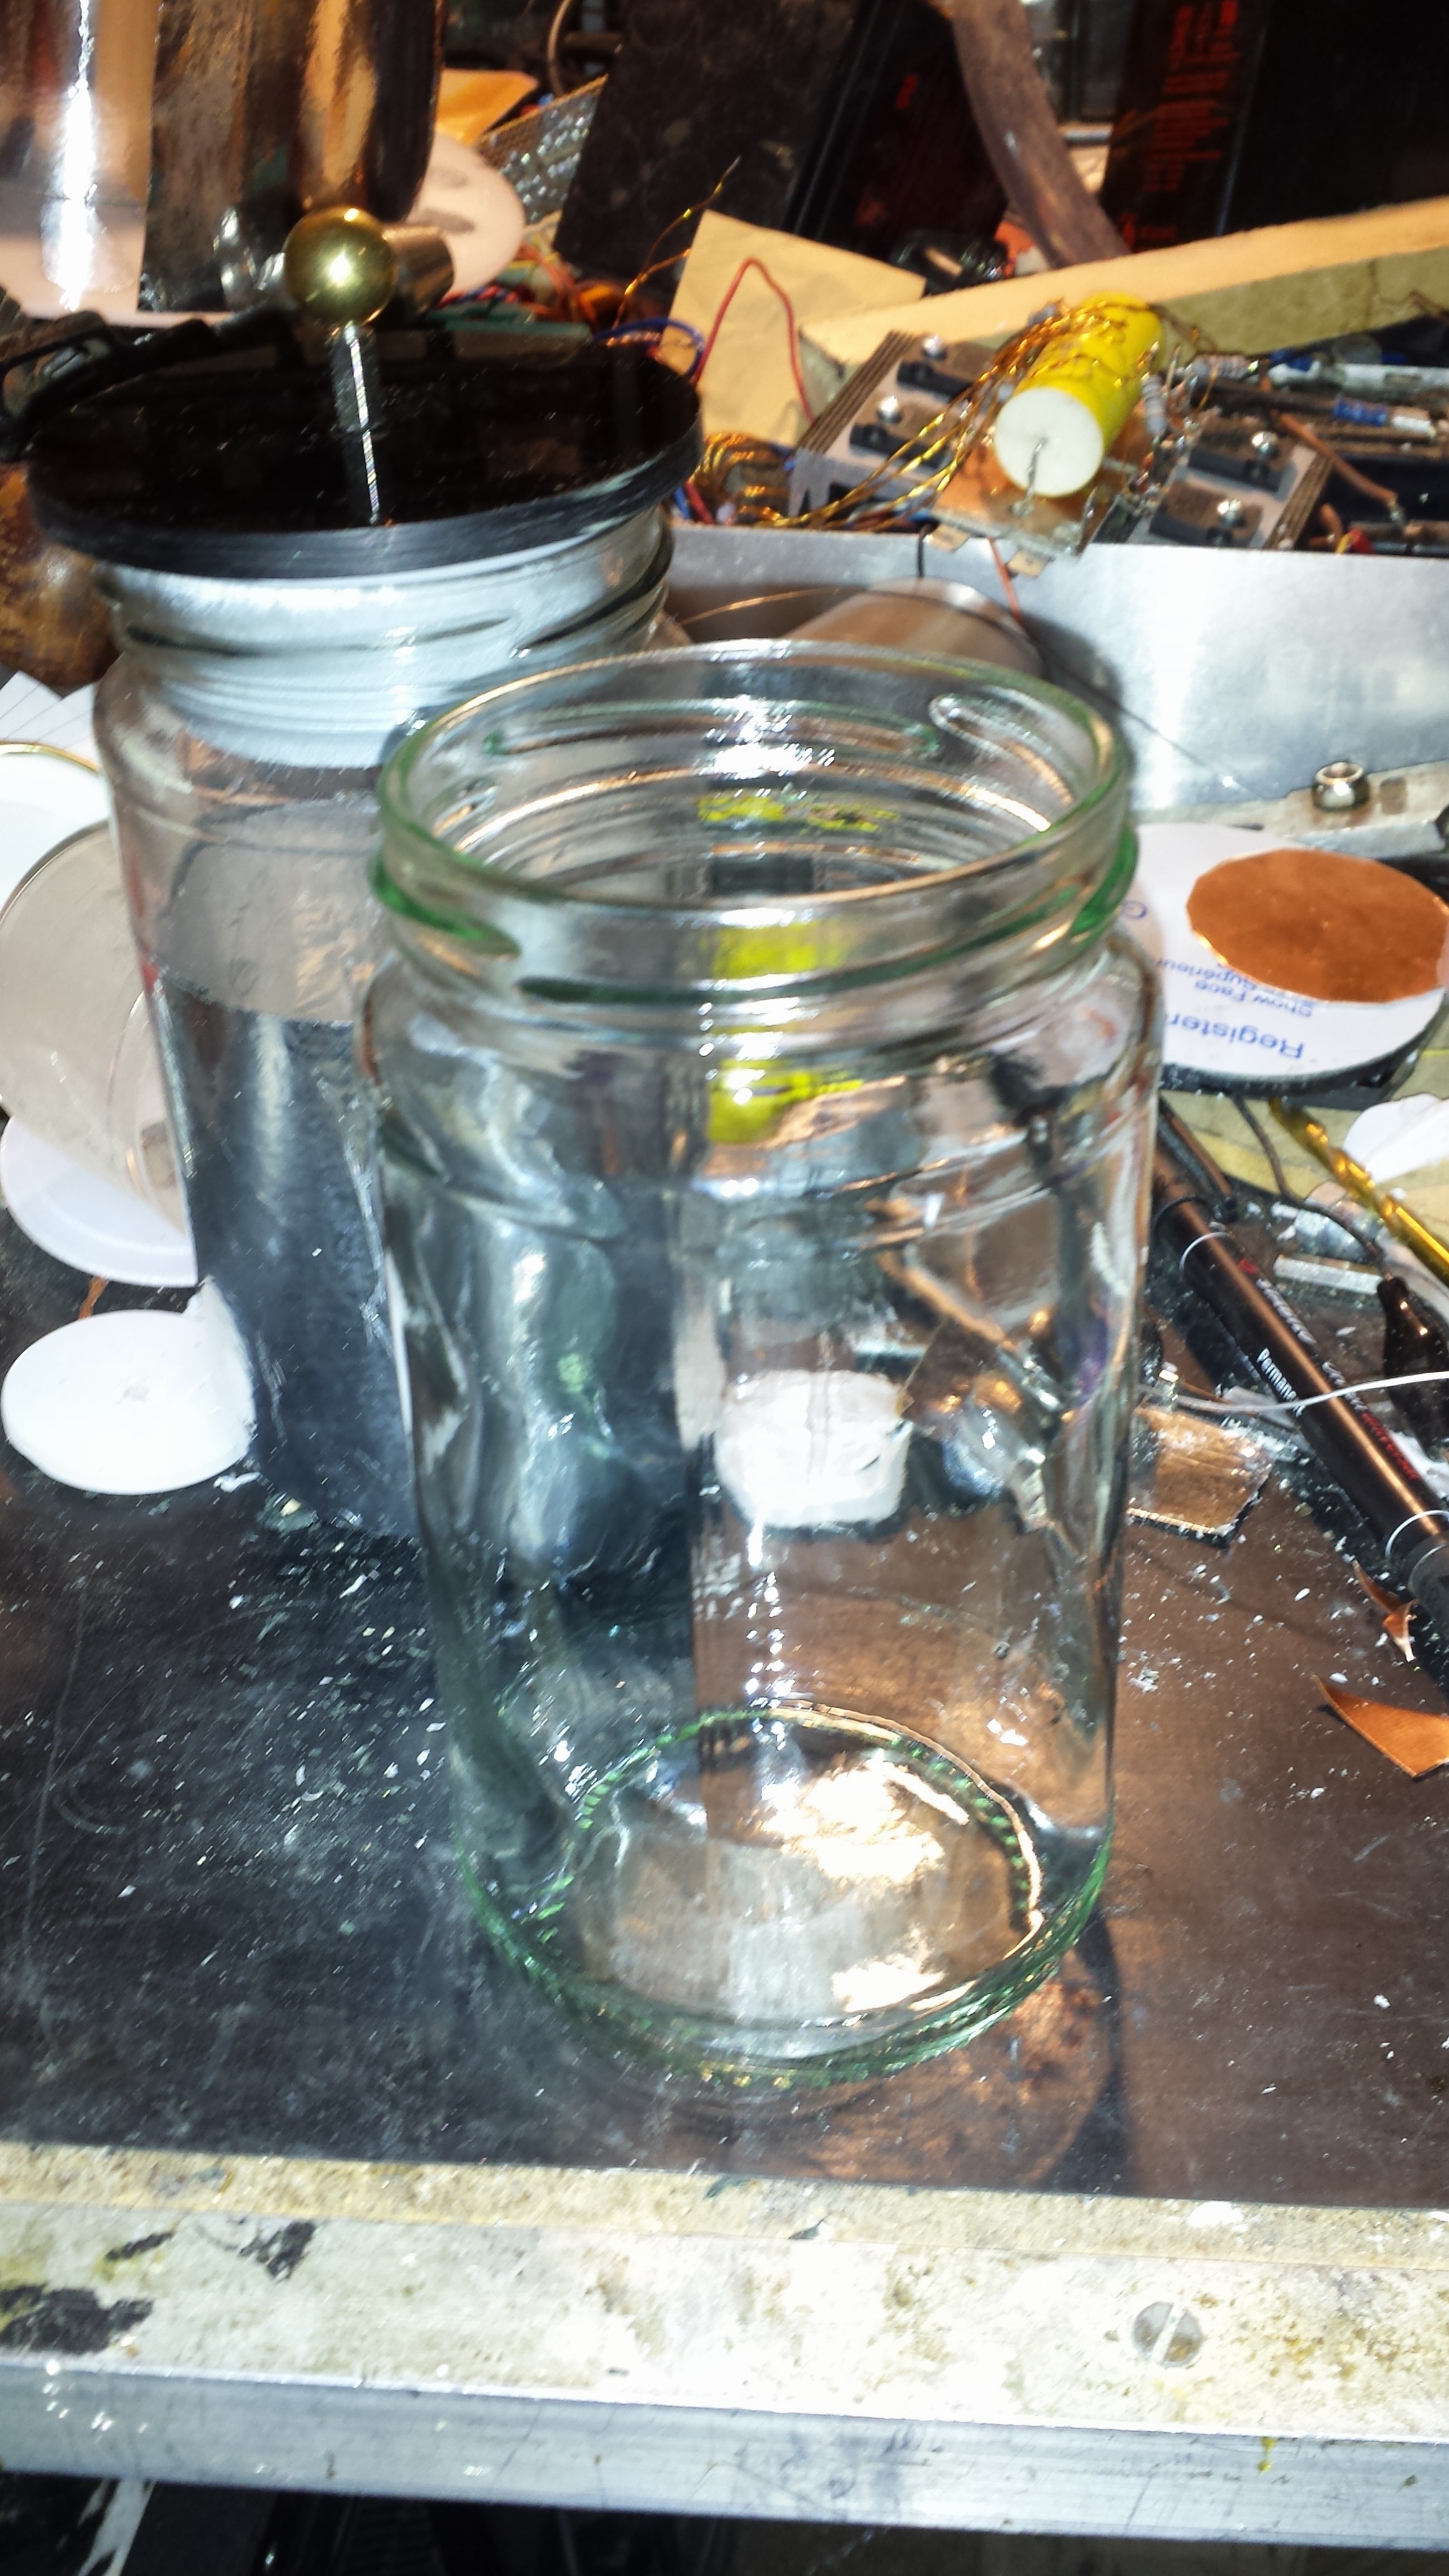
The Leyden jar starts out with a standard jam jar. |
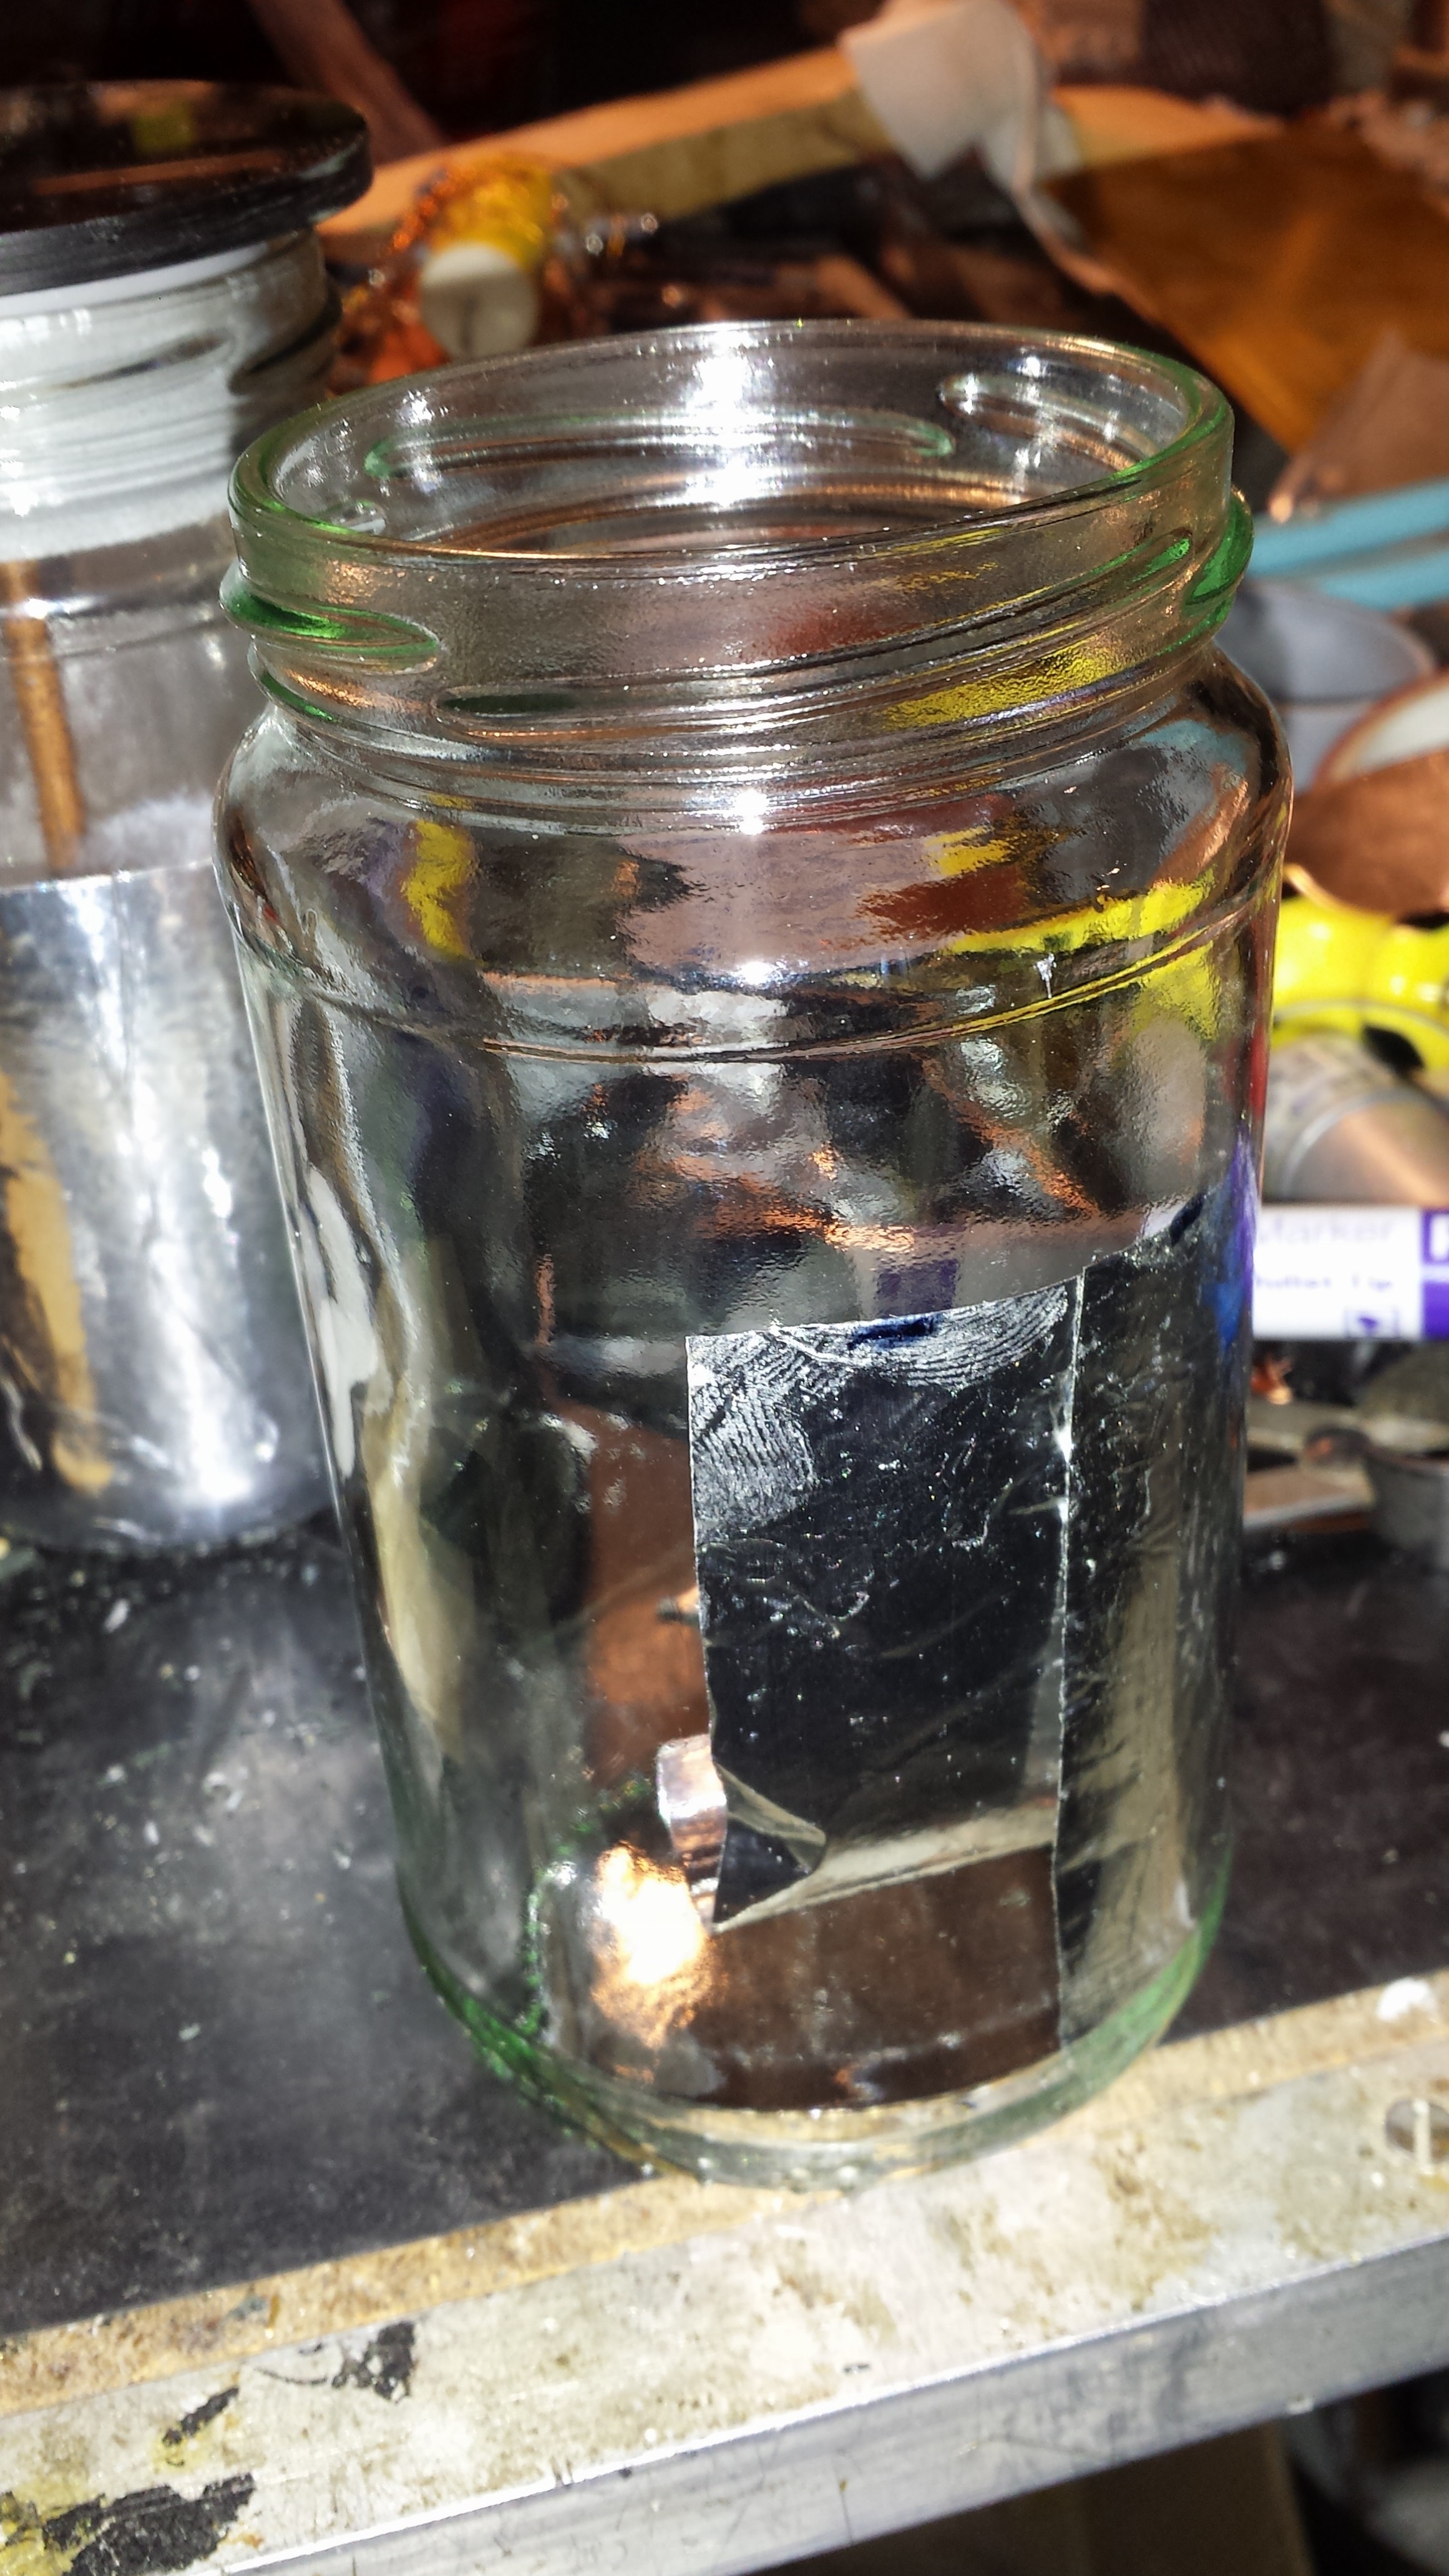 |
Pieces of adhesive aluminium foil are glued to the inside of the jar first. This way its easier to see which bits you have missed the strips should not come more than 3/4 of the way up the jar for the highest voltage capacity |
 |
If you can’t get you hand in to the jar to stick the pieces down use the handle of a screwdriver to smooth out the pieces. The foil does not need to be absolutely smooth, but there must be no gaps. Corona will form on any edge and eat away at the foil. |
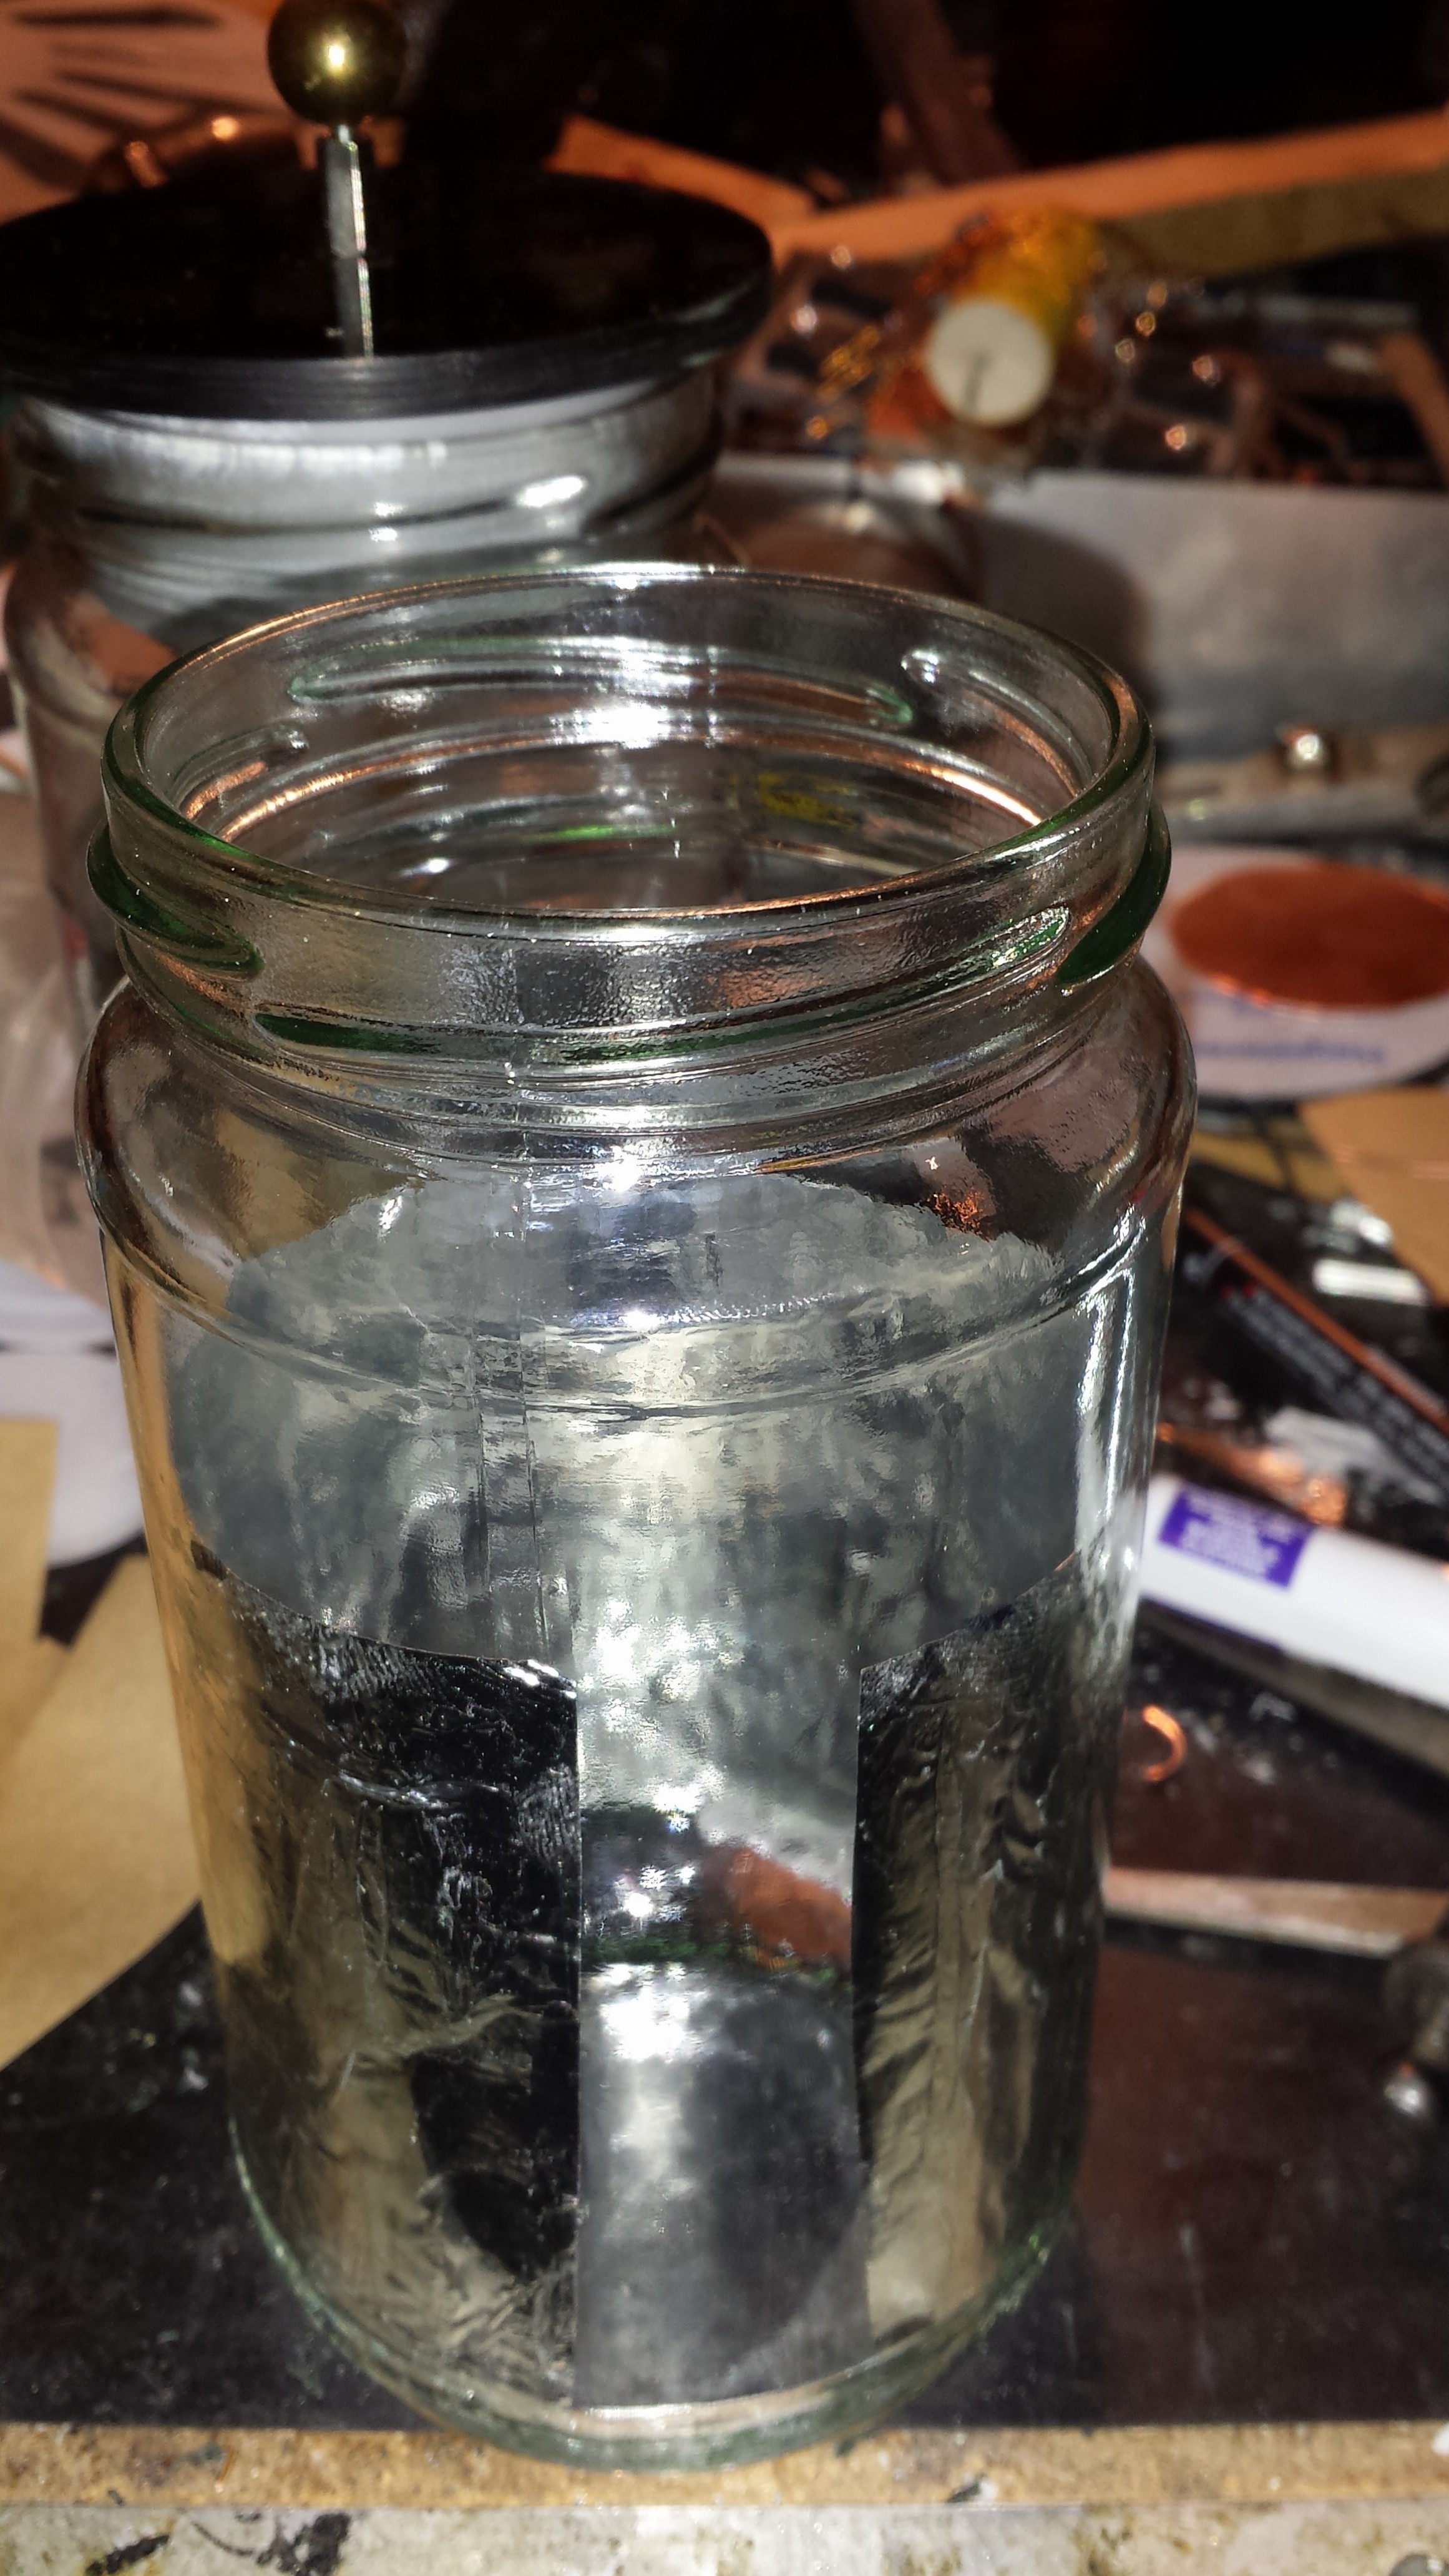 |
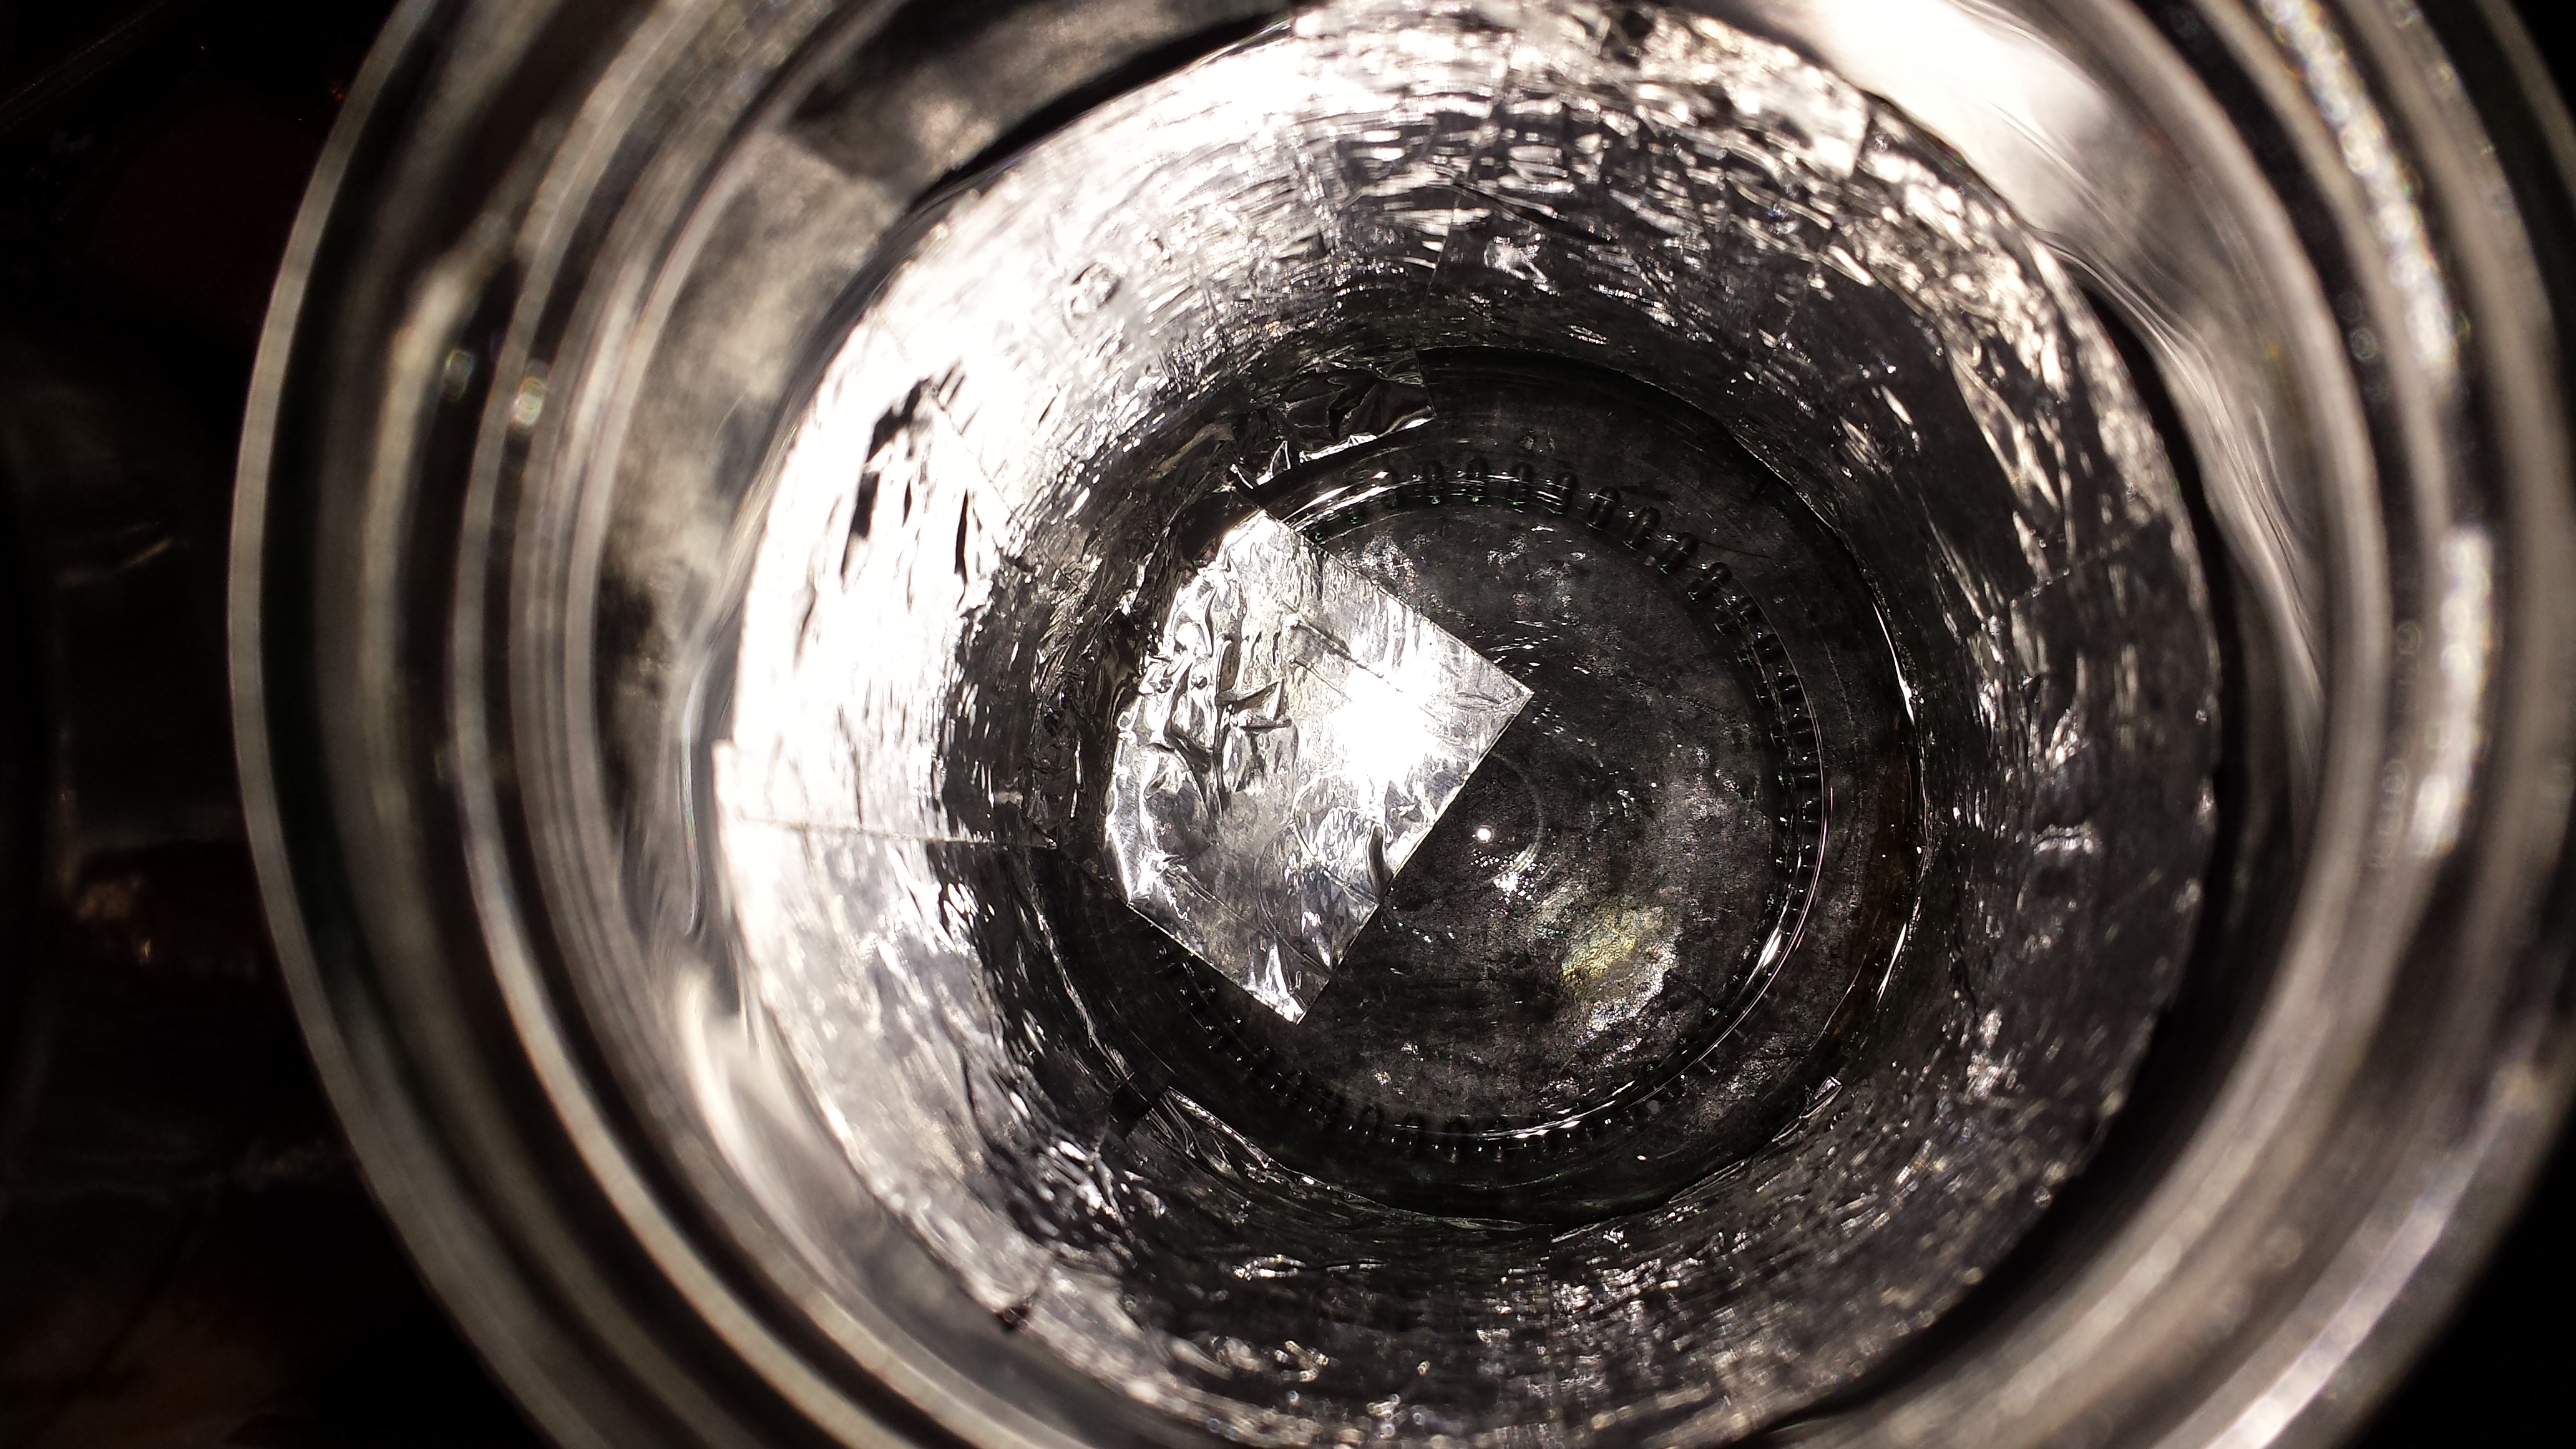
Go right around the jam jar until the whole of the inside is covered. to the 3/4 height. Strips of 20-25mm work best. Larger strips become difficult to handle. |
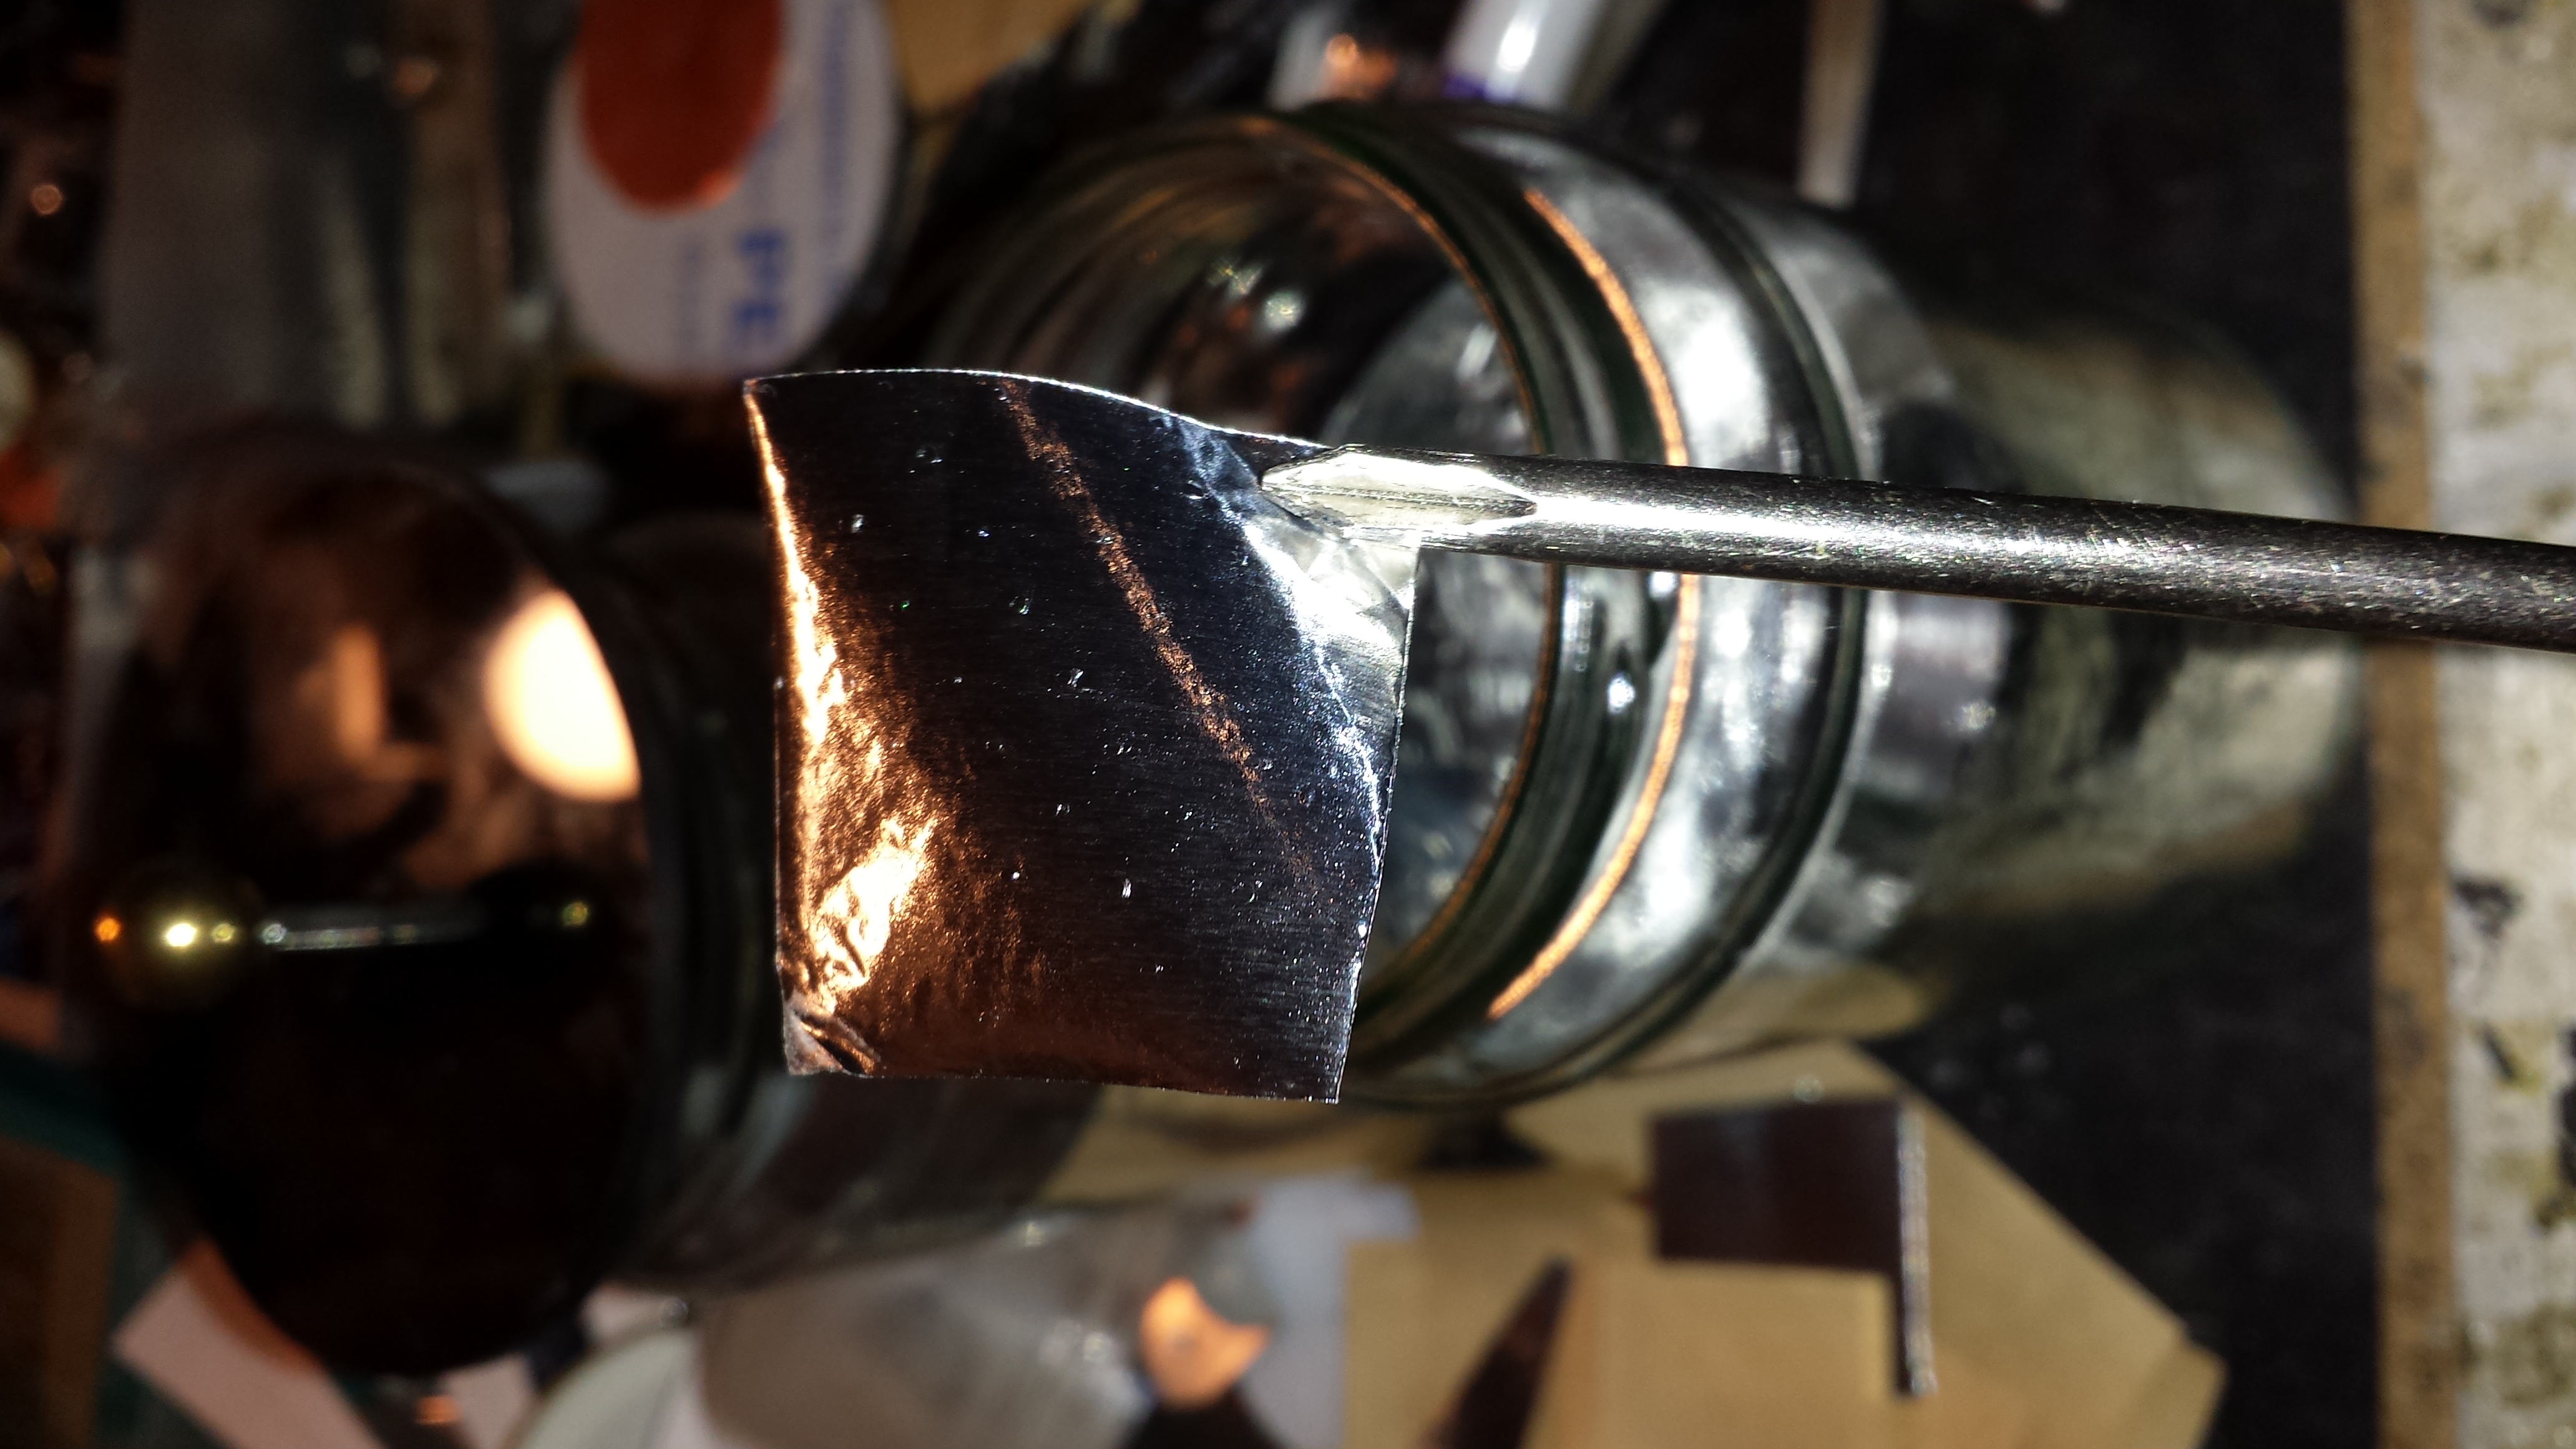 |
For the bottom of the jar use 25mm square pieces. Stick them on to the end of your screwdriver to position them. |
 |
You may need to use more than one screwdriver to get them to stick where you want. |
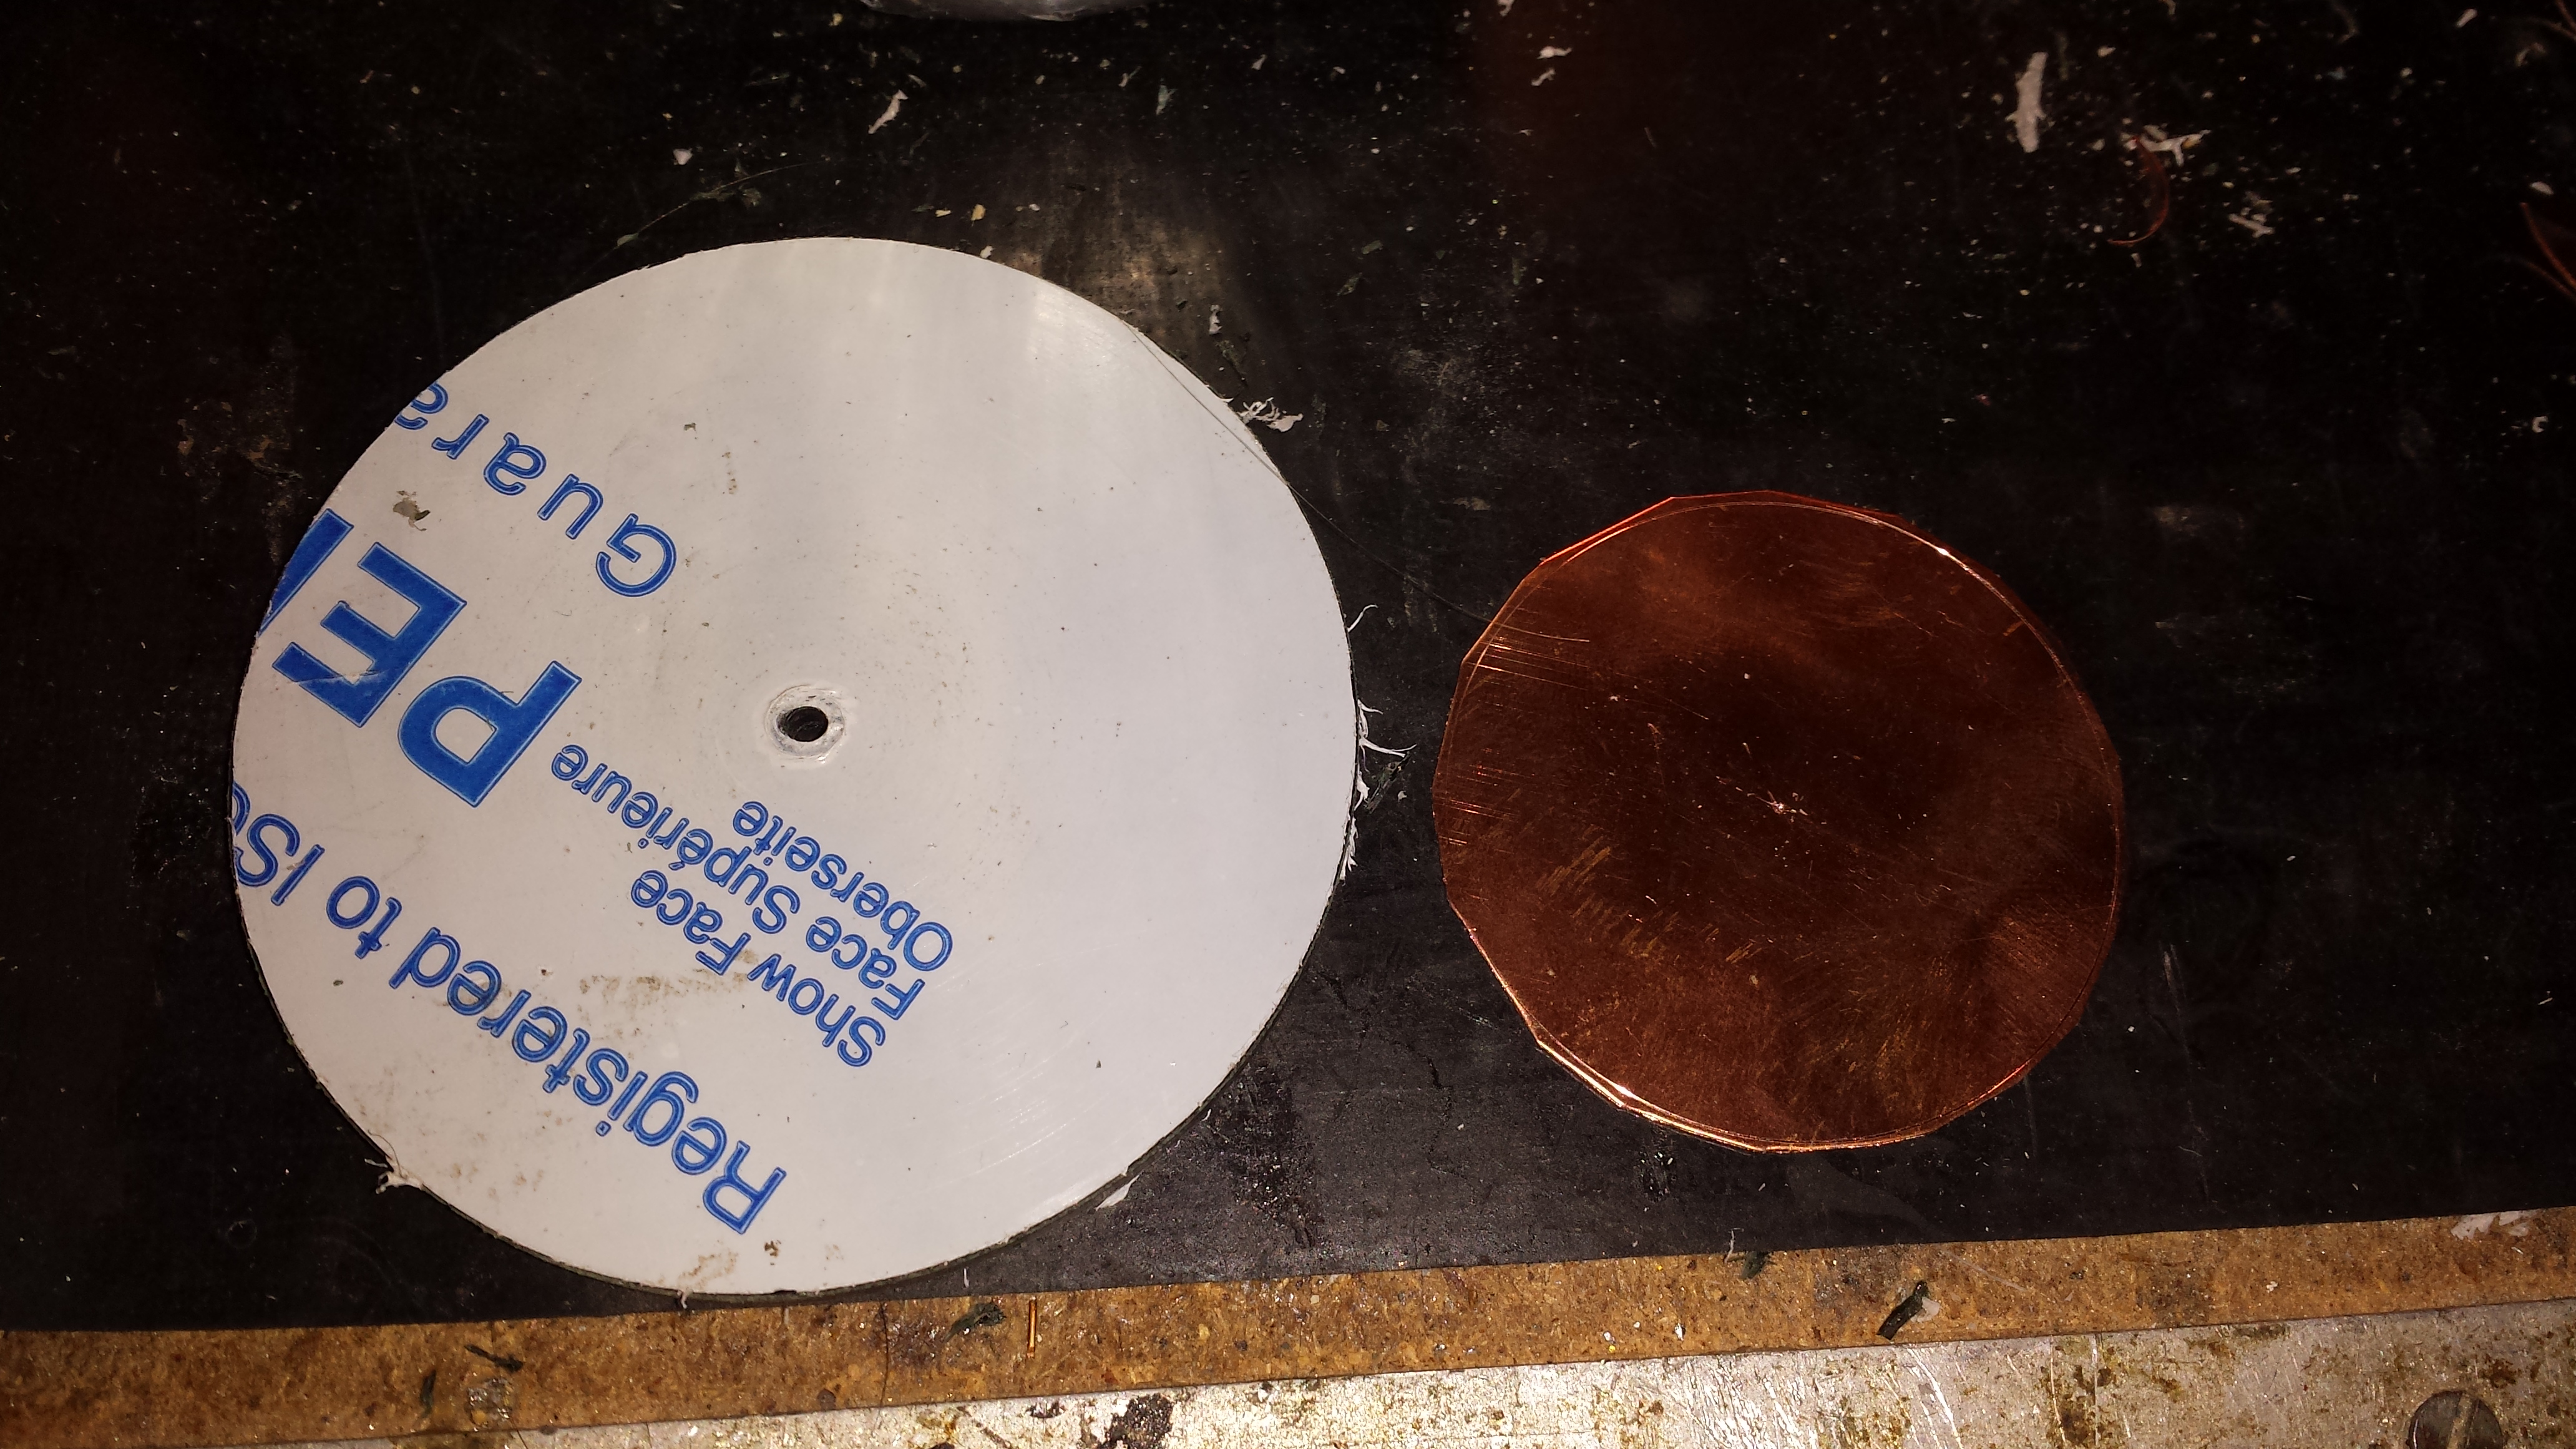 |
Cut a circle of Acrylic bigger then the lid of the jam jar, and cut a circle of copper or brass to fortify the bottom. |
 |
As we are not using water to contact to the inside we need something to stop the foil wearing away a copper of brass circle will spread out the current. |
 |
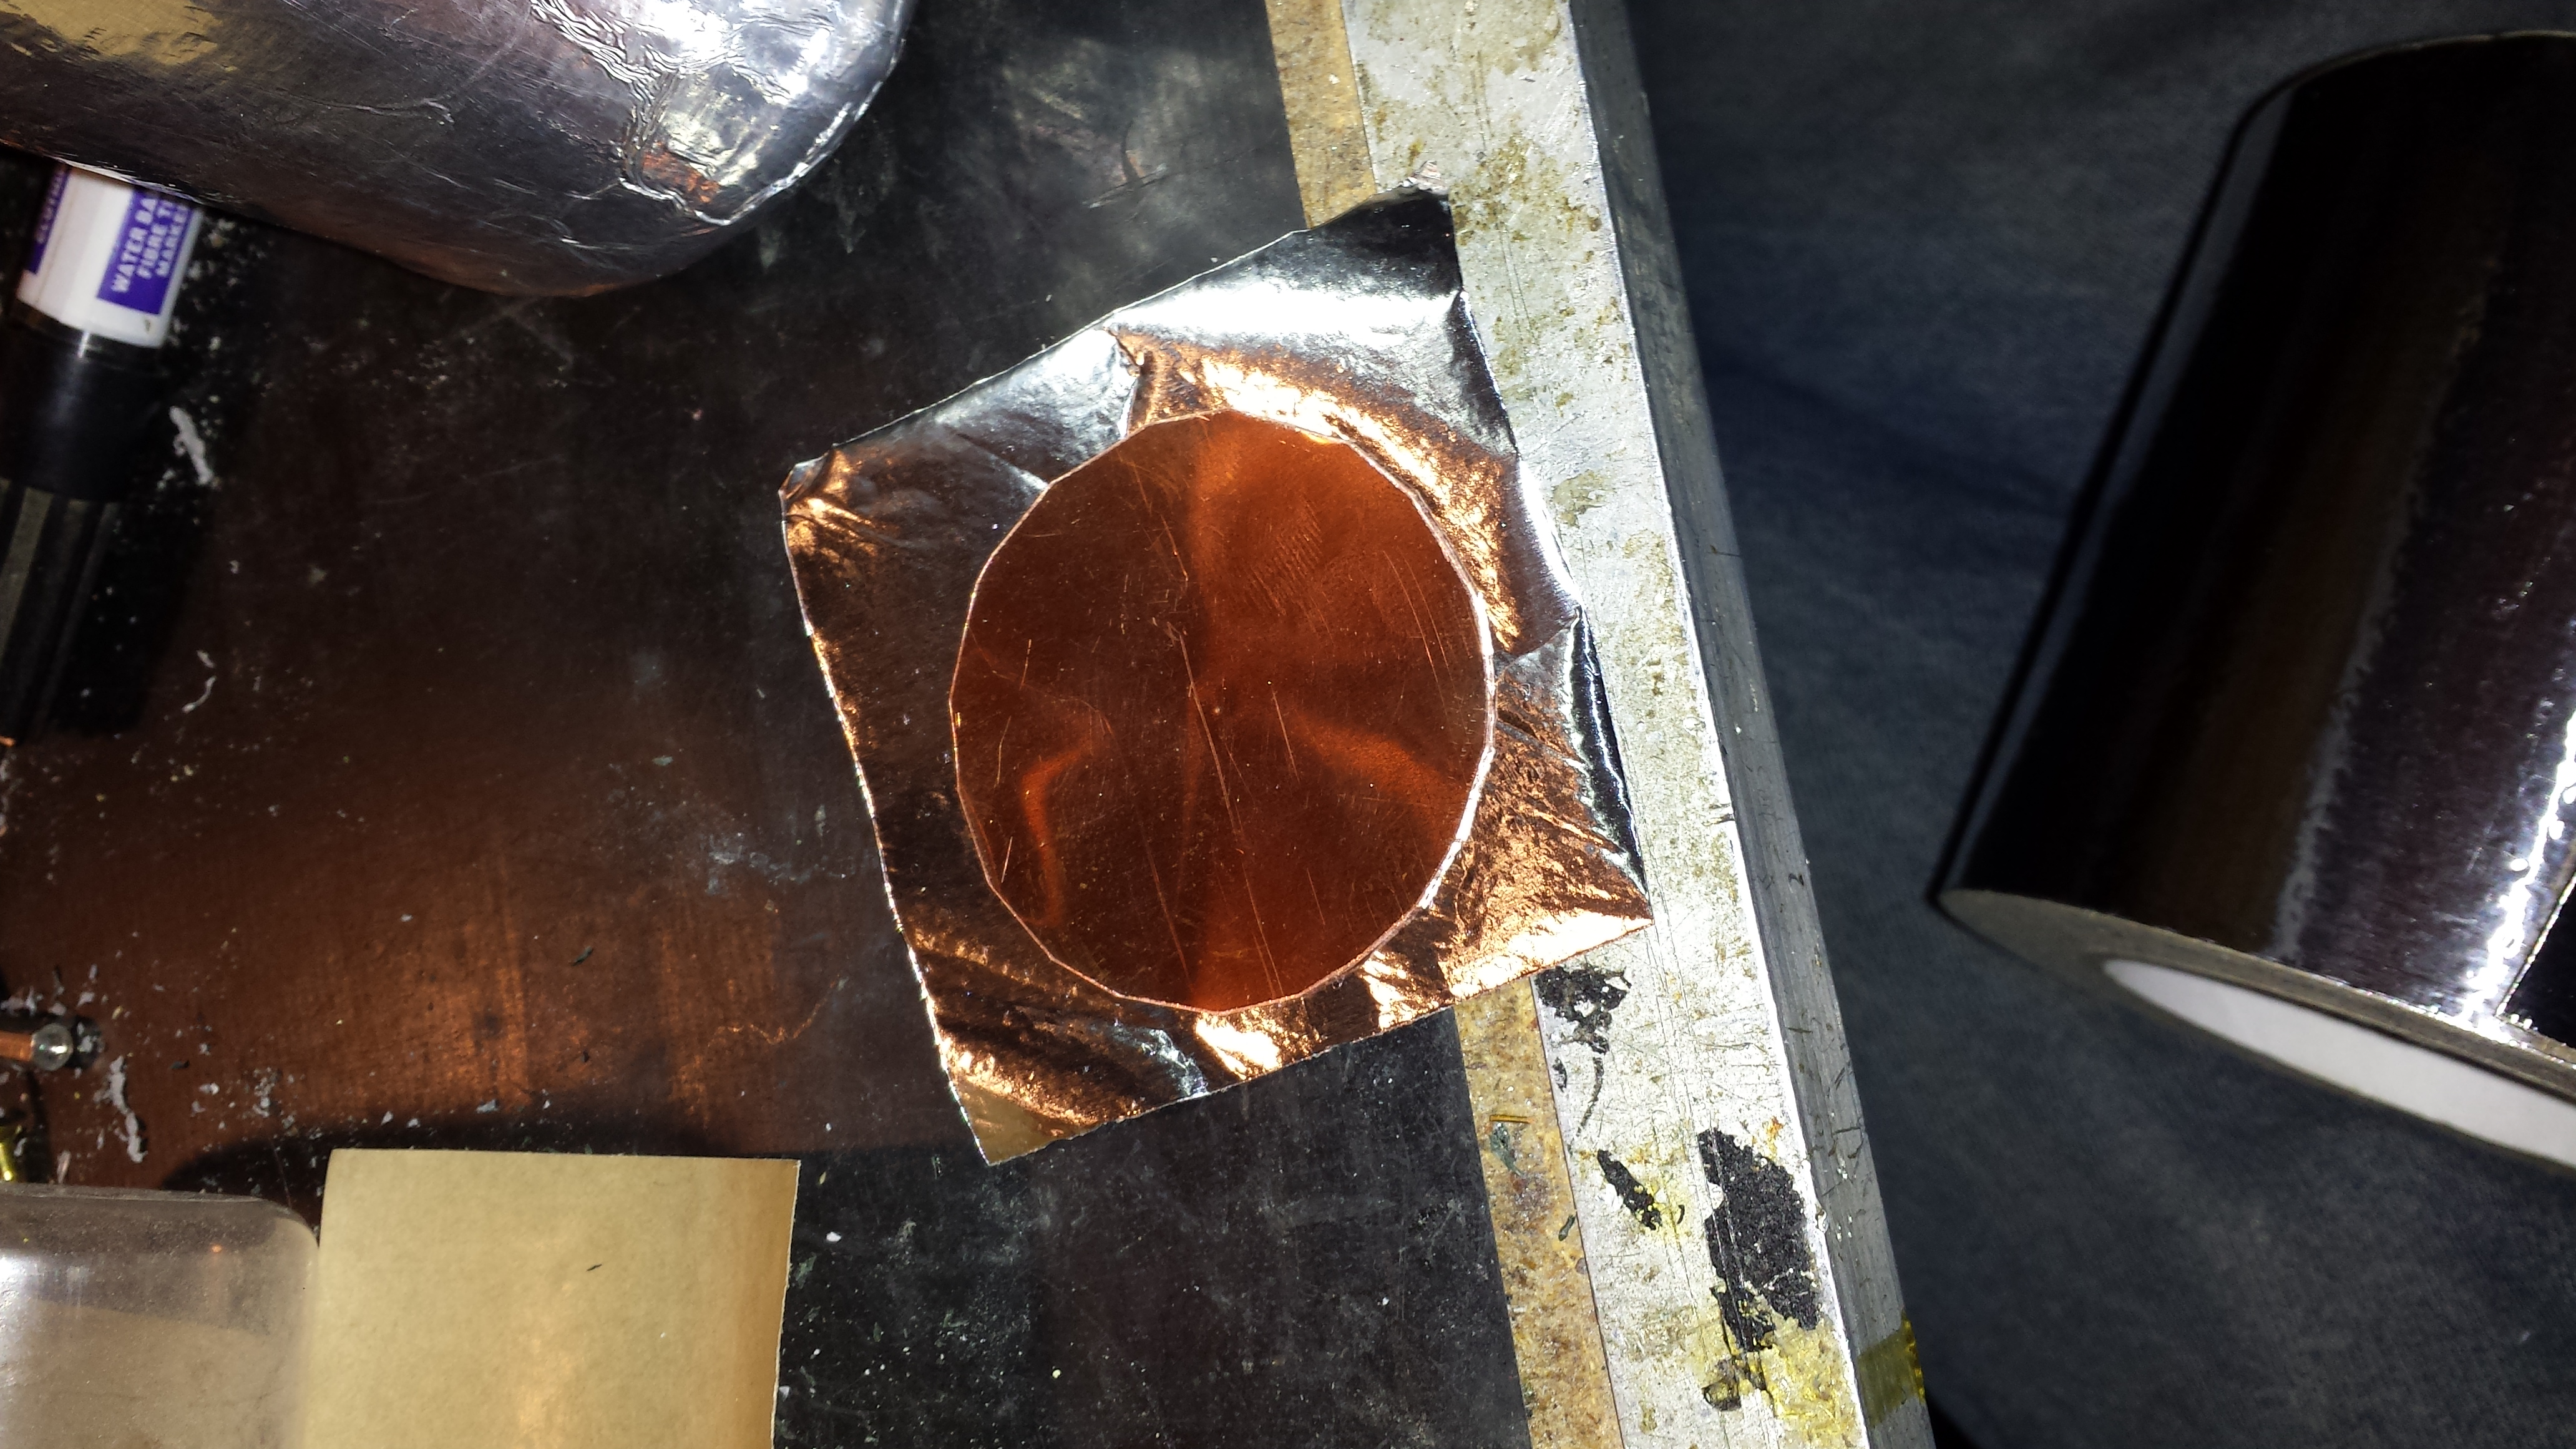
Stick this down with the foil. You may need to bevel the copper plate slightly as some jam jars have a domed bottom. |
 |
Taking a single sheet of foil slightly longer than the height of the inside foil and wrap it around the jam jar. leaving some spare at the bottom. |
 |
Smooth down the extra over the bottom. |
 |
and add a patch to the bottom and smooth it down. |
 |
Use your finder mail to burnish the outside foil of the jam jar. |
 |
For the inside conductor I used a piece of 5mm copper brake pipe to make securing this easier to the top I used a piece of 2mm copper wire that I attached a ring tag. |
 |
Using another piece of the 2mm copper wire I formed a crude spring around a 10mm drill bit. |
 |
The finished inner contact. |
 |
I glued a 25mm long x 50mm diameter piece of water pipe to the centre of the top circle of acrylic. This fits the inside of my jam jar snugly. |
 |
The top and inner conductor are put into the jar, so that the spring contacts the bottom of the jar. The inner ring is glued into the inside mouth of the jar to stop the spring from pushing the top out. |
 |
A small brass ball was tapped and attached to the bolt from the centre contact. |
 |
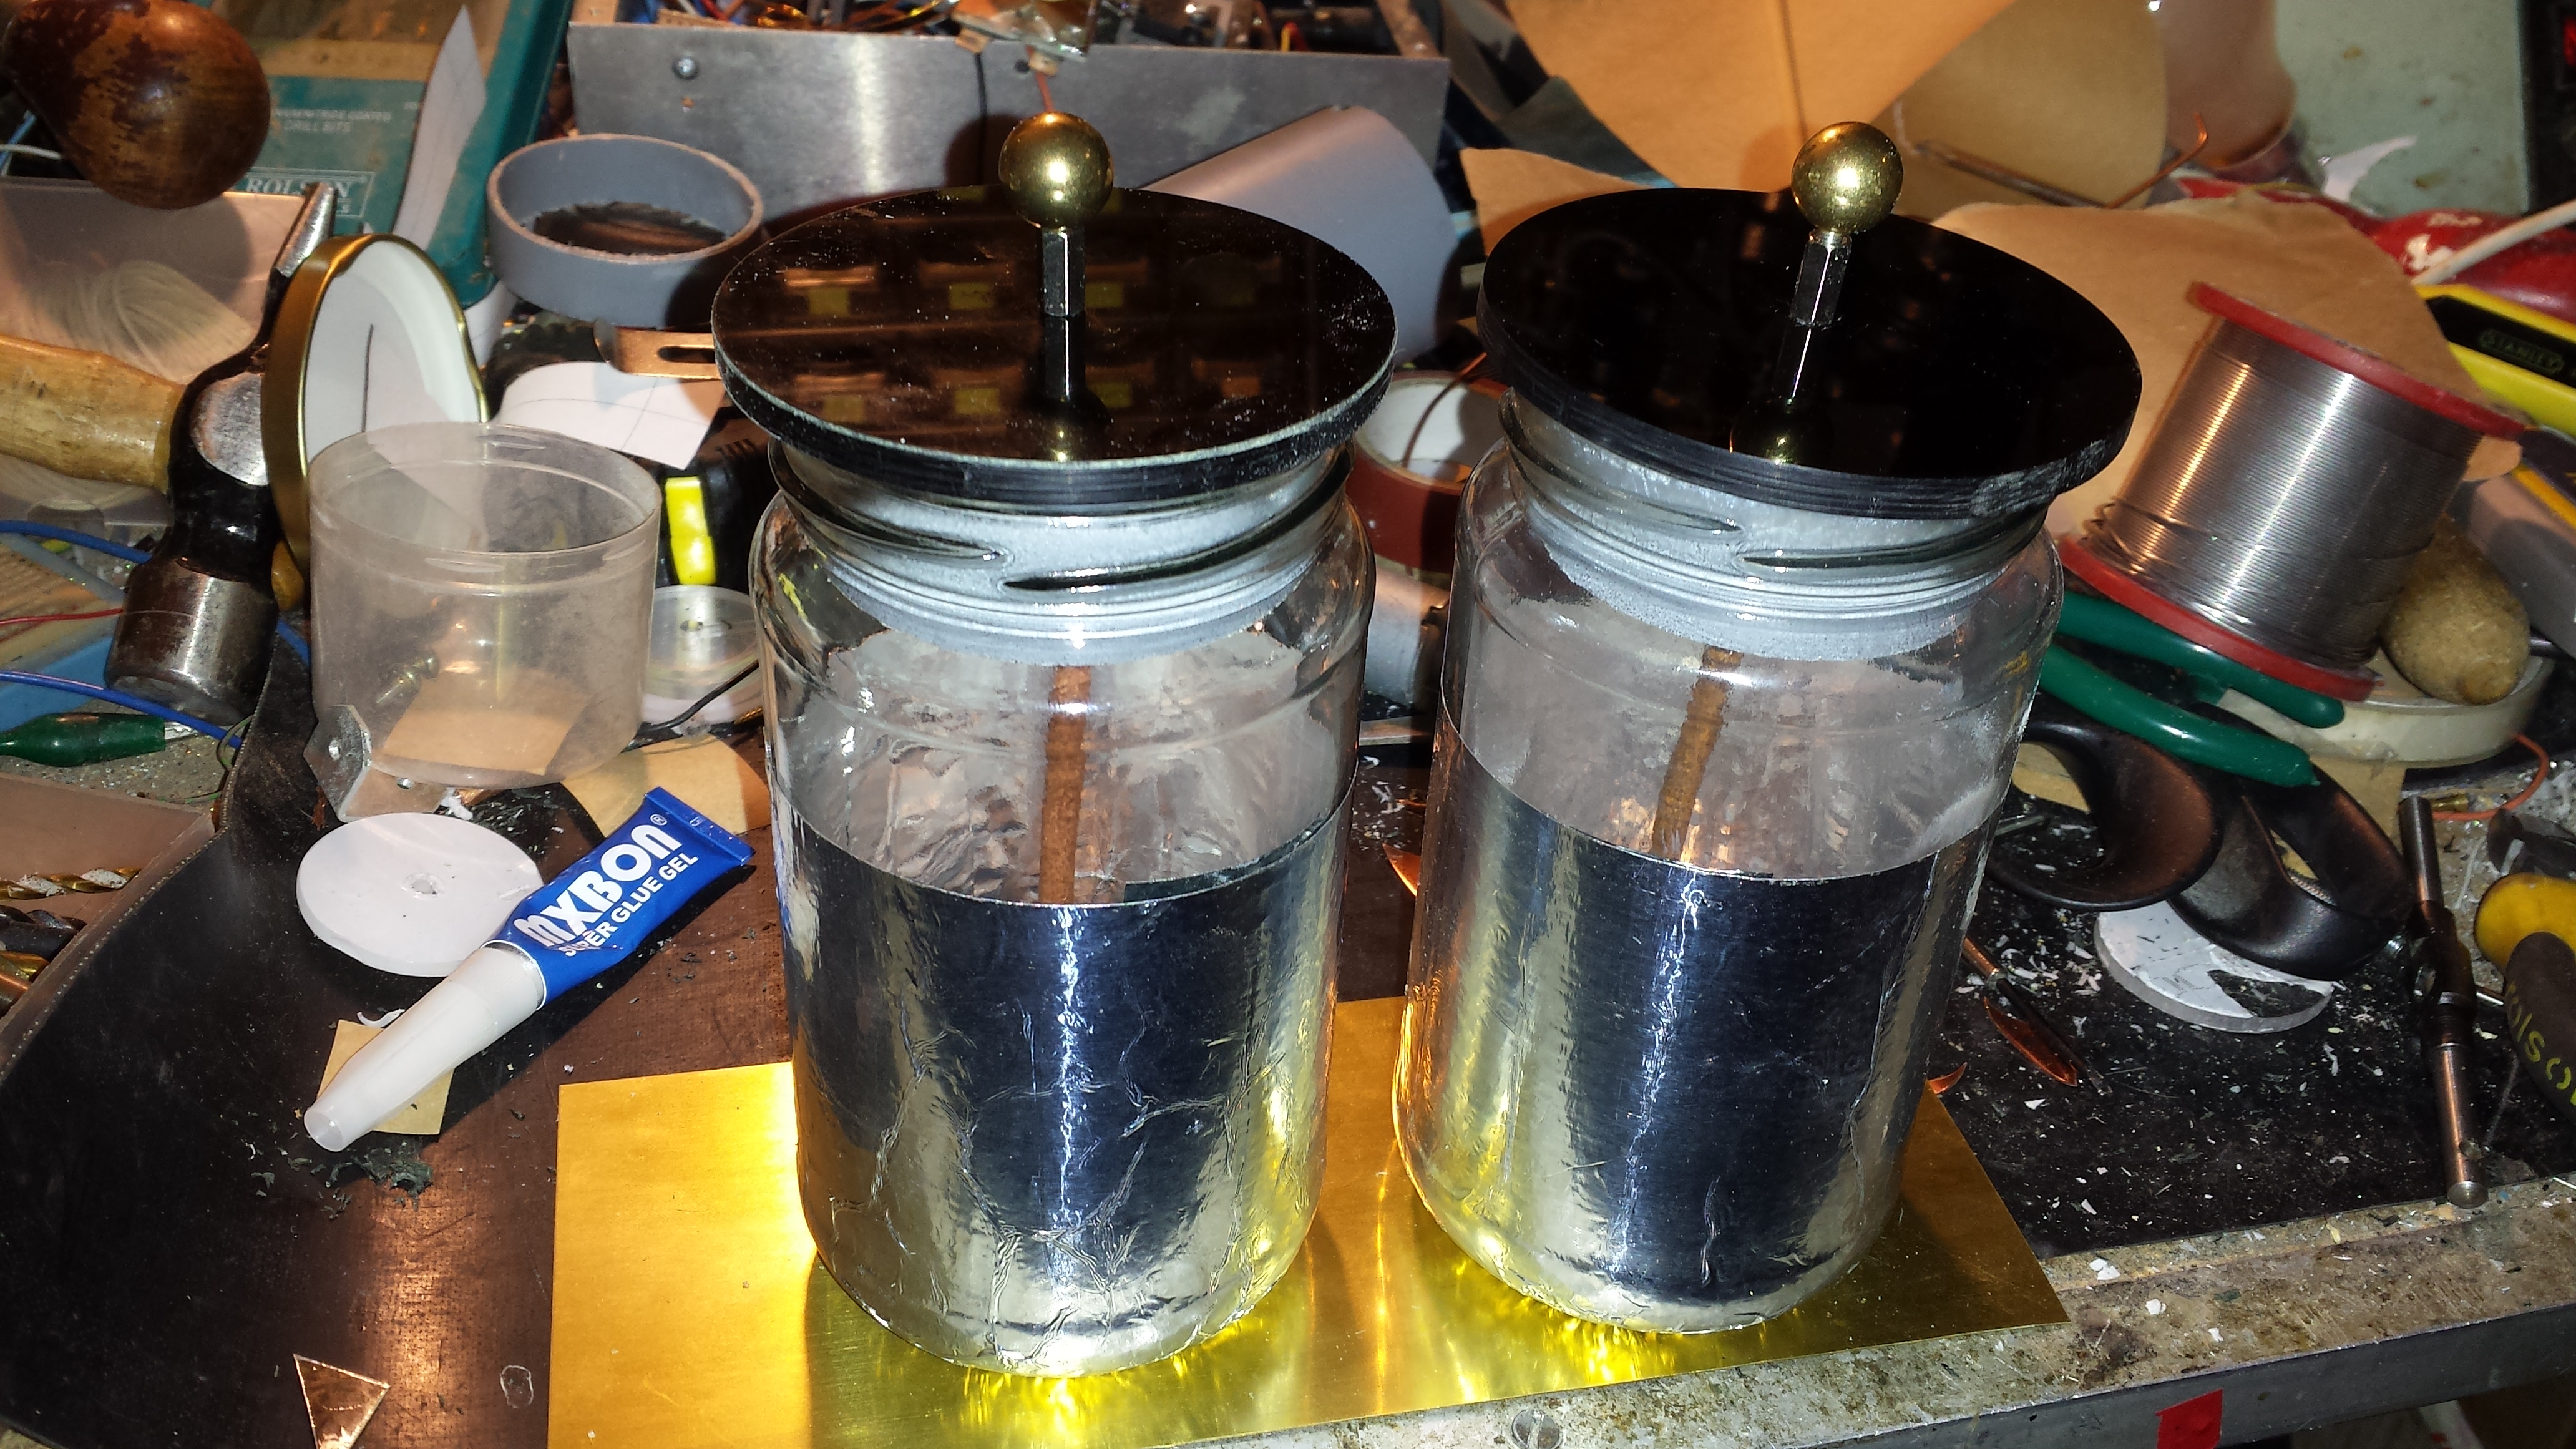
The finished jar. |
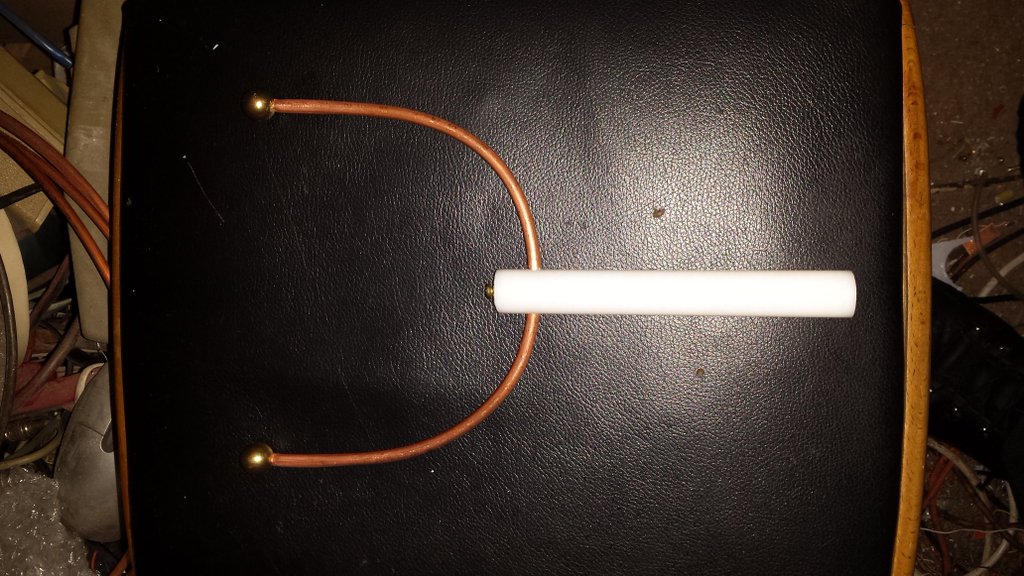 |
Using a spare piece of the 5mm copper brake tube and a couple of spare brass balls I made a discharge tool. The handle is made from a piece of nylon bar. Although these jars will not store enough charge to kill, they can pack nasty punch. Better to discharge the jar with an insulated tool. |
Extreme Electronics will not be held responsible for any electric shock, burn or injury. These experiments are done entirely at your own risk. Please read our safety instructions