Equipment
Two A5 sized thin pieces of glass.
Copper Wire.
Water.
Silicon bath sealant.
Black Card
Insulated wire
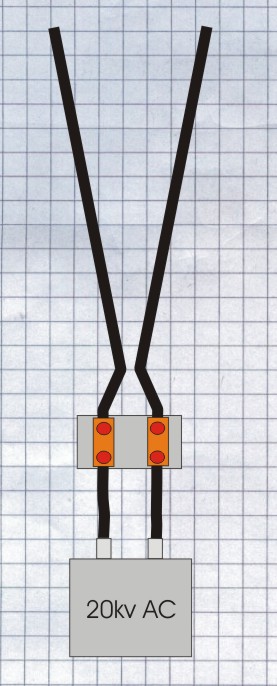
AC HV Generator
2 x peices of Wood 15mm square x 30mm
Coins, leaves or other object to photograph.
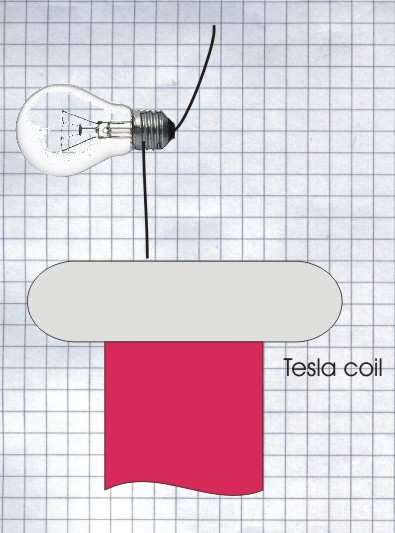
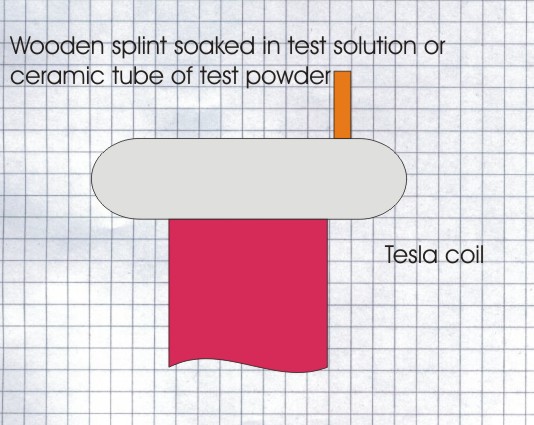
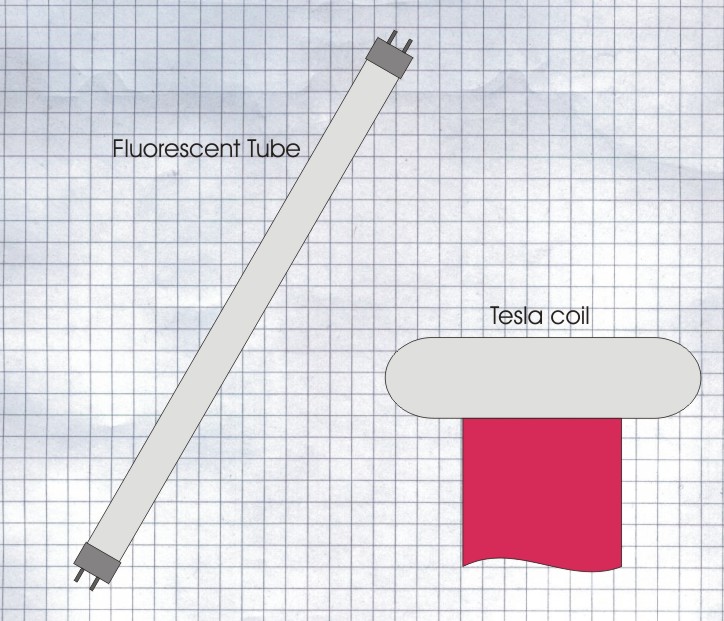
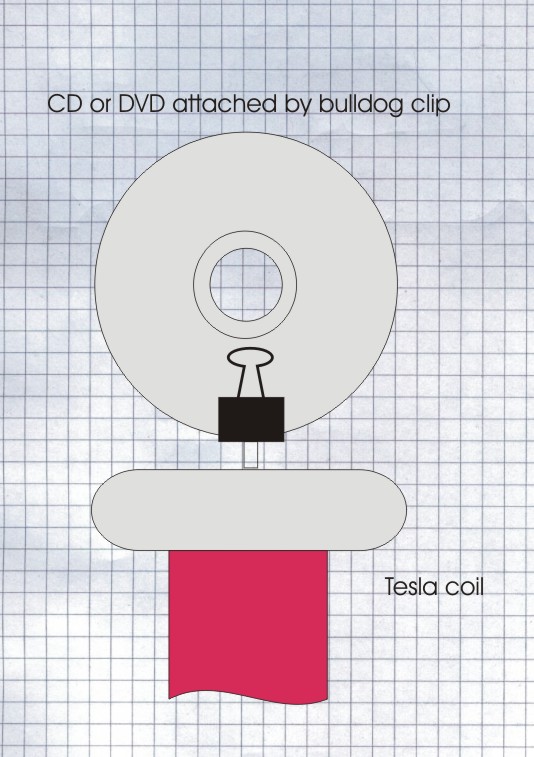
Diagram
Method
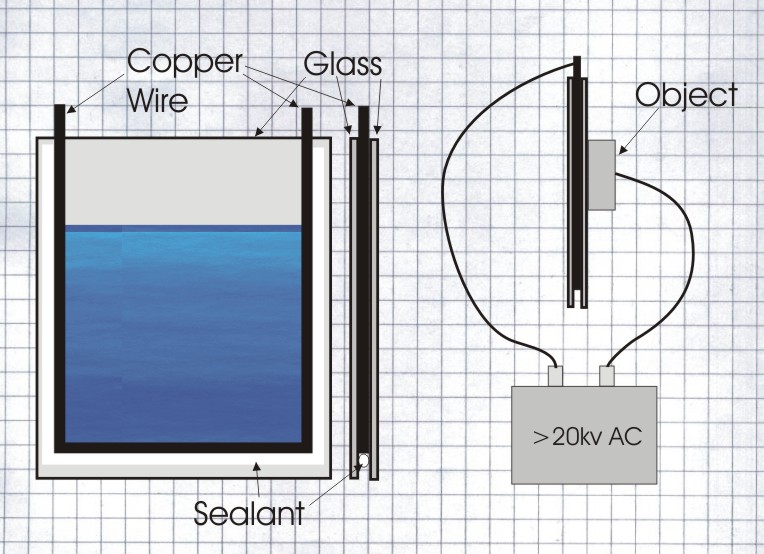
Bend the wire in to a ‘U’ shape slightly smaller than one of the sheets of glass. Lay the wire on top of the glass and add a bead of sealant around the outer edge. Apply the second piece of glass on top of the wire and ensure that the sealant has contacted both pieces of glass all the way around. Leave until the sealant has completely dried. This forms a water pocket with a copper strip all the way around.
Cut slots in the wood to allow the glass pocket to stand upright. Fill the pocket with water.
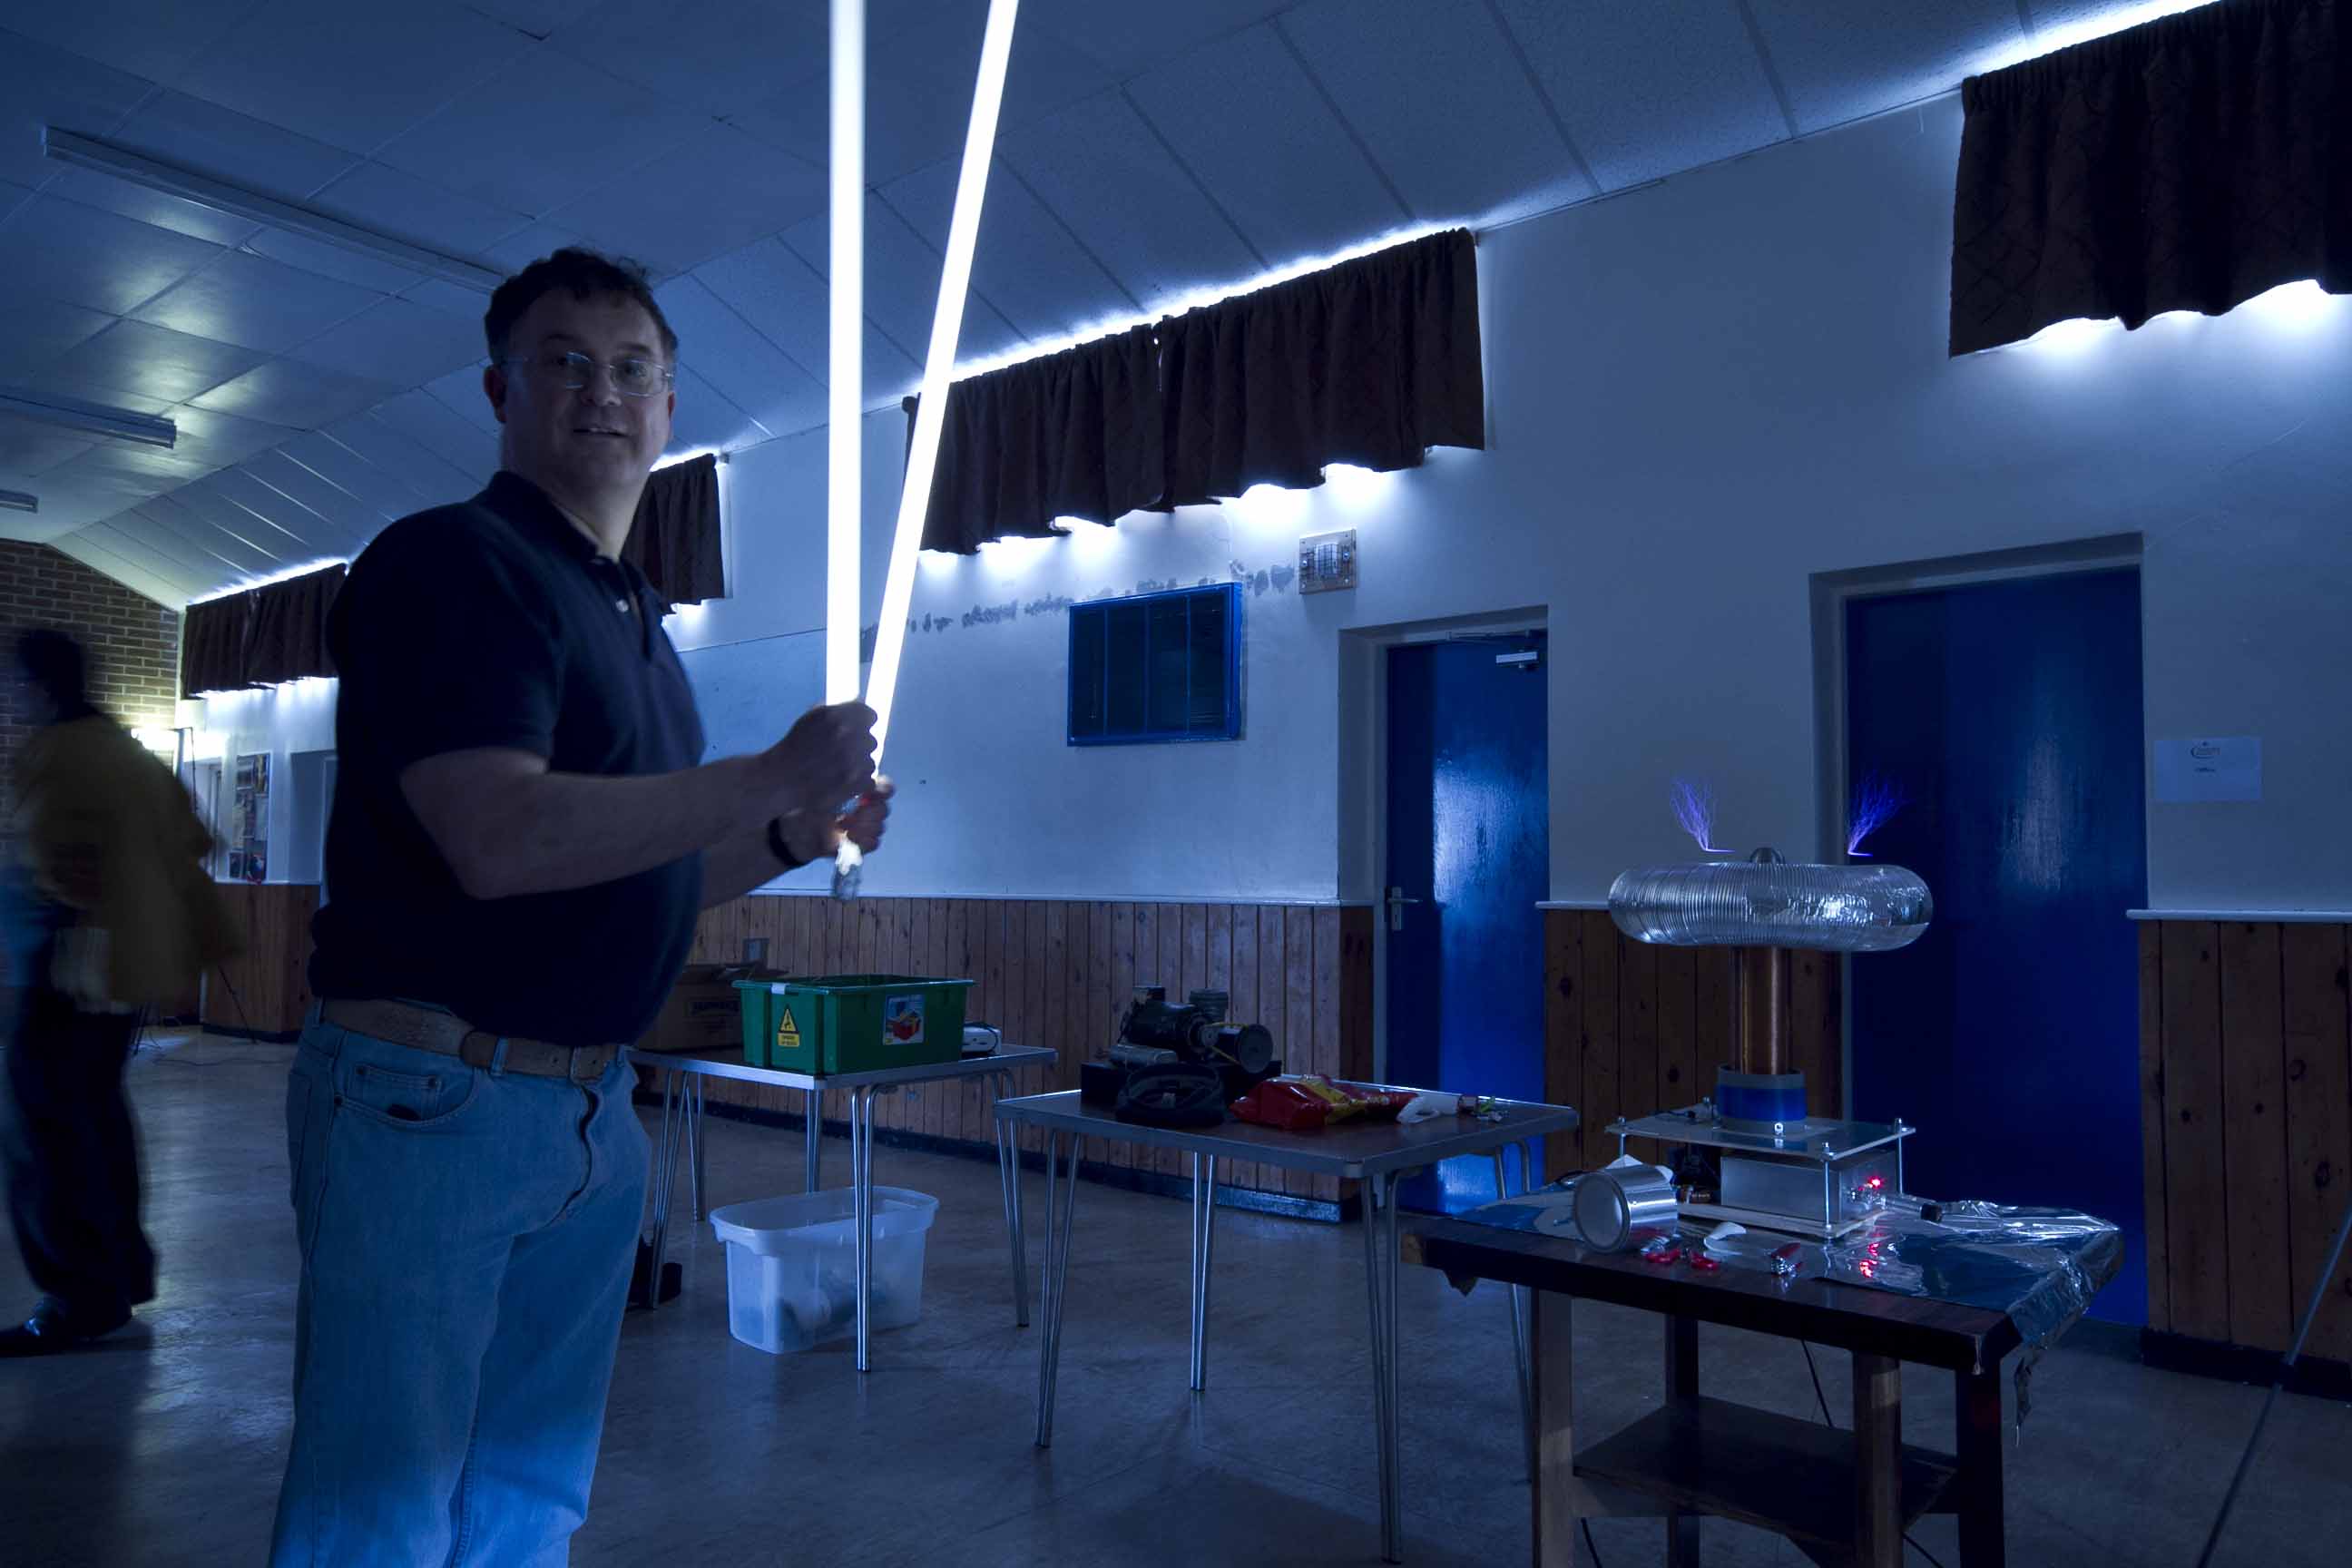
Place an object on the back of the glass pocket and apply power from the HV source.
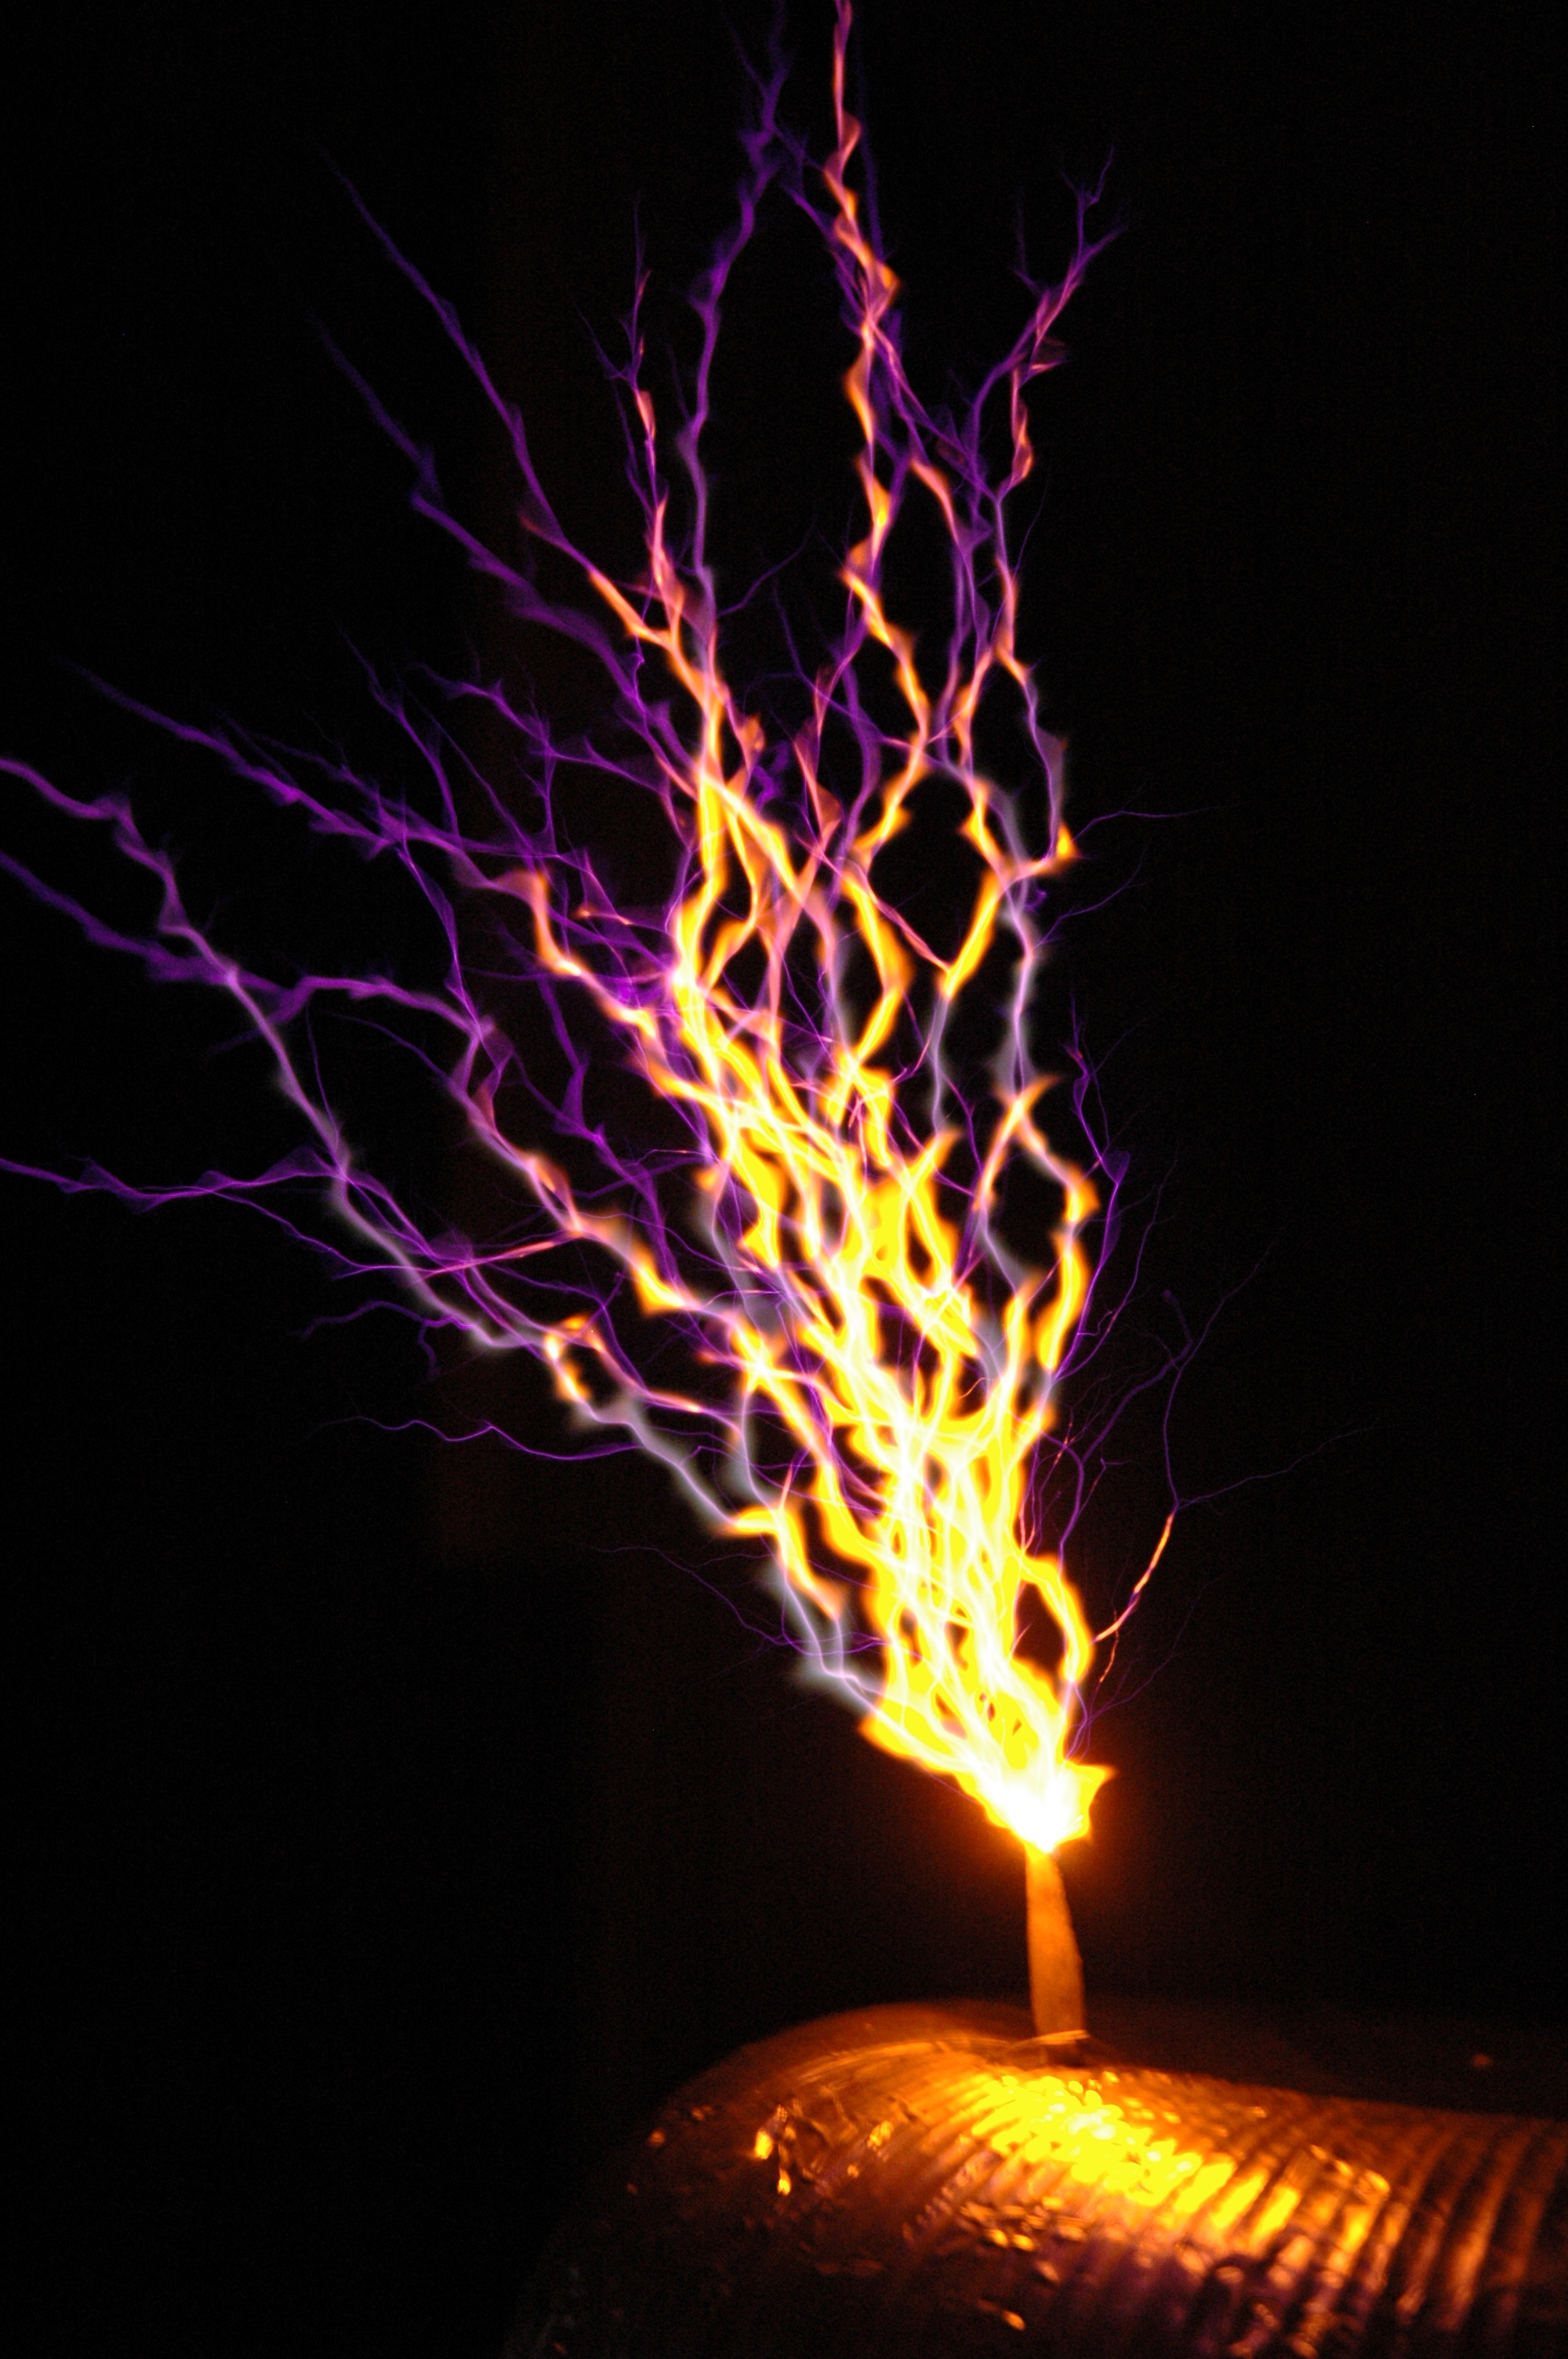
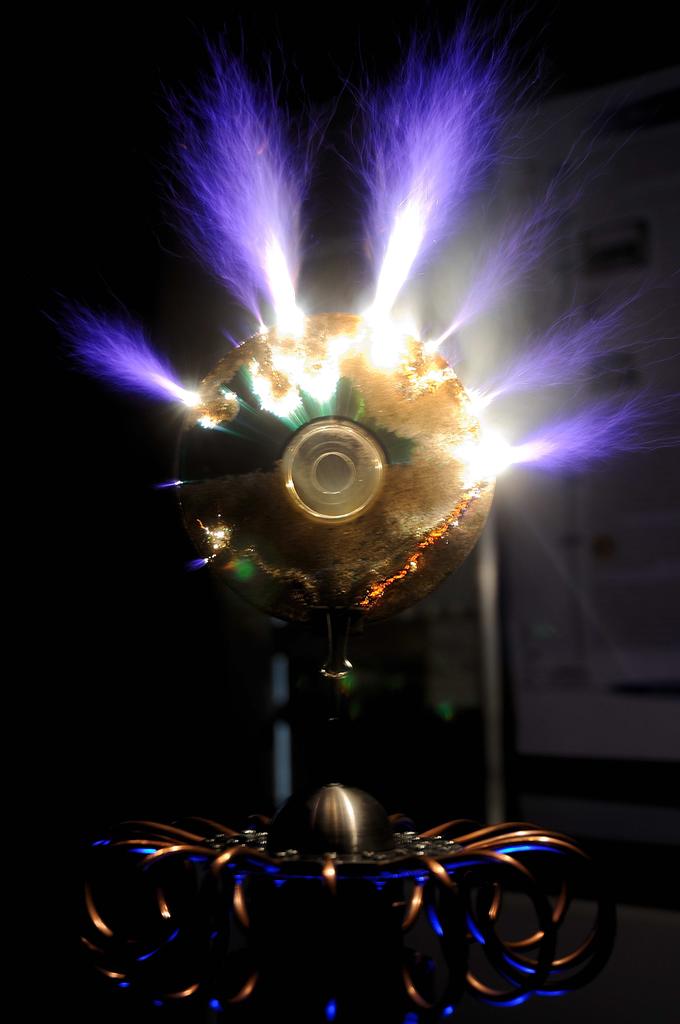
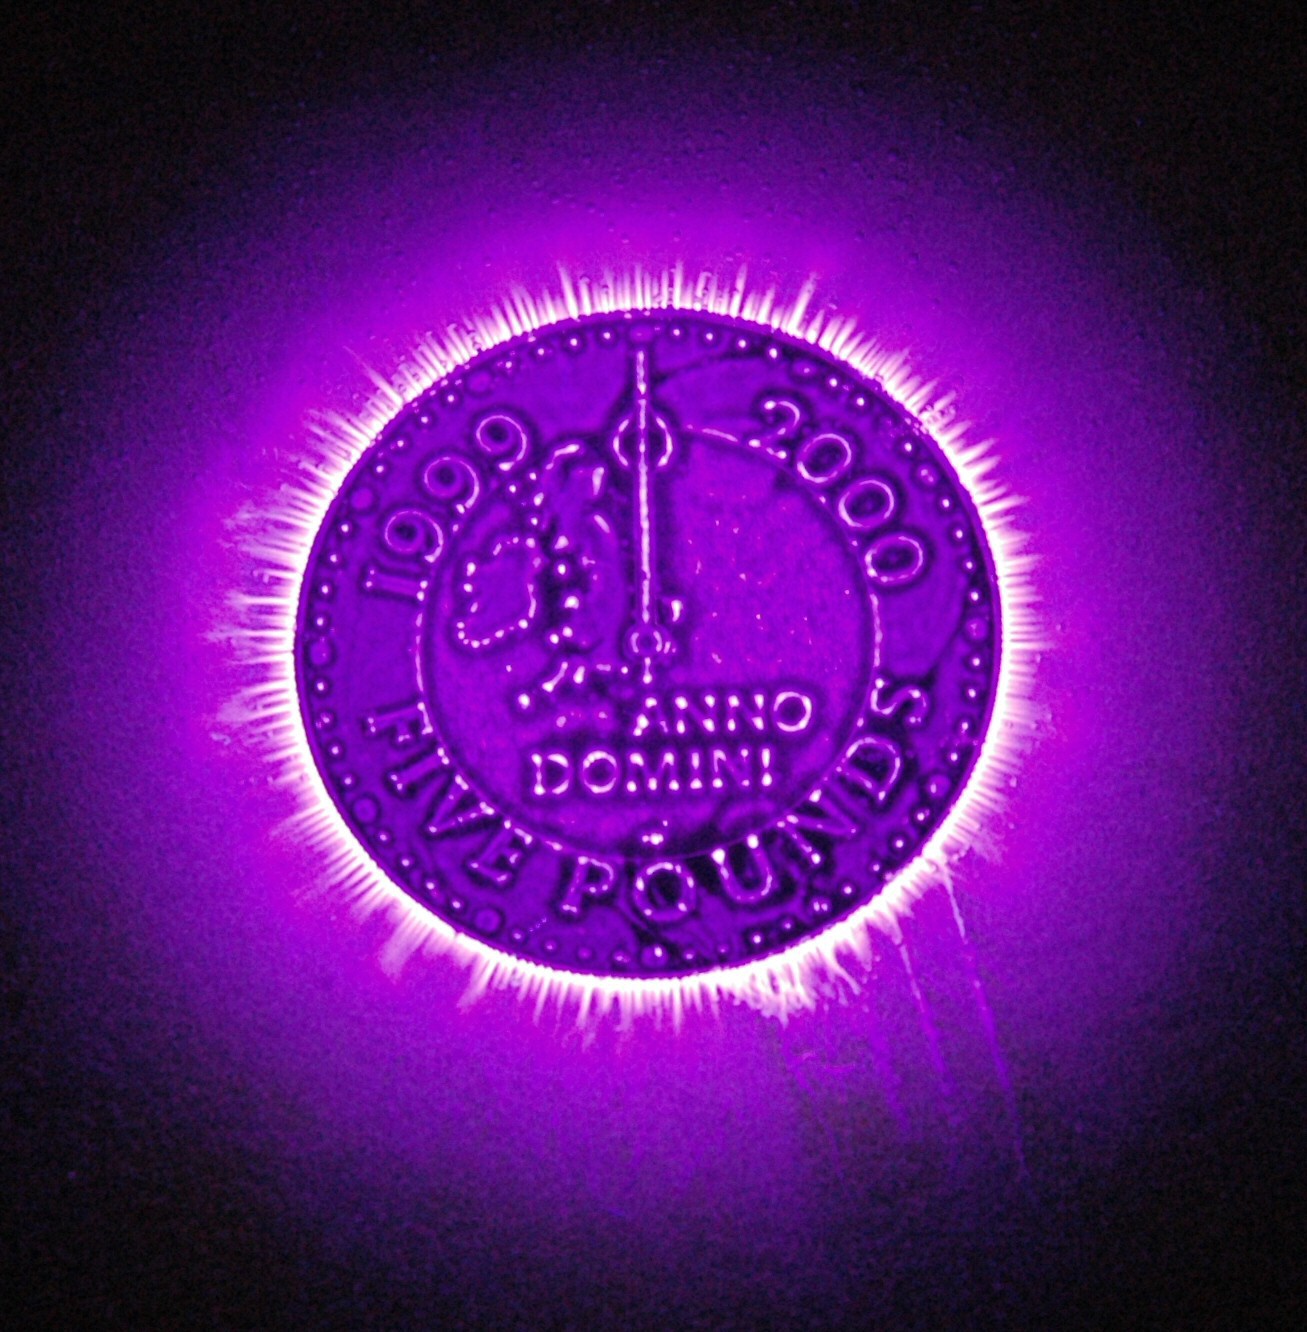
A visible corona should be visible around the object from the front of the camera. Different objects create different patterns.
Results

More at Extreme Electronics – Kirlian Camera