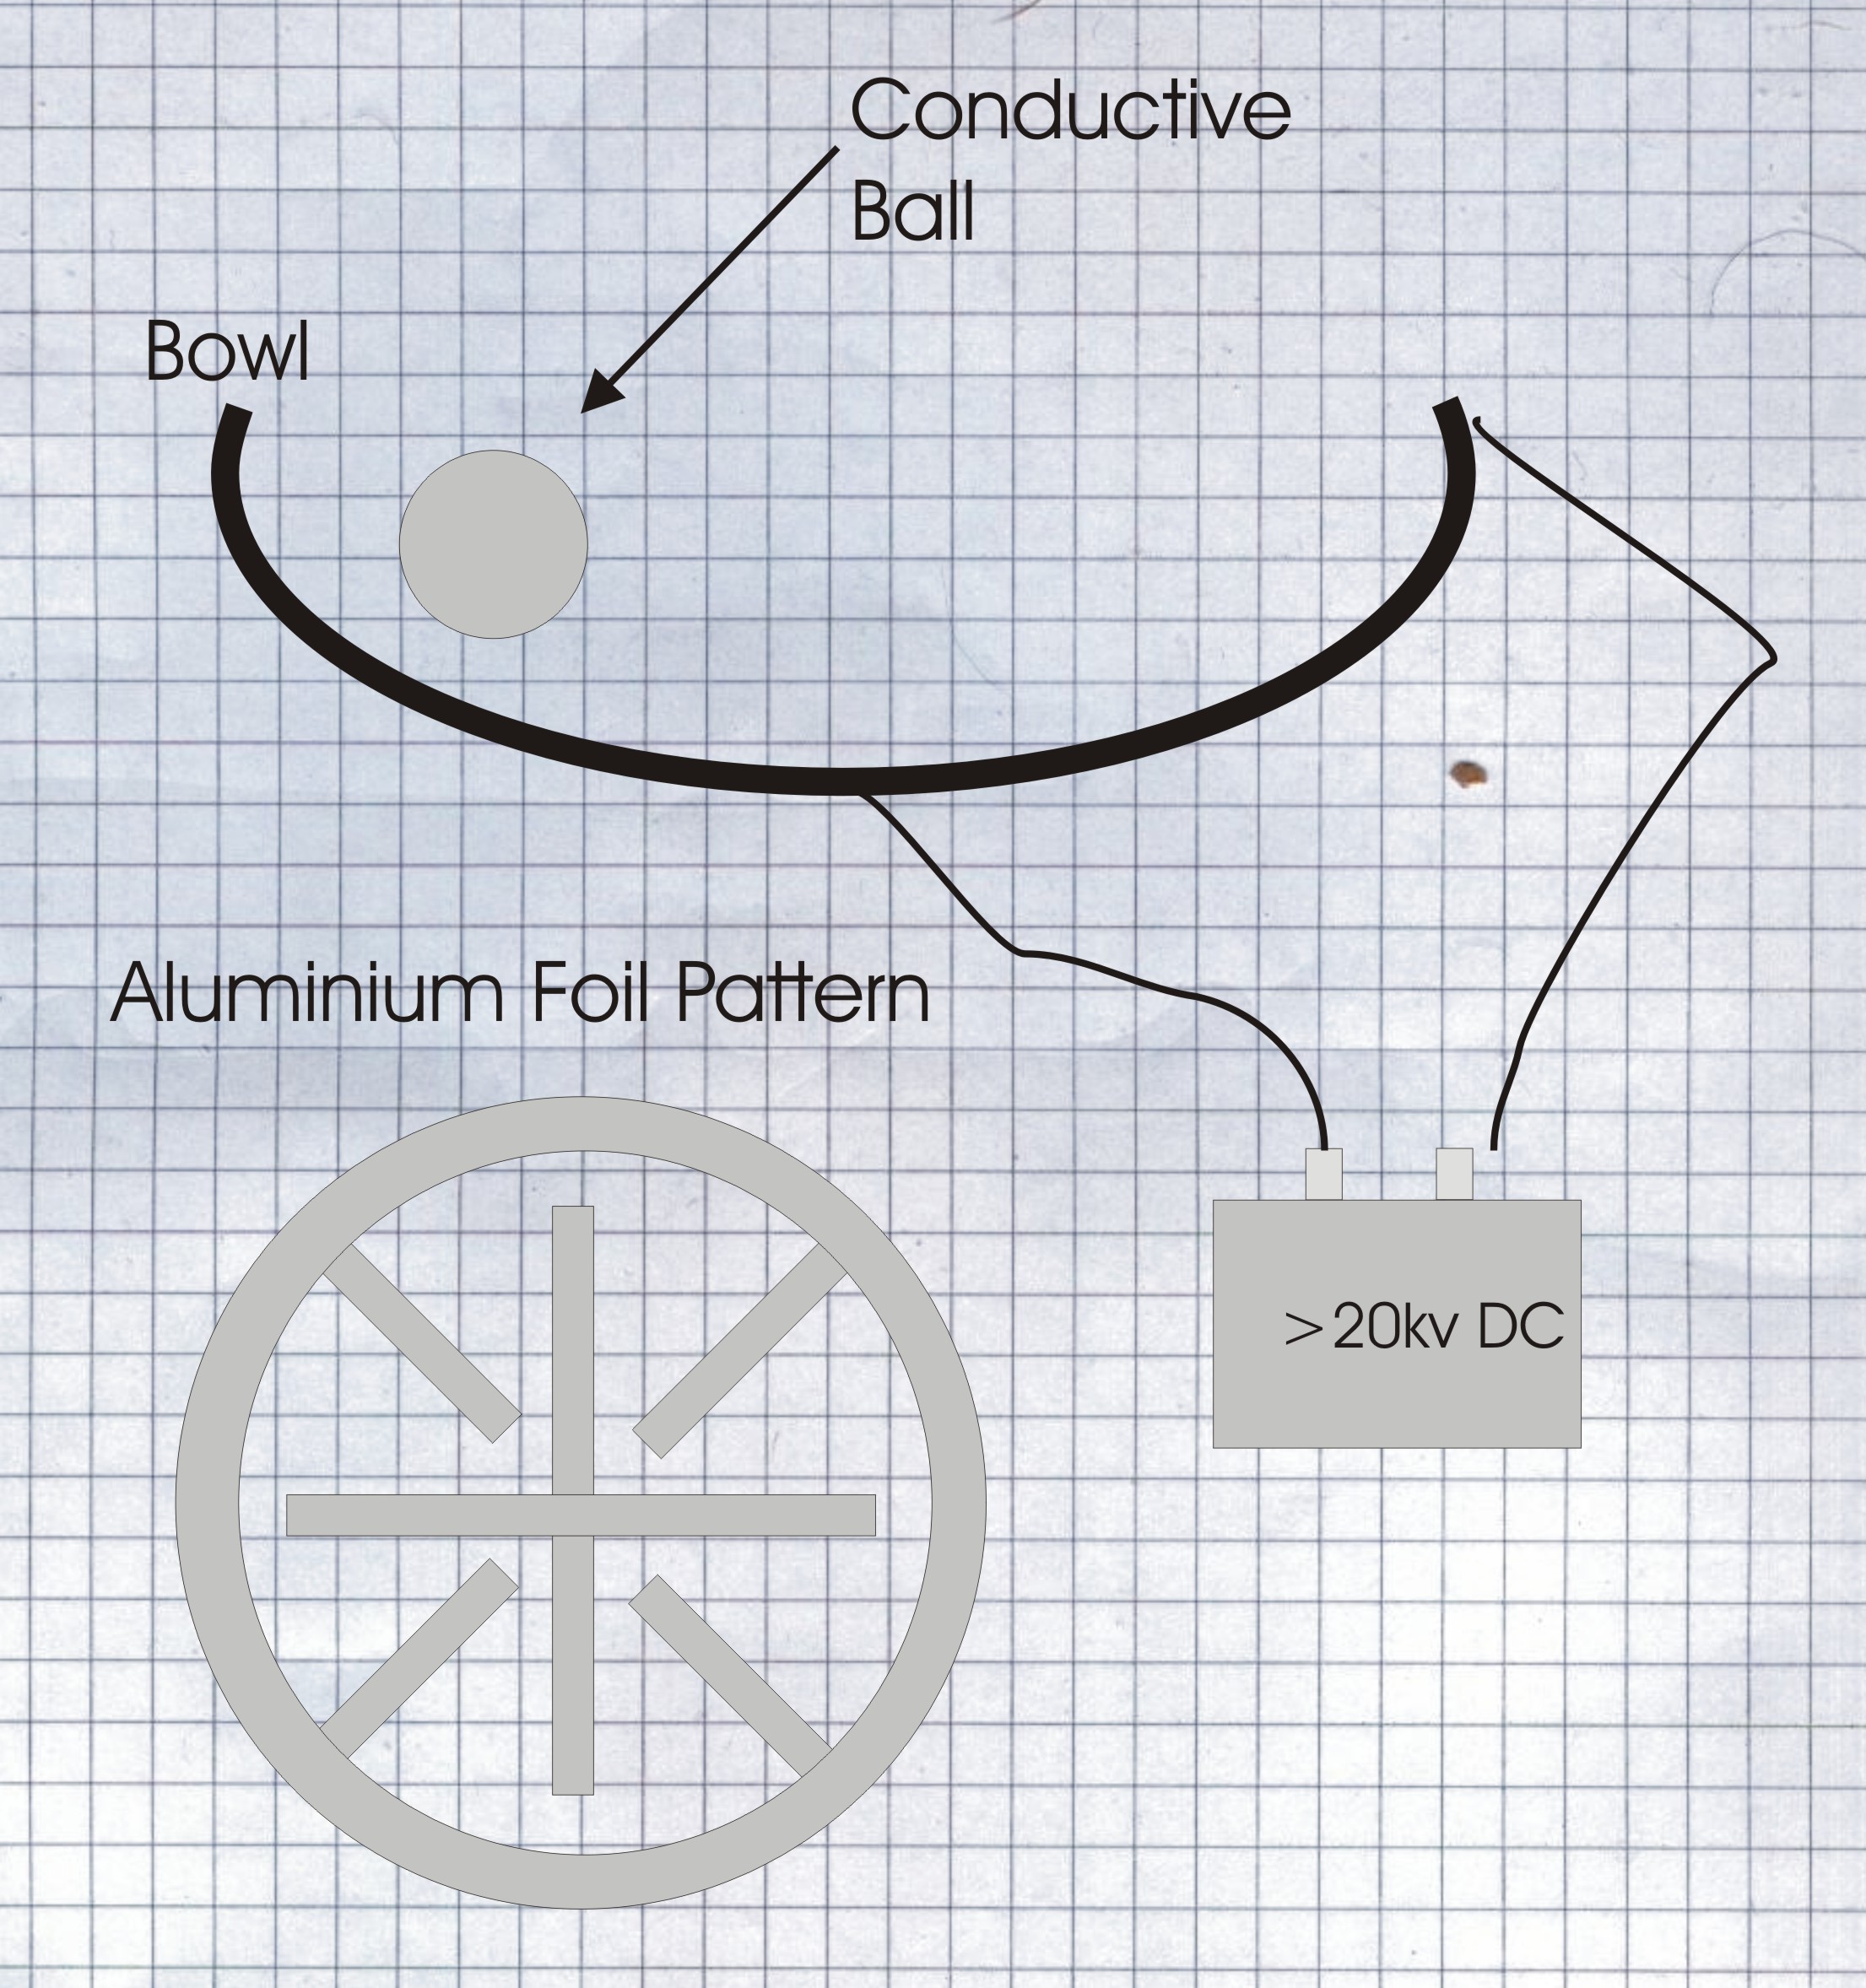
Equipment
1 x Hv DC supply 15-30kv
1 x large plastic mixing bowl
1 x pin pong ball made conductive
Aluminum tape
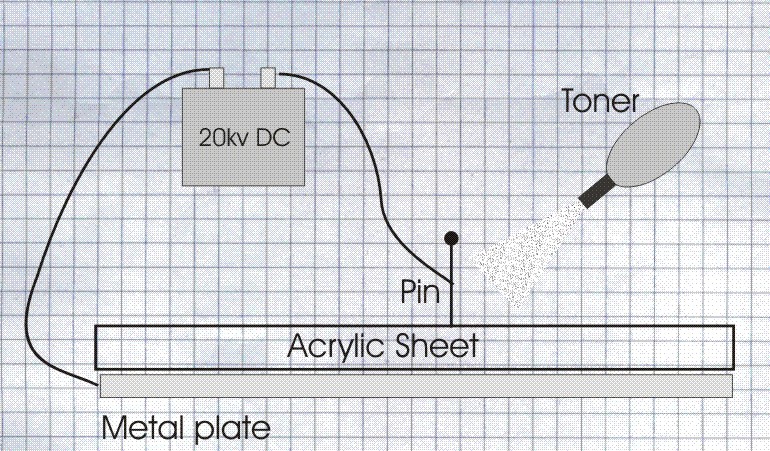
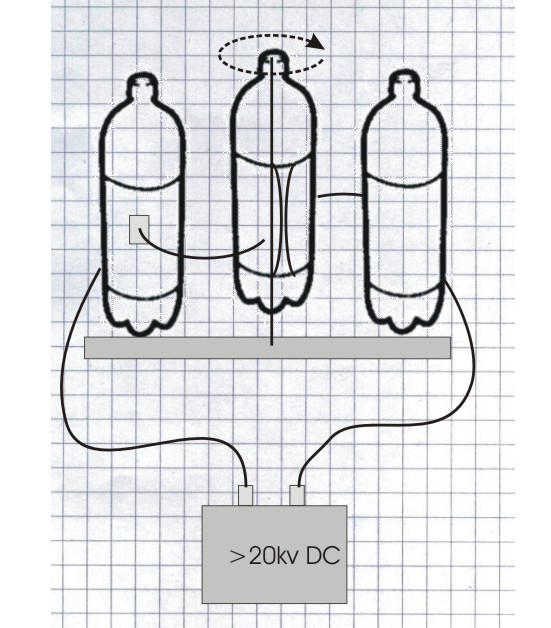
Diagram
Method
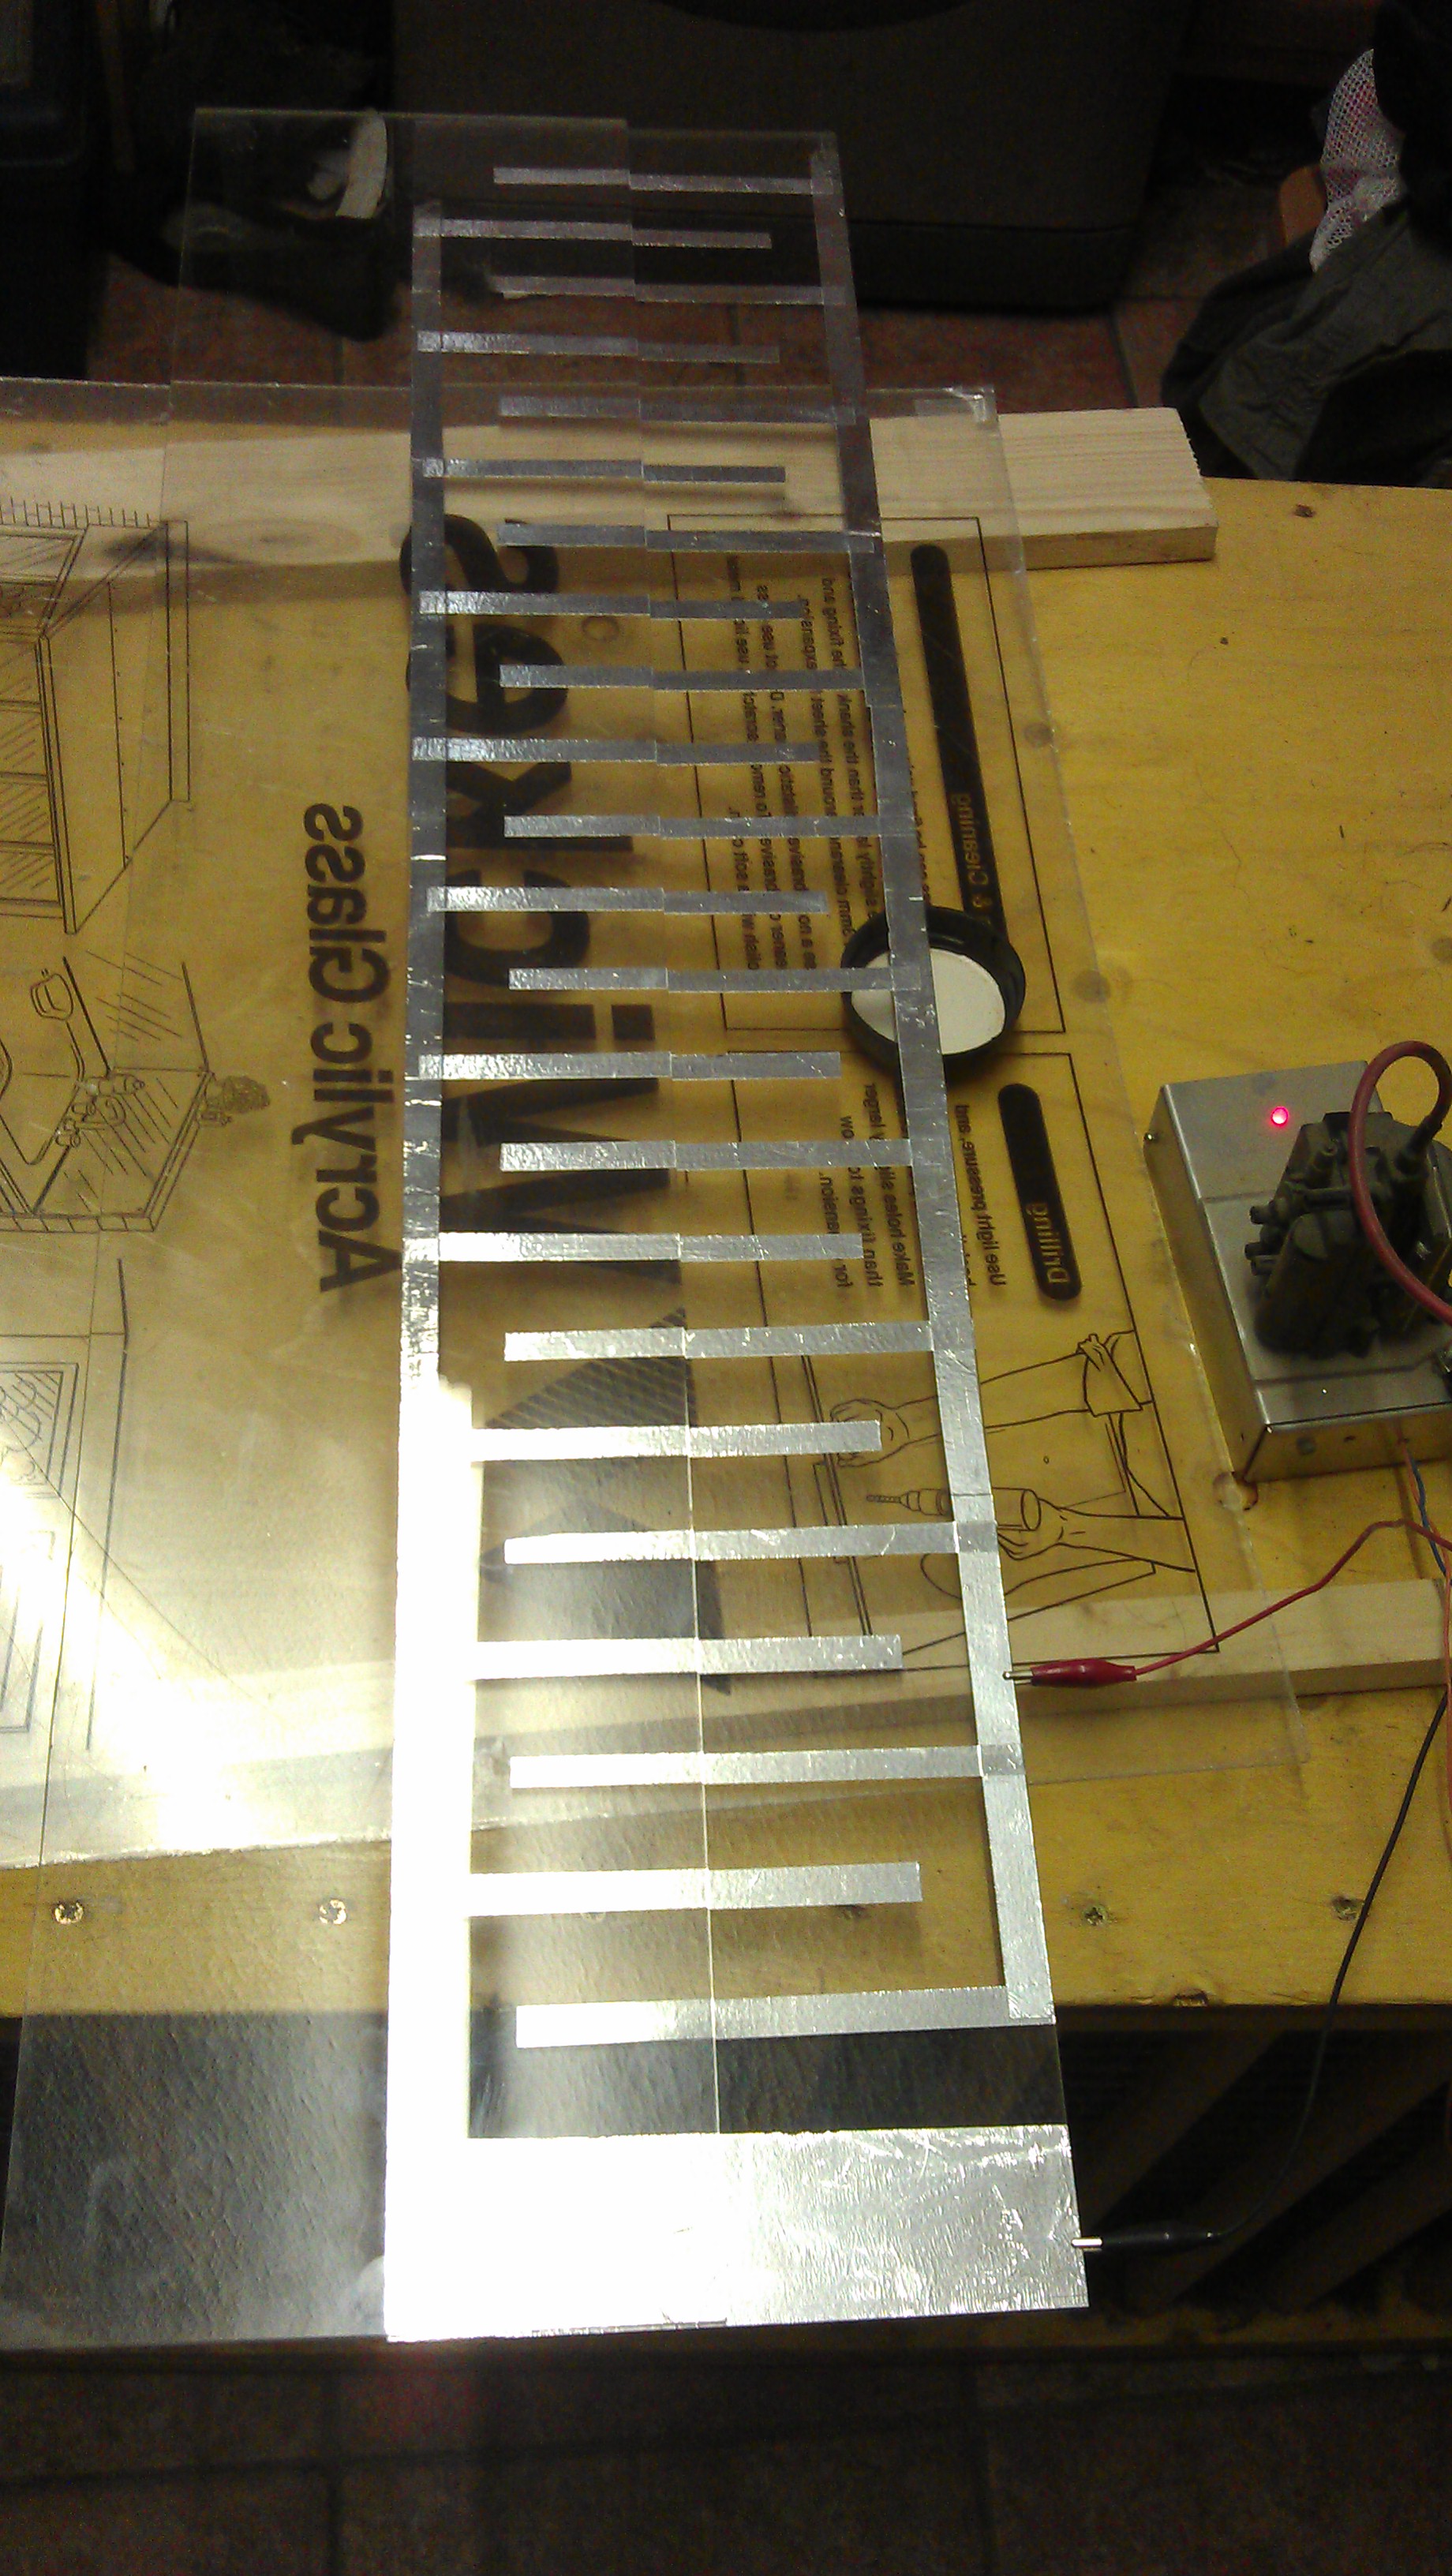
Take the bowl and clean thoroughly. Using the Aluminum tape create the pattern on the inside of the bowl shown above. Try with the supply an ensure that there are no arc overs. If so trim some tape off the offending areas. Ensure that the top of the pattern comes to the top of the bowl. pierce a hole in the middle, bottom of the bowl and stick a wire through the home to the HV side of the supply, use a piece of tape to attach the wire firmly. Connect the top edge of the bowl with another piece of tape an connect this to the other terminal of the supply.
Create a conductive ping pong ball. (details here Conductive Balls for HV experiments )
With the supply off, throw the ping pong ball into bowl so it runs around the bottom of the bowl. Turn on the supply. The ball should accelerate and maintain a healthy velocity around the bowl.
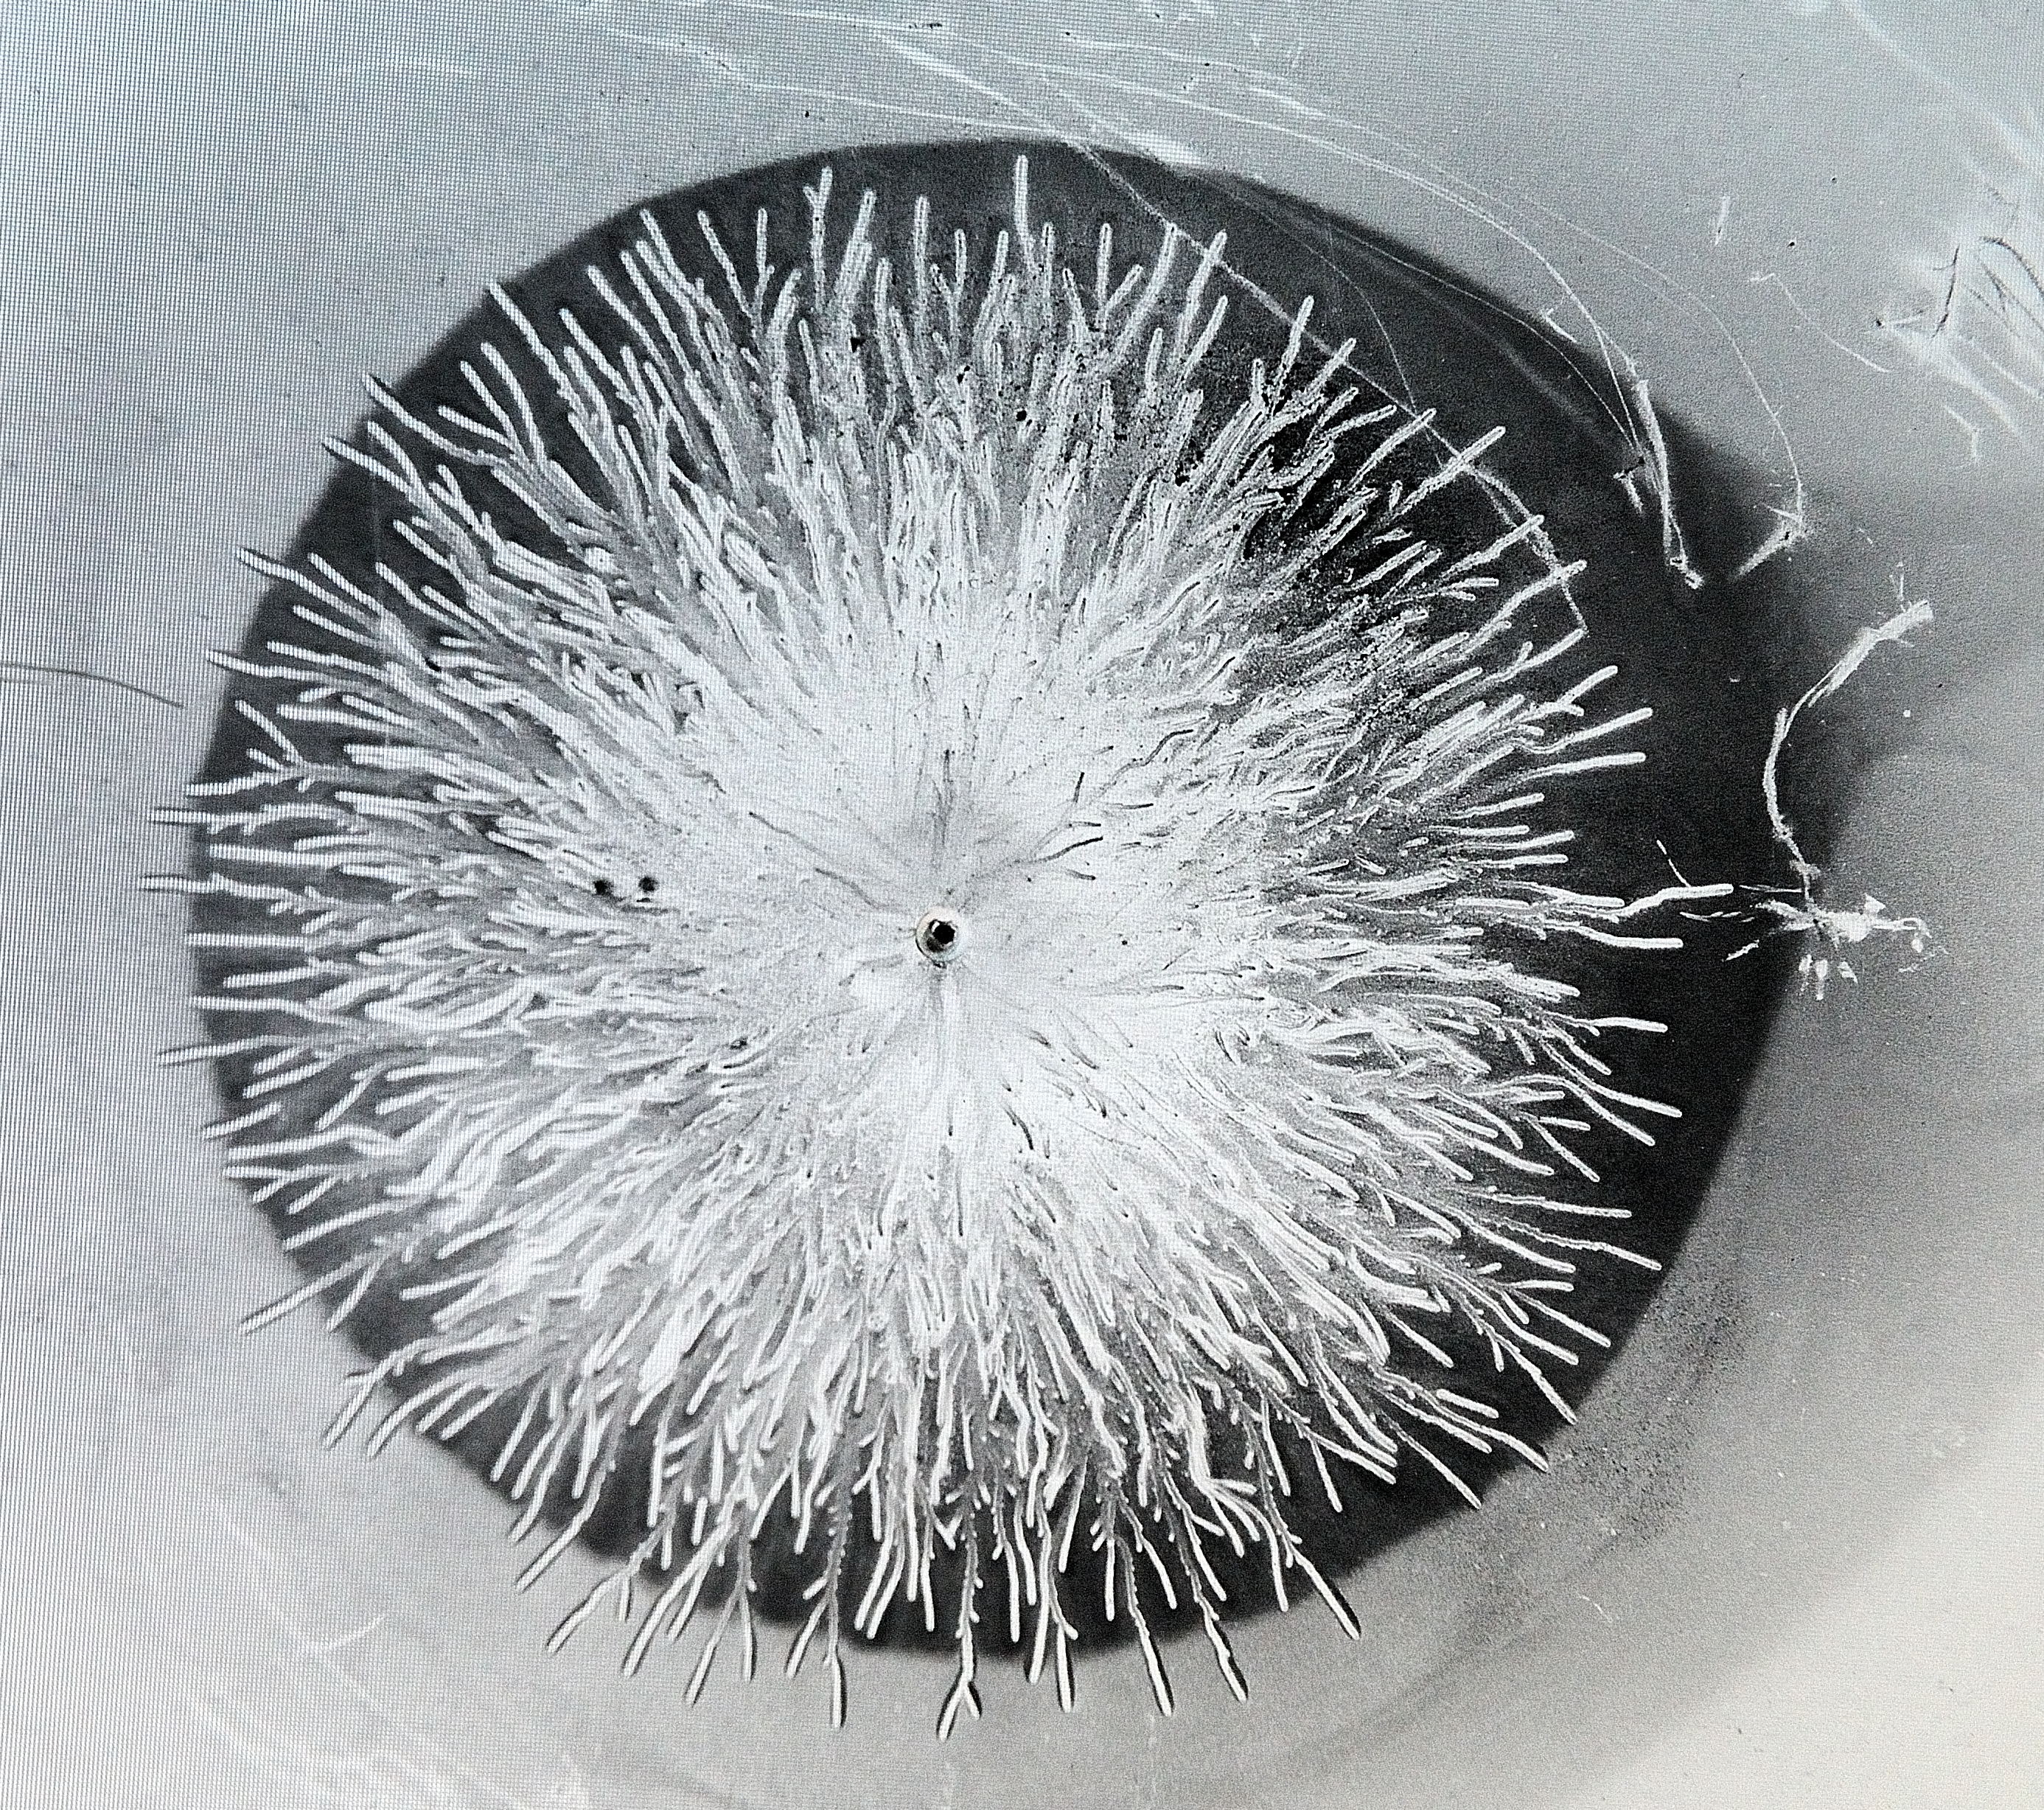
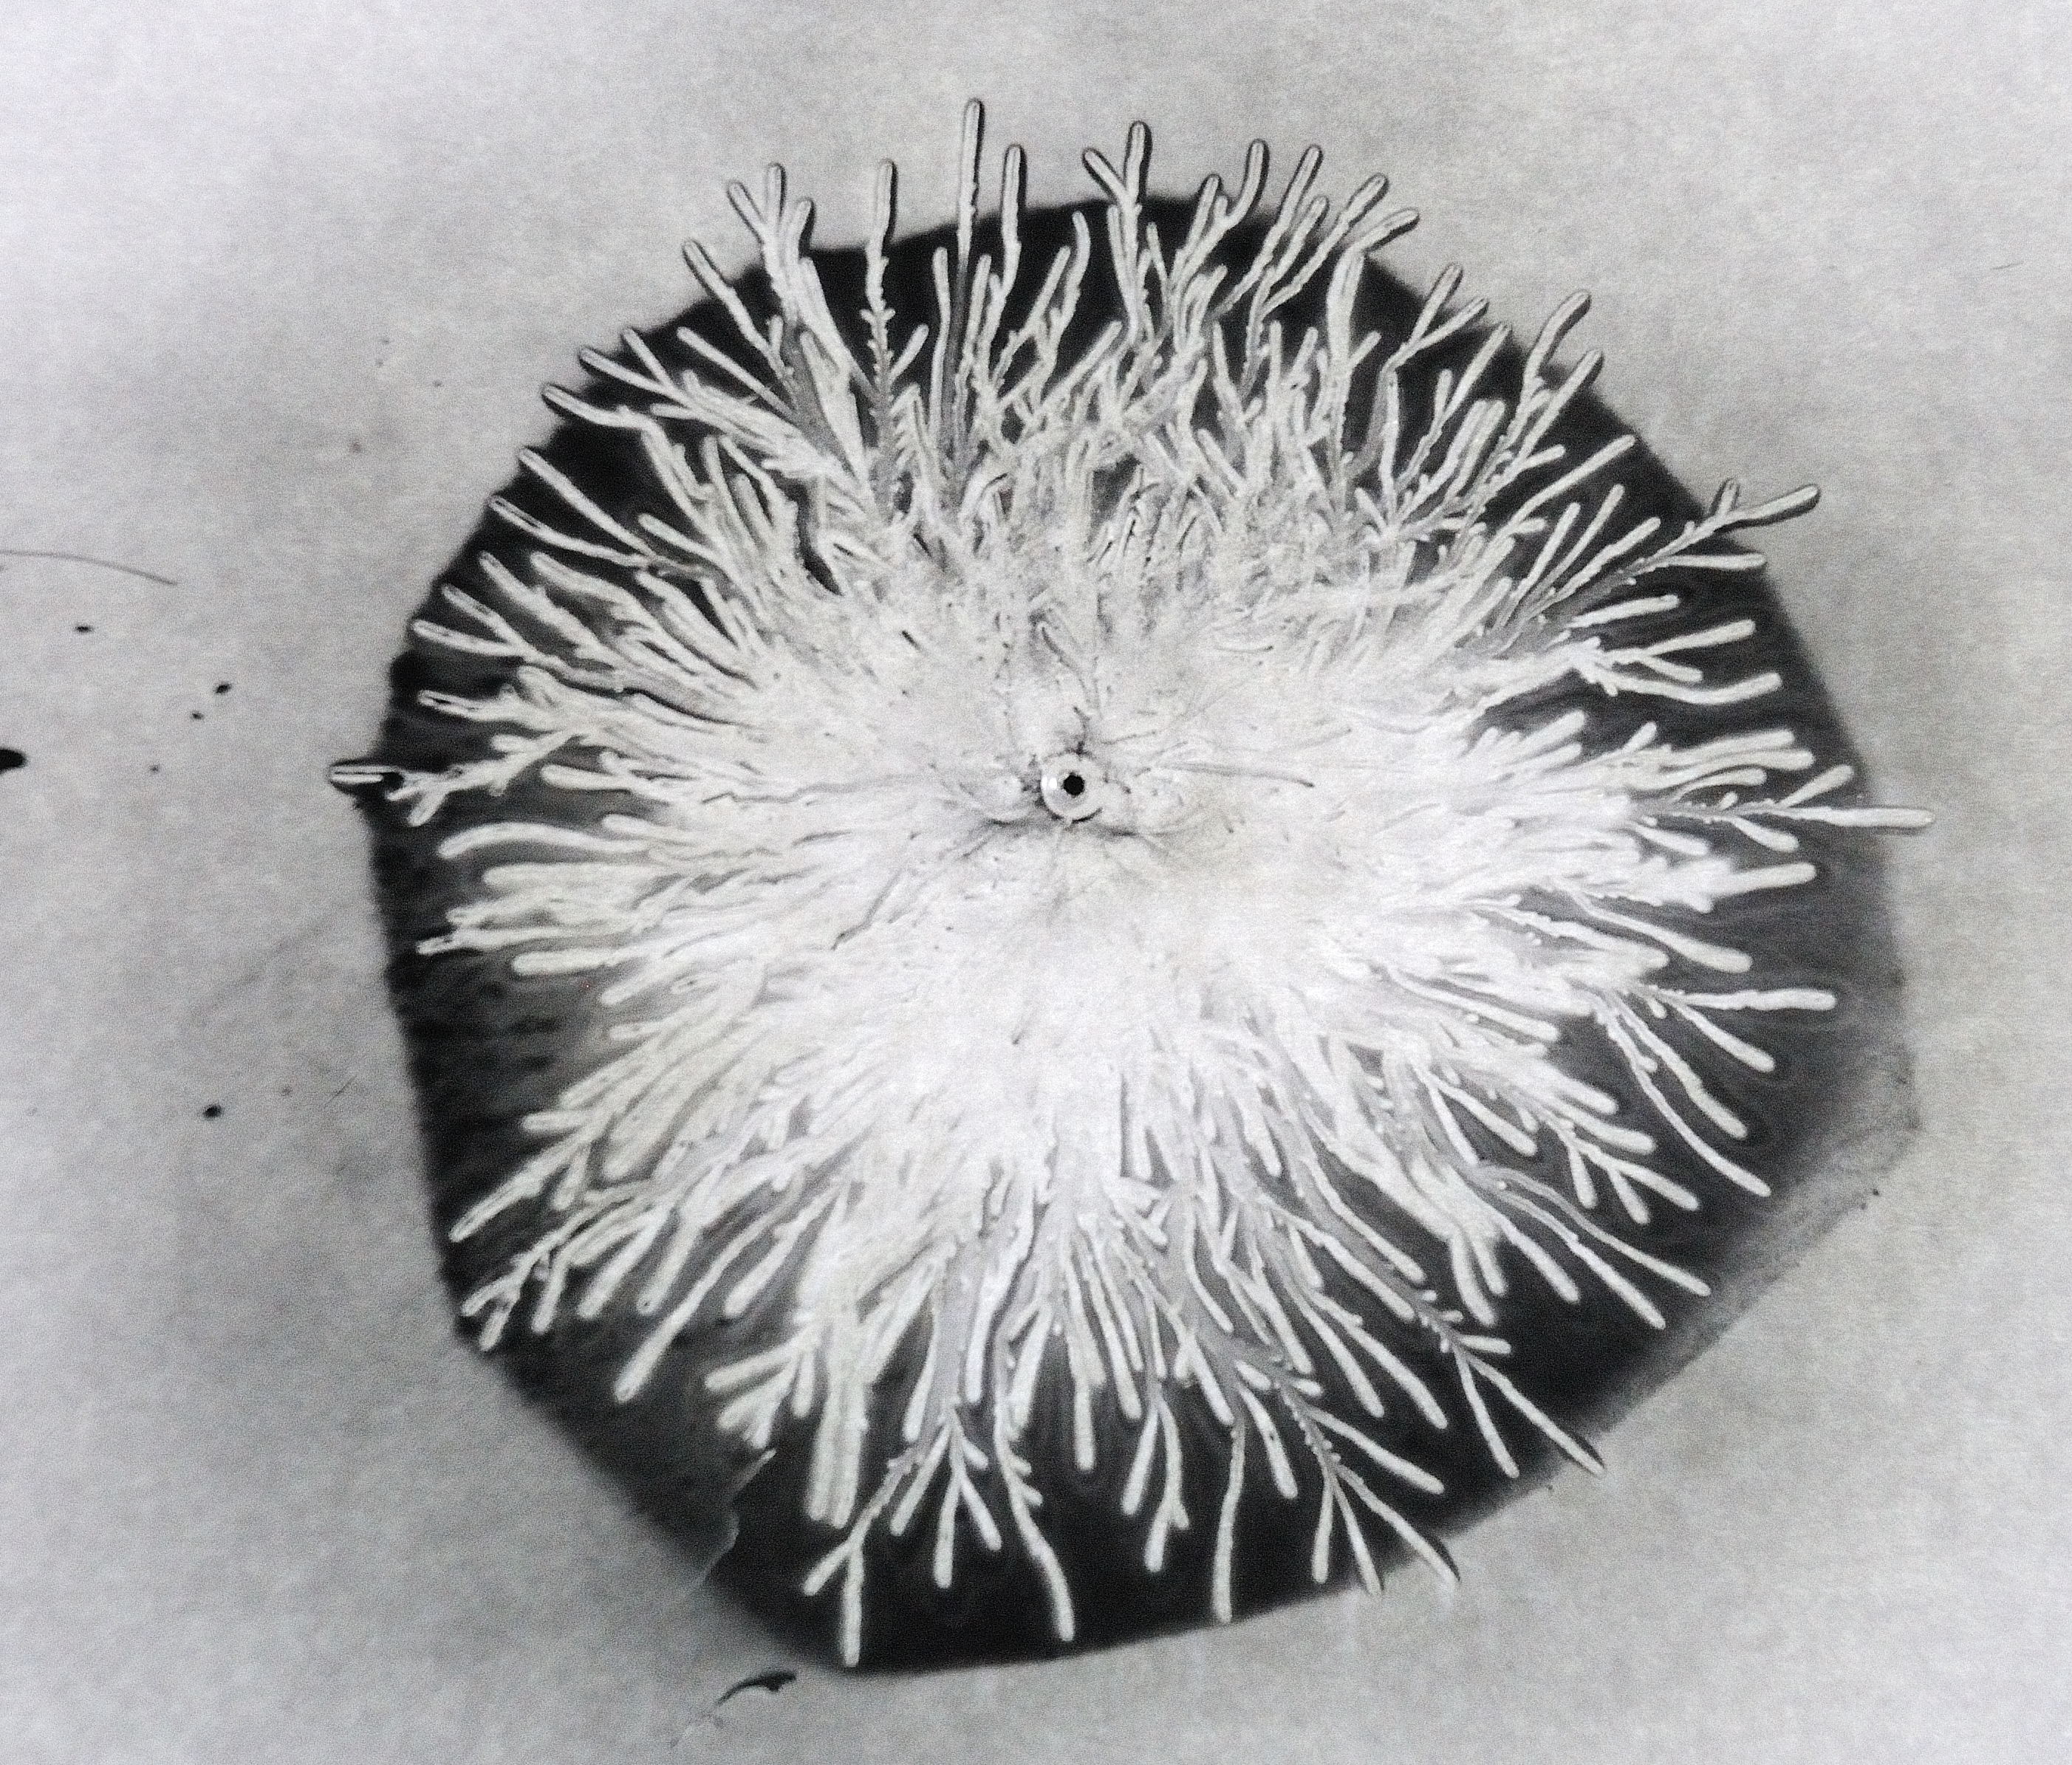
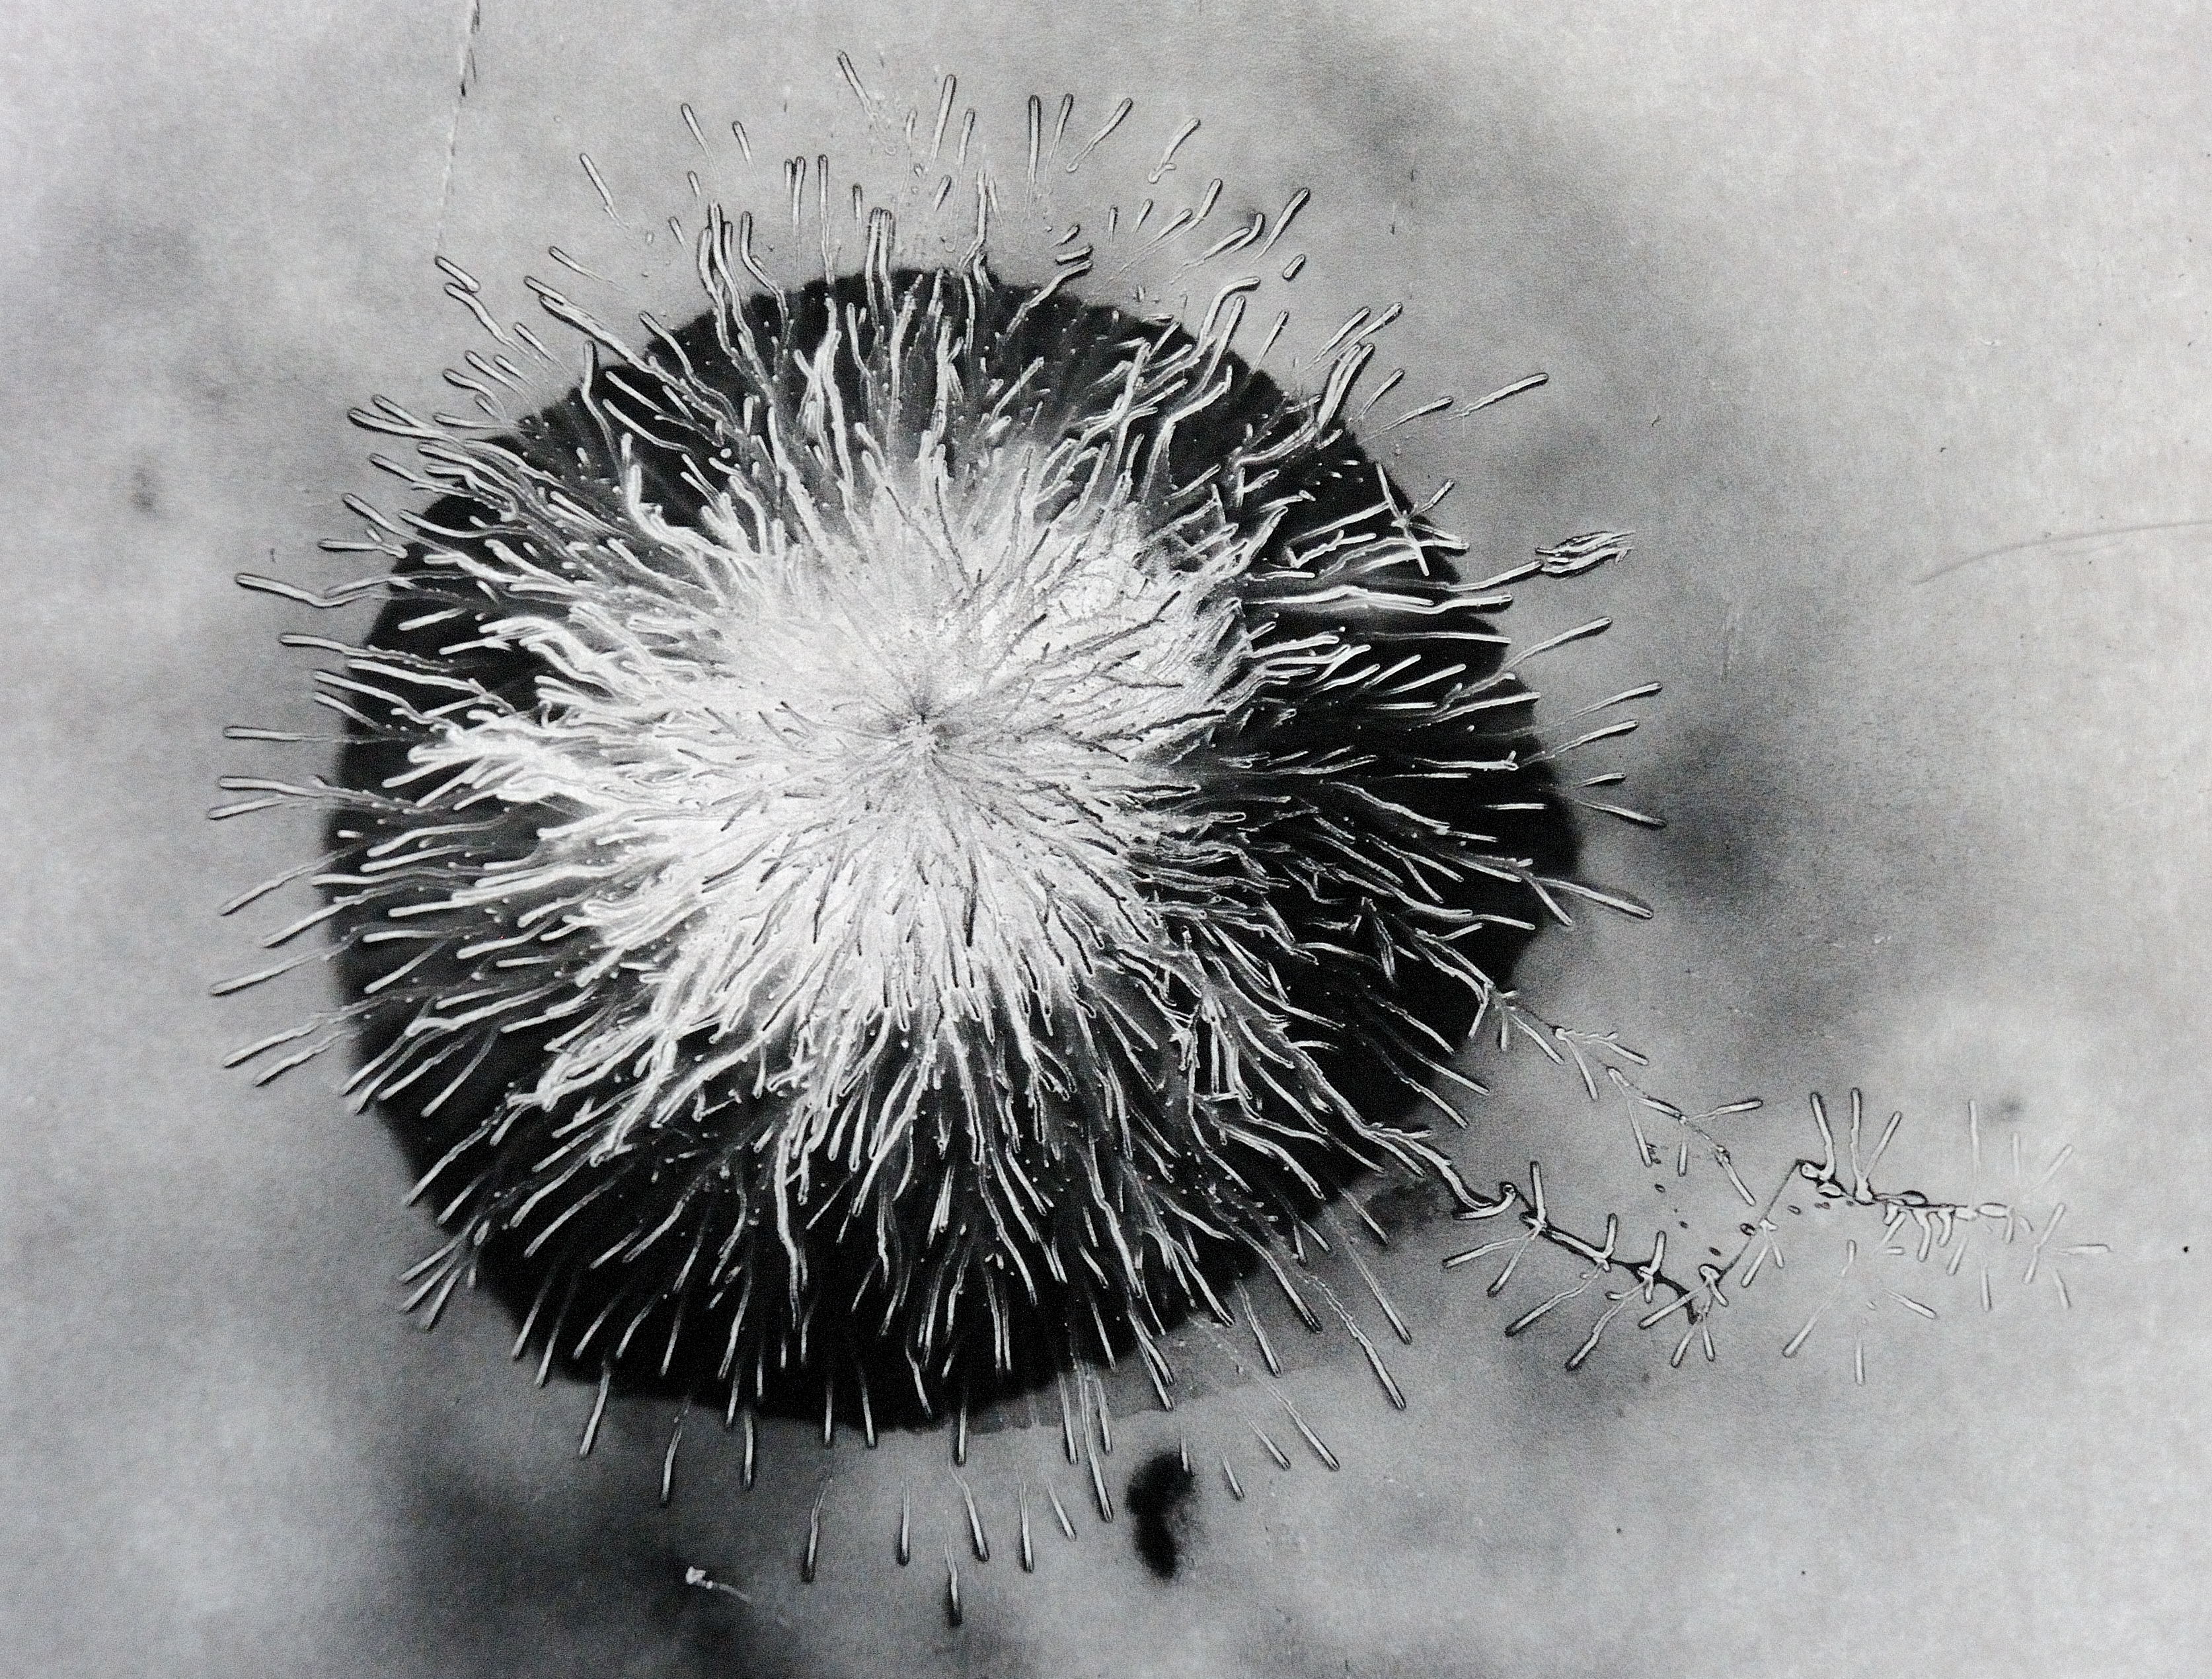
Results