 |
Kirlian
Camera I needed a high frequency HV source, After trying
Kirlian photography using a flyback transformer a while ago I realised
that a modern flyback has rectifiers built in and getting a strong HF
AC output would be dificault unless I could find an old transformer only
flyback. So after a bit of tought I went for an ignition coil
source.
|
 |
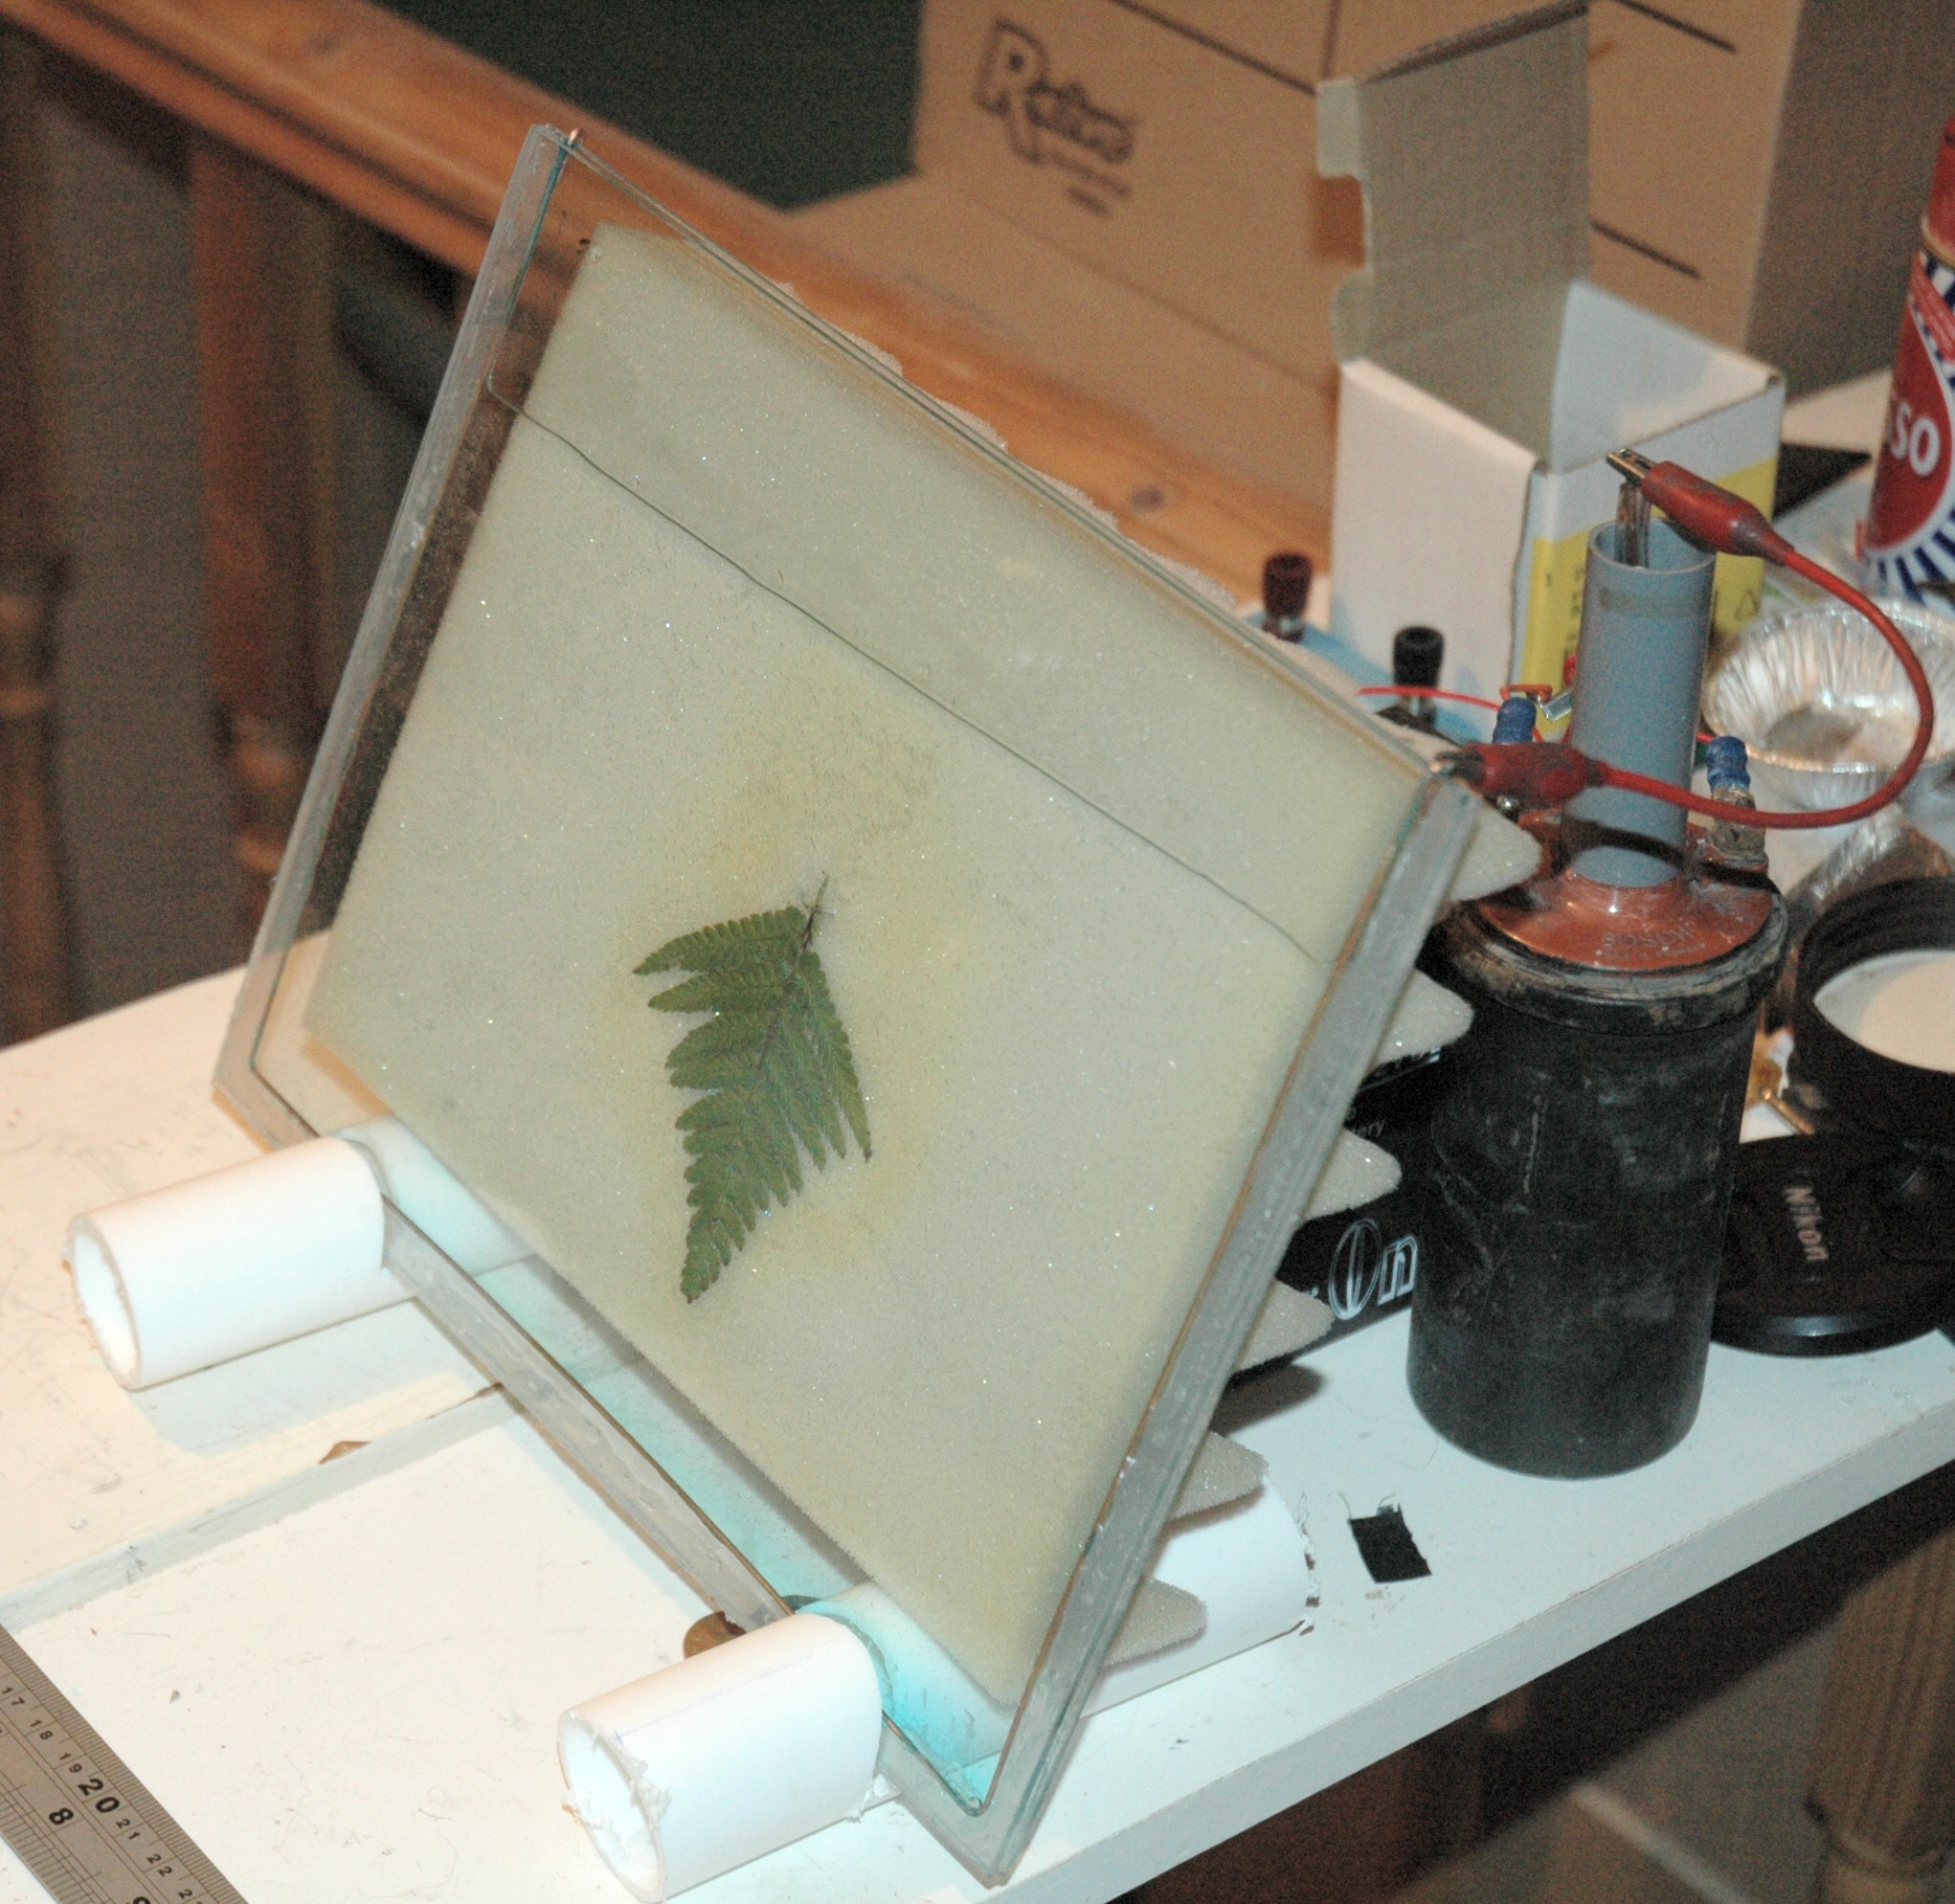
When the silicon was dry, I cut a slot in a pair of drain pipes to form an insulating stand and inserted the two glass sheets. I filled the "pocket" in the glass sheets with tap water, and connected the HV supply to the copper wire from the center of the ignition coil. The sample needs to be pushed against the glass quite firmly, so I found a peice of (non conducting) foam and used the 12V battery to push this against the back sheet of glass. An earthed wire is pushed through the foam to earth the sample from behind. My Camera was set up for long exposures, pointed at the glass, & focussed I inserted a small leaf and turned on the juice. and took a few pictures at various exposures. Unfortunatly unless you spread out the earthed source, the arc cuts through your sample (see middle of the picture on RHS) , but I got an excelent picture first time. |
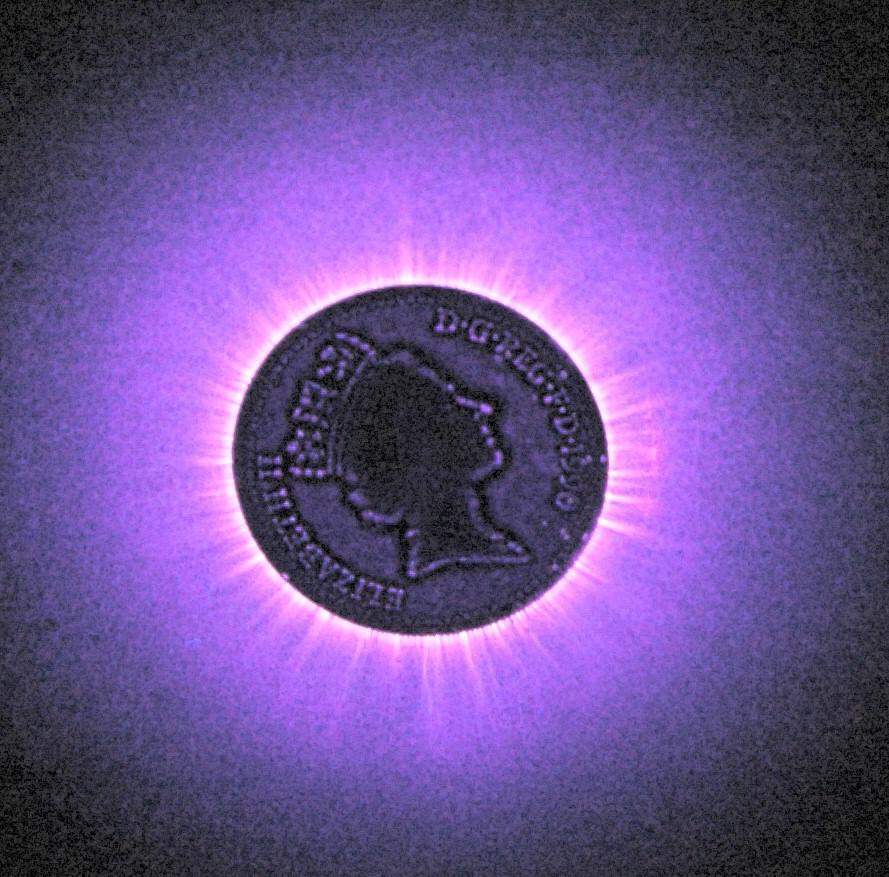 |
To prevent the wire burning through the sample, I tried a 1p coin instead. |
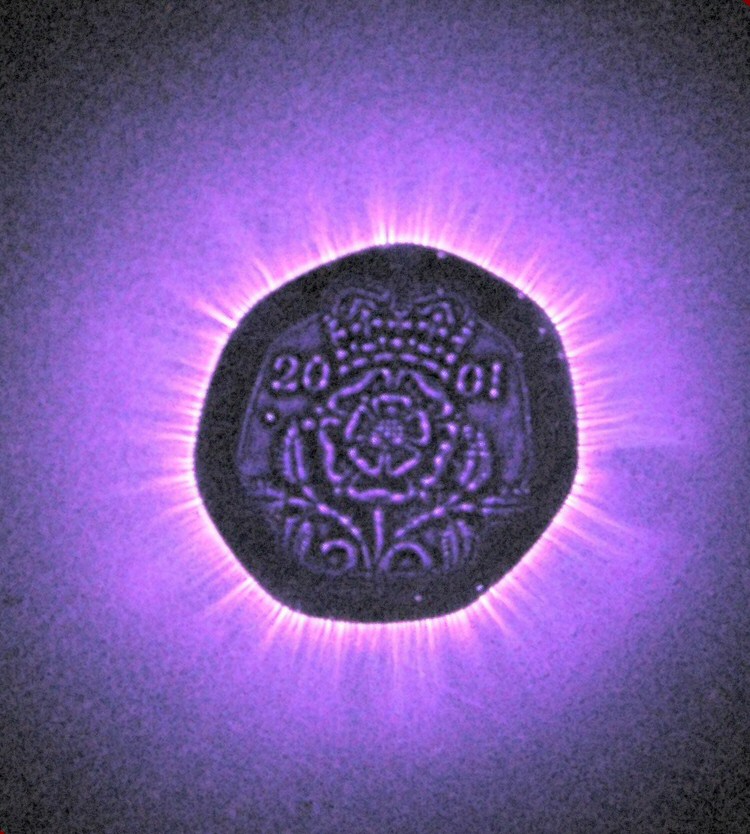 |
A 20p coin This gave nice inner details, but as the coin was rather worn I had a hunt for a mint coin. |
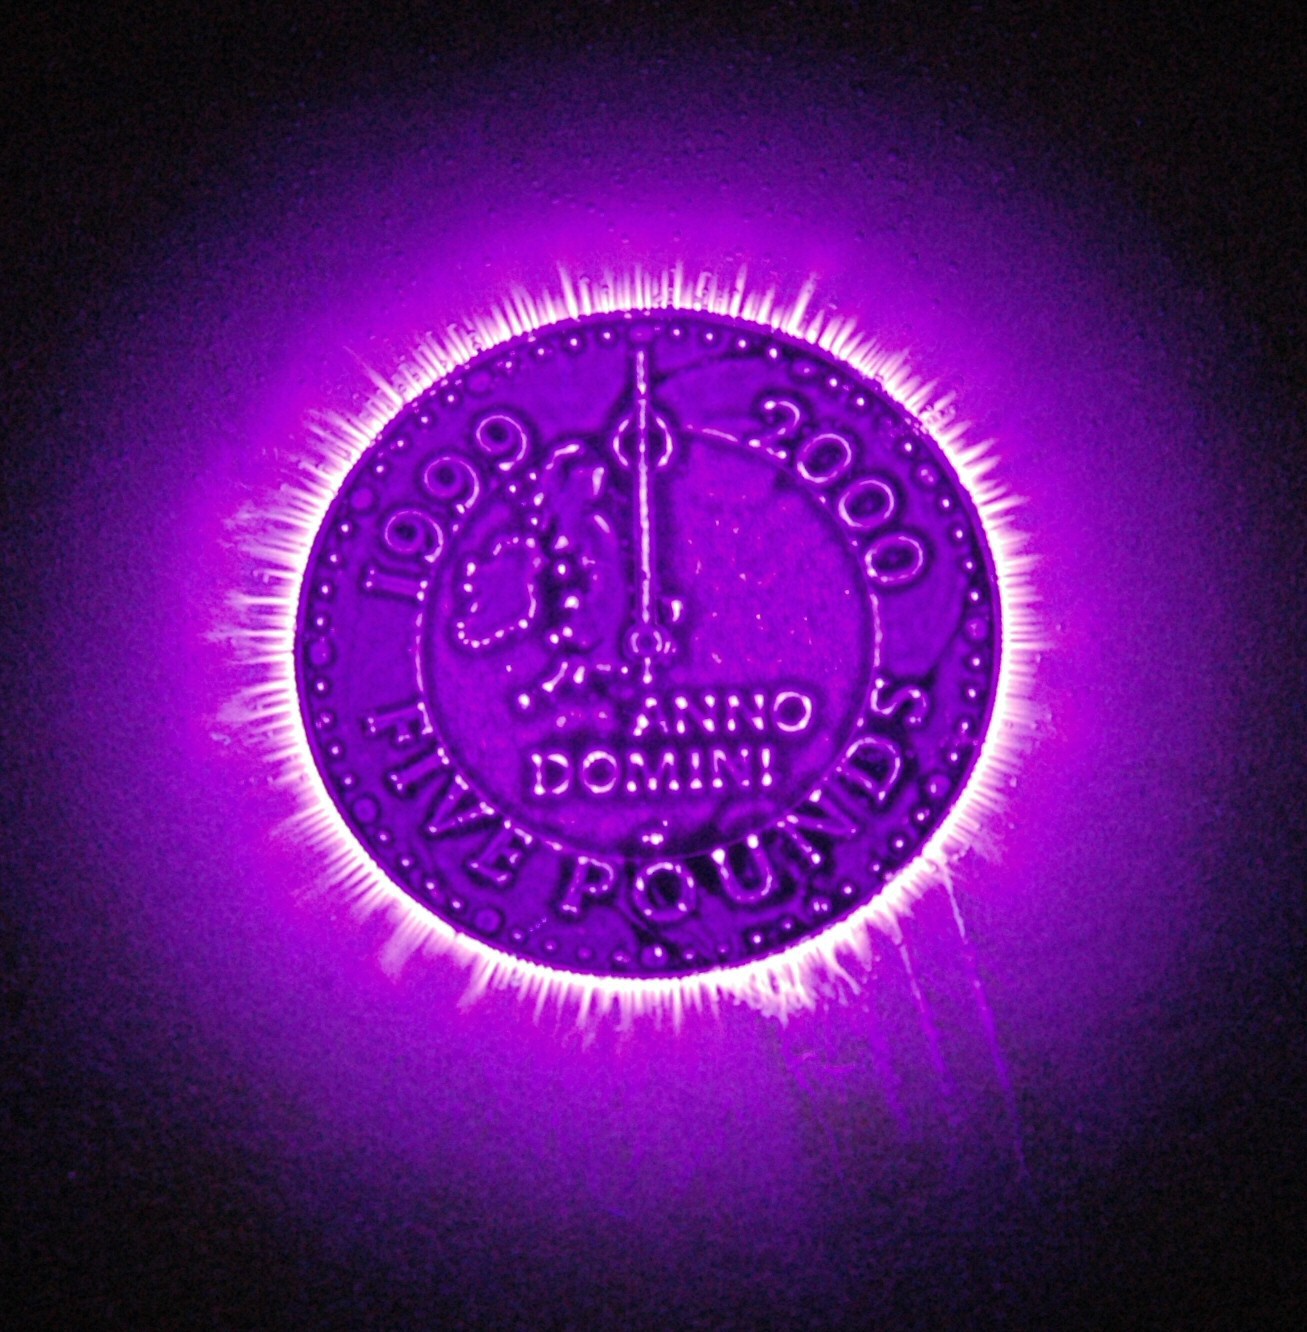 |
I found a £5 coin as this had never been in circulation, it had nice crisp edges. |
 |
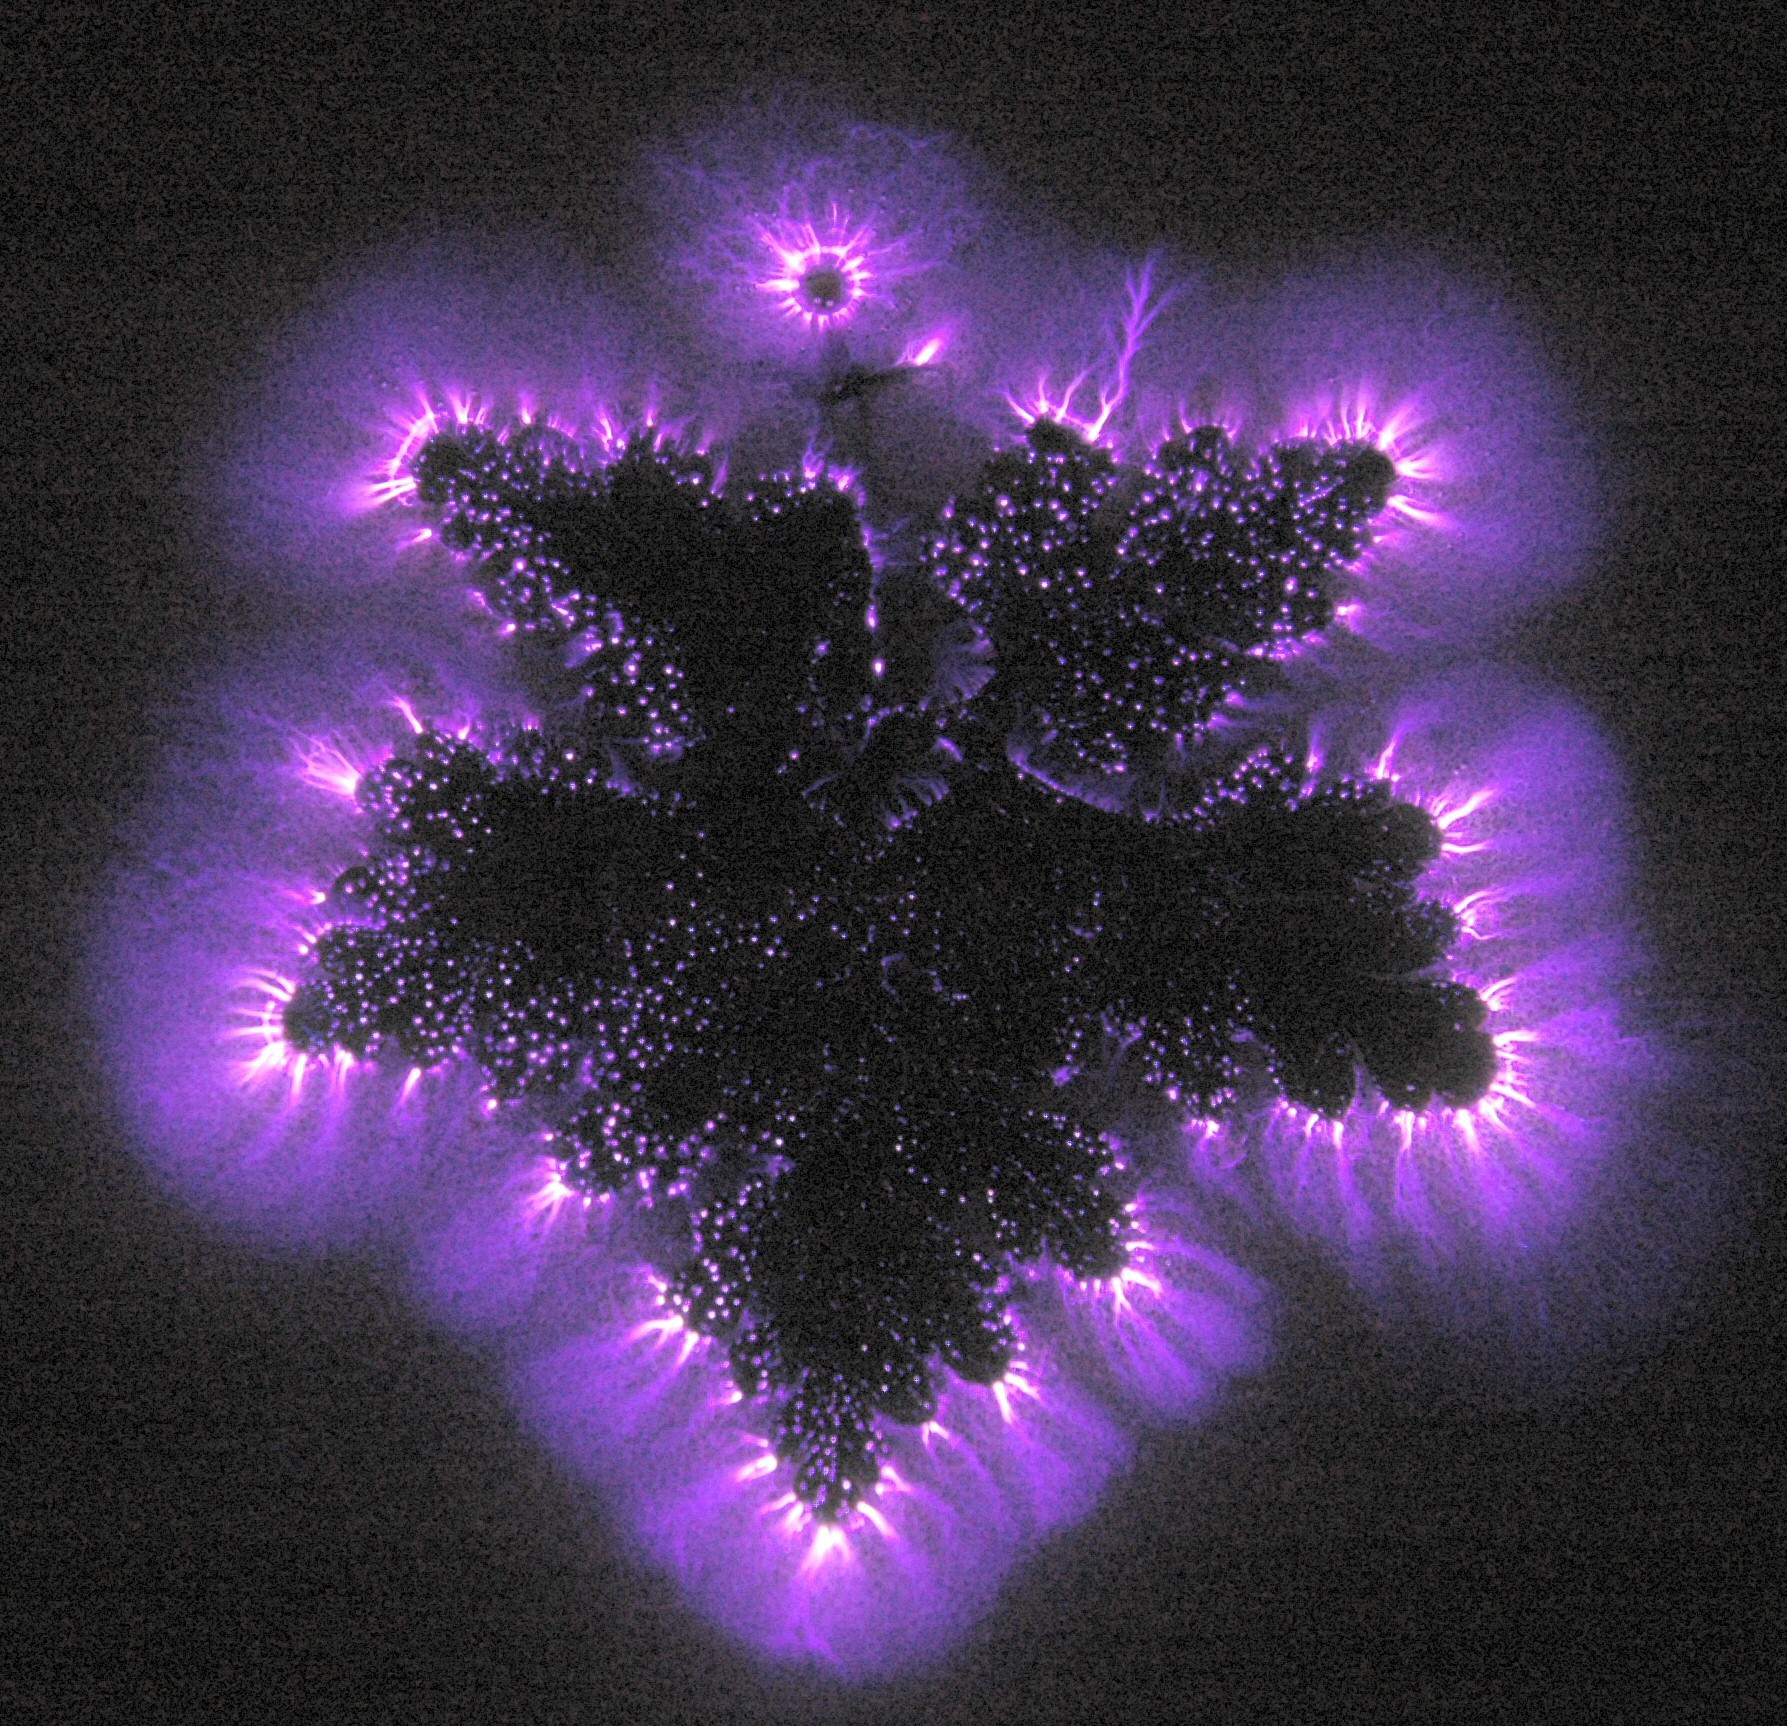
Another leaf. This time with a bigger earth
electrode to spread the load a bit. Sorry I'm no botanist I have no idea what sort of leaf, I think its probably a weed. |
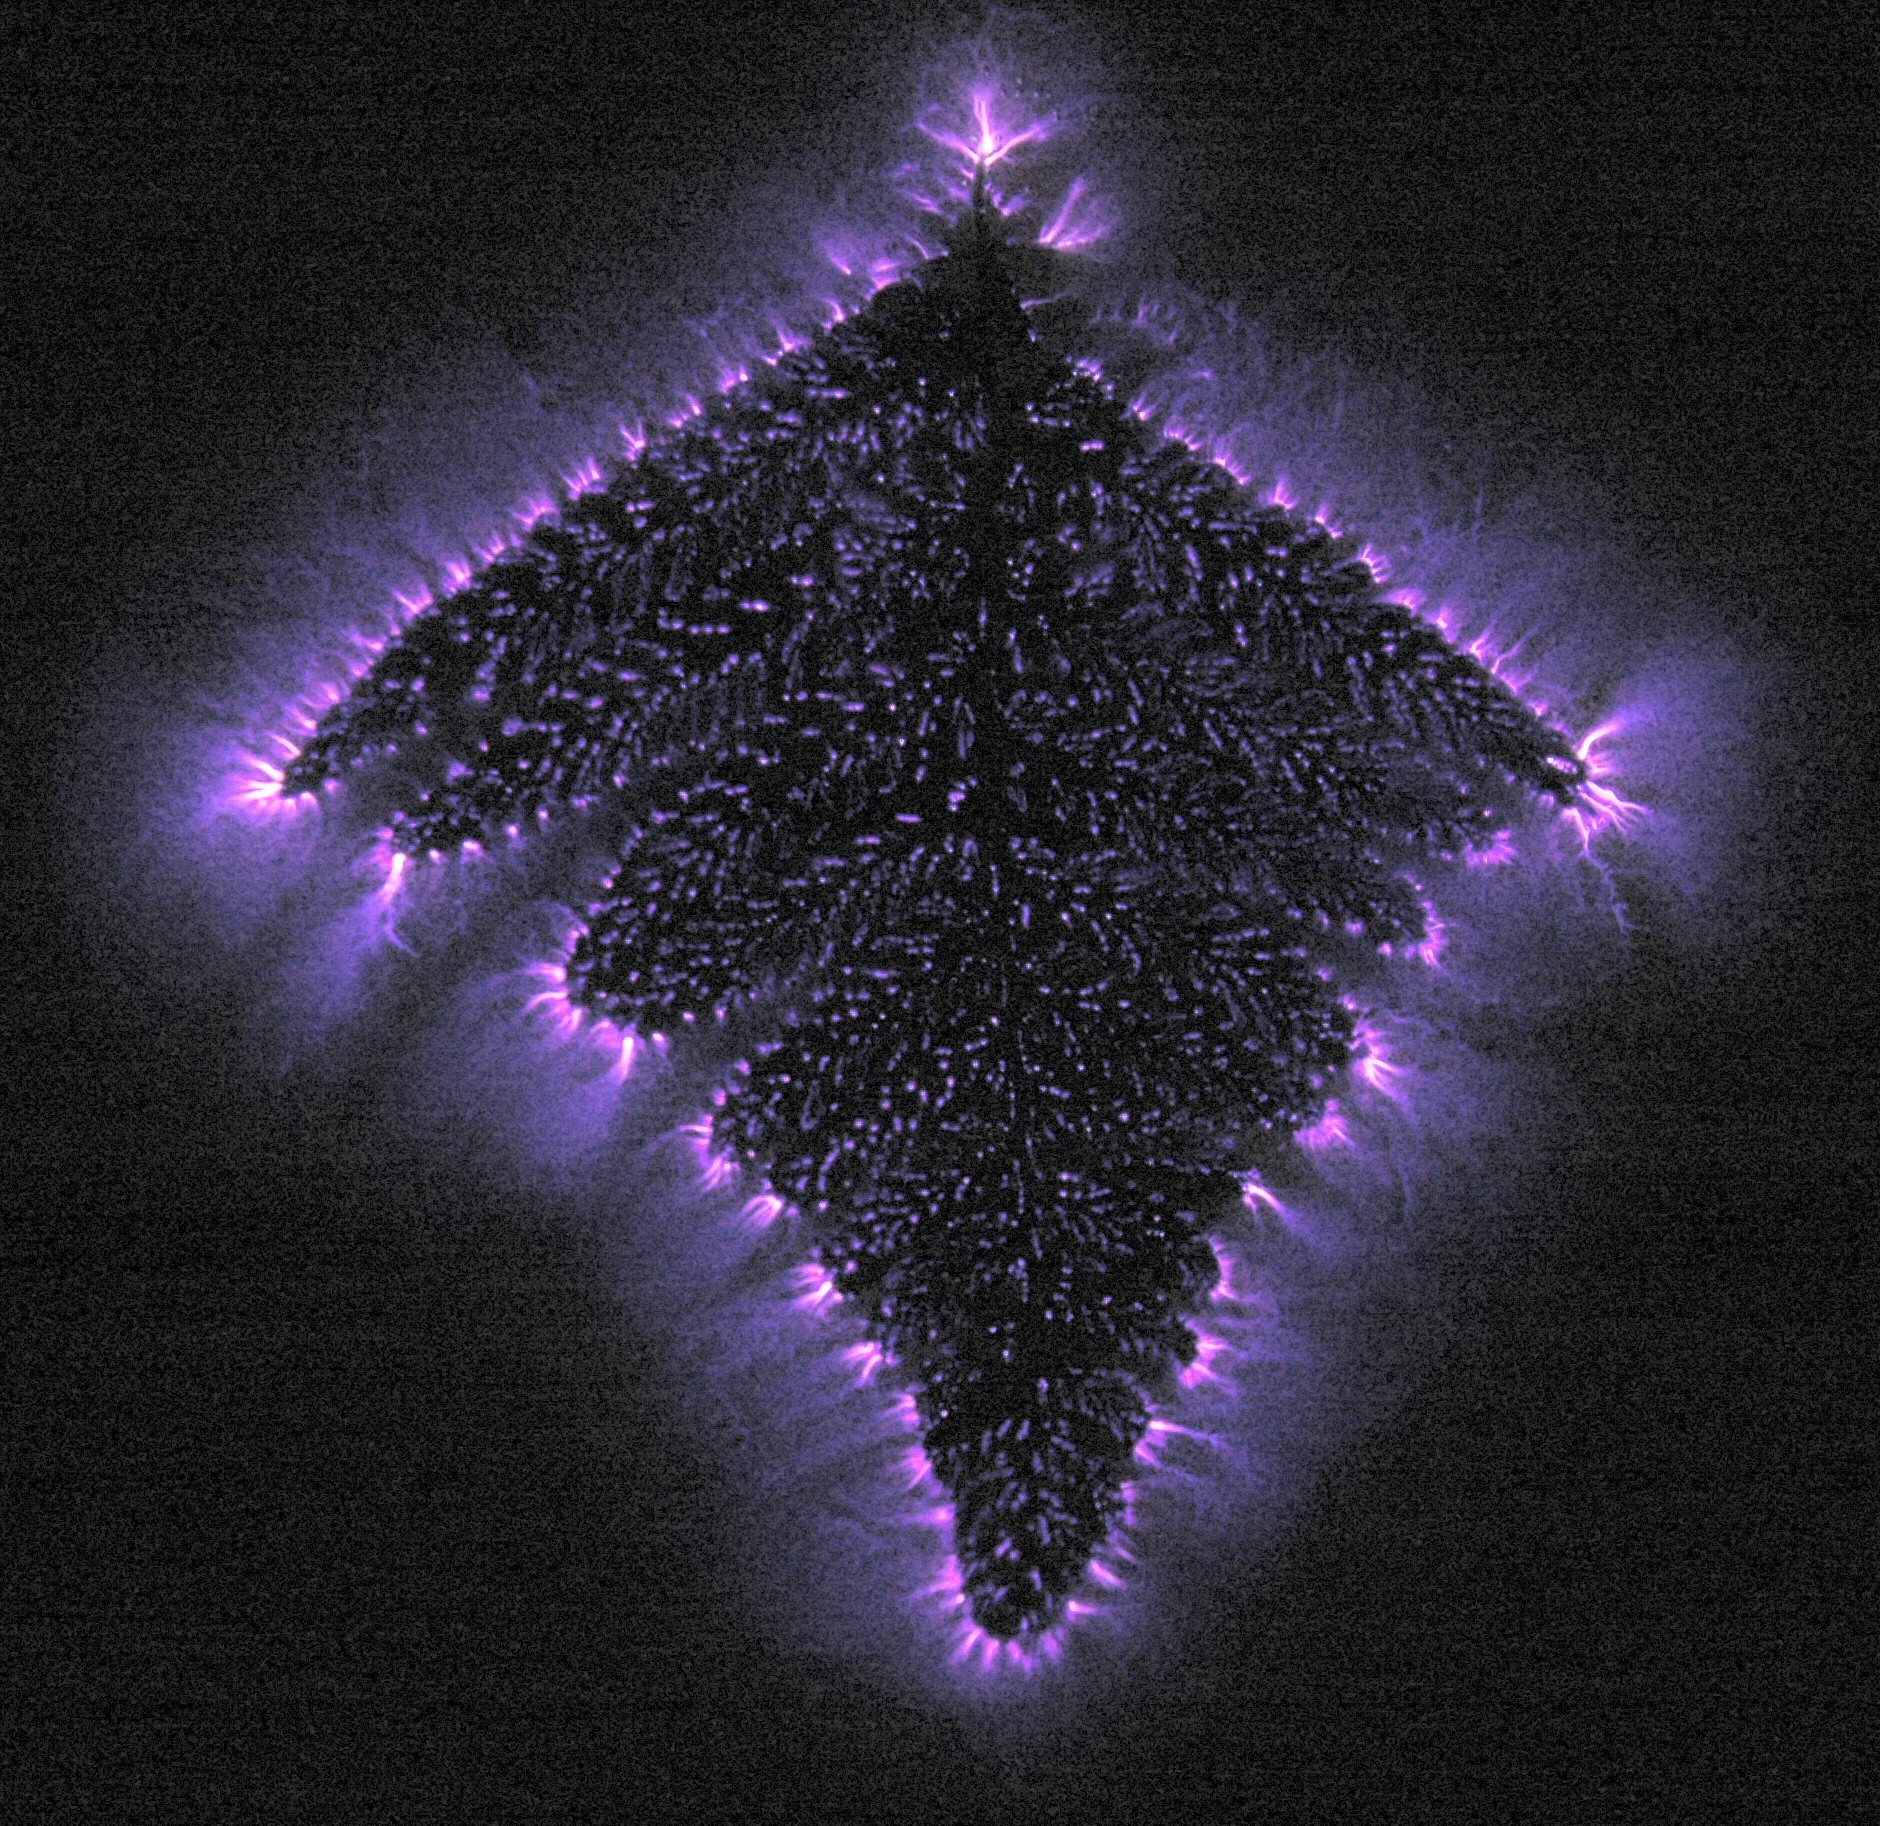 |
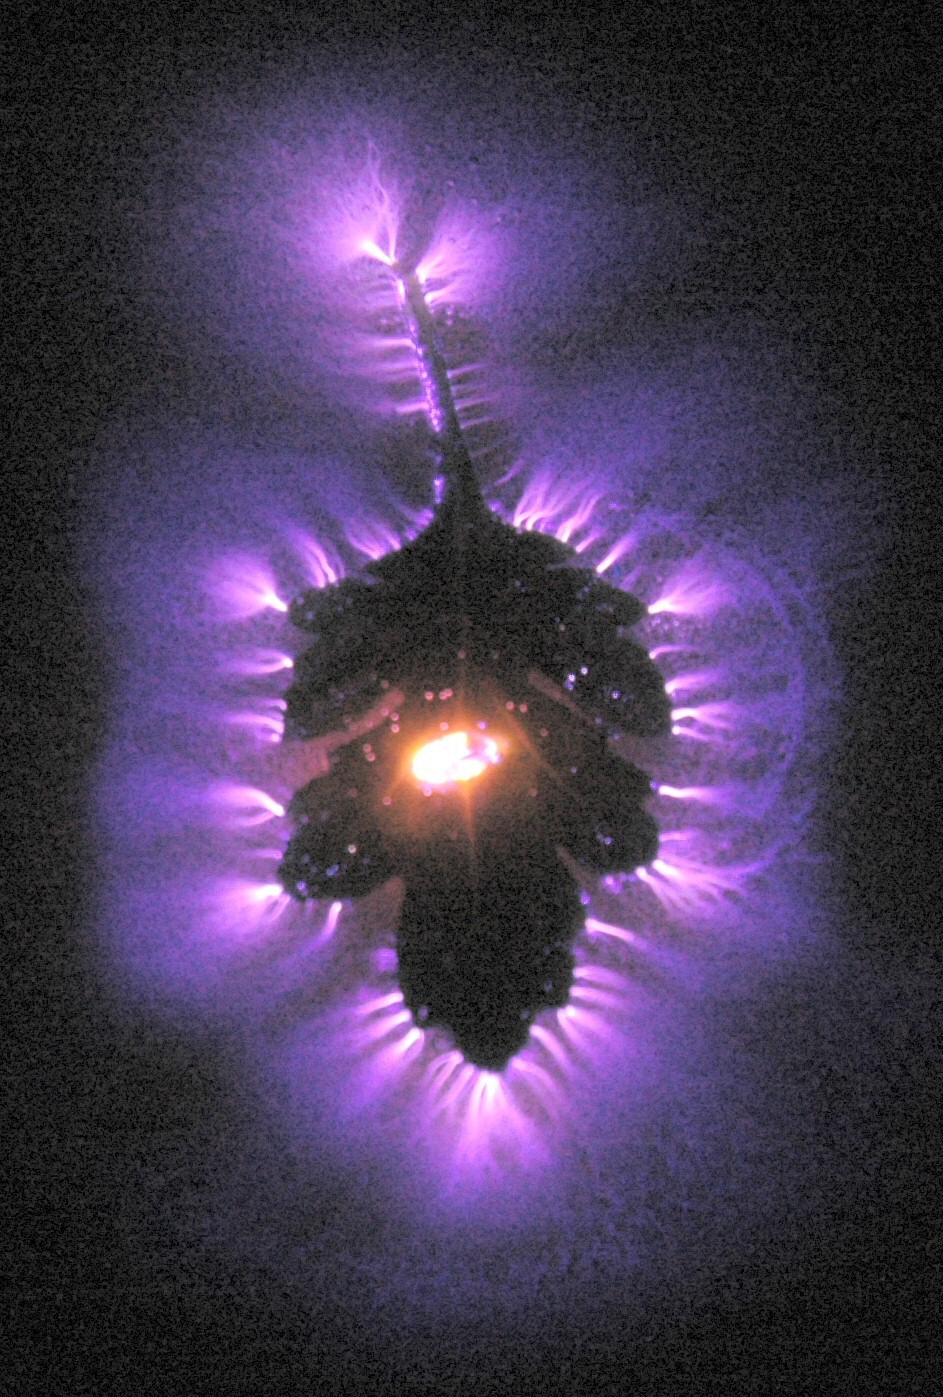
A fern , Unfortuneatly there has been a hard frost here, most of the nice spiky leafed plants have got shrivelled up leaves. Kirlian photography is supposed to show the "healthyness" of the plant, by giving strong or weak "auras". This picture clearly shows that the leaf is in good health, which is supprising since its been removed from its mother plant and will be dead in a couple of days. |
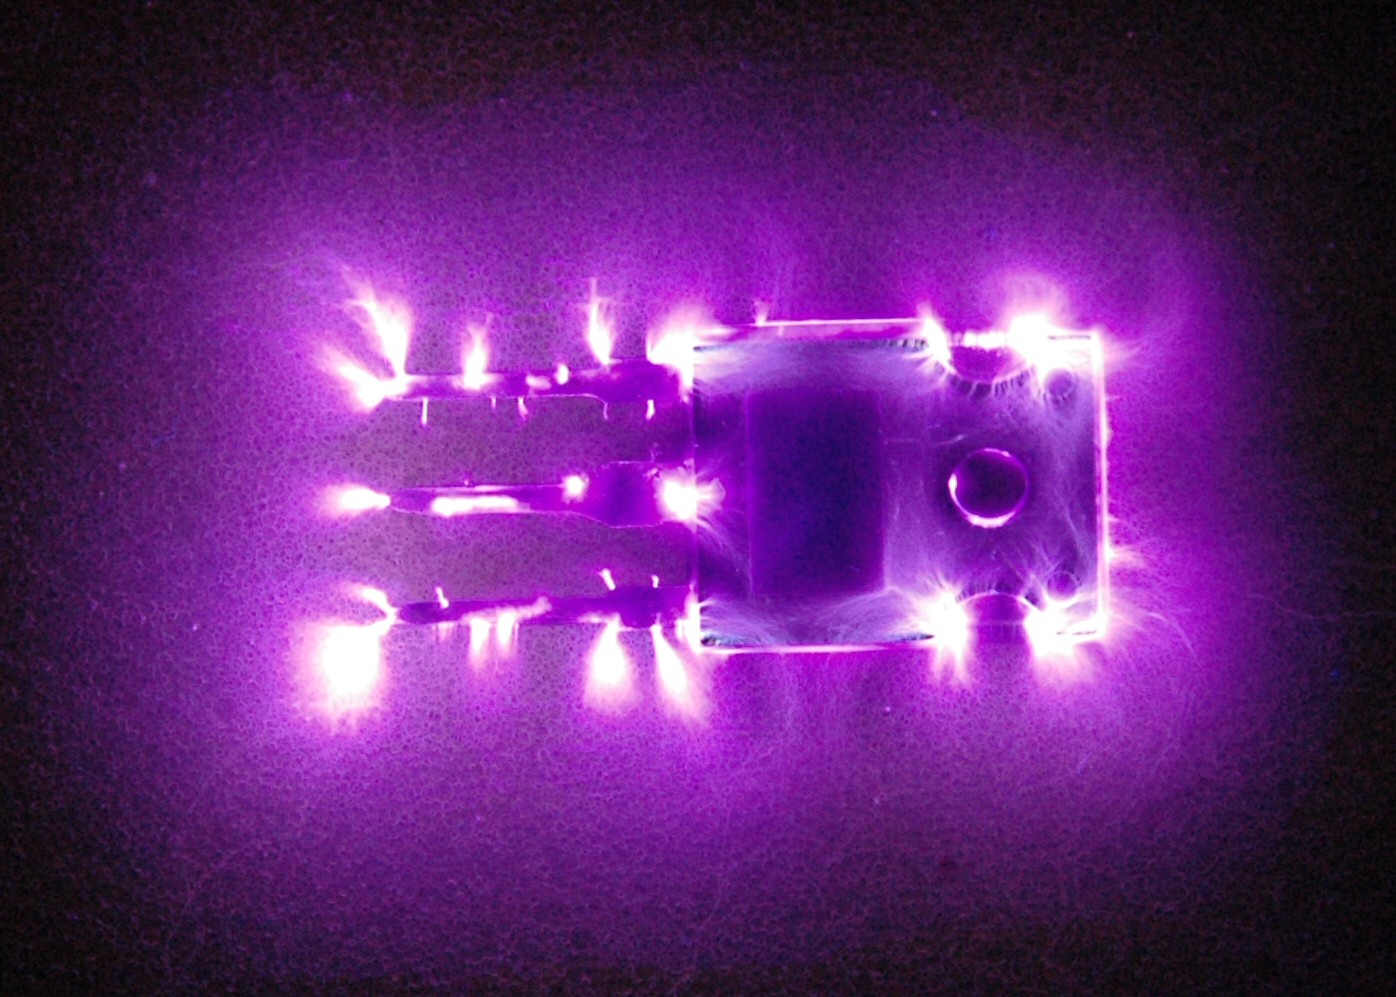 |
And a mosfet. This
too looks, by the strength of its aura, in very
good health. |
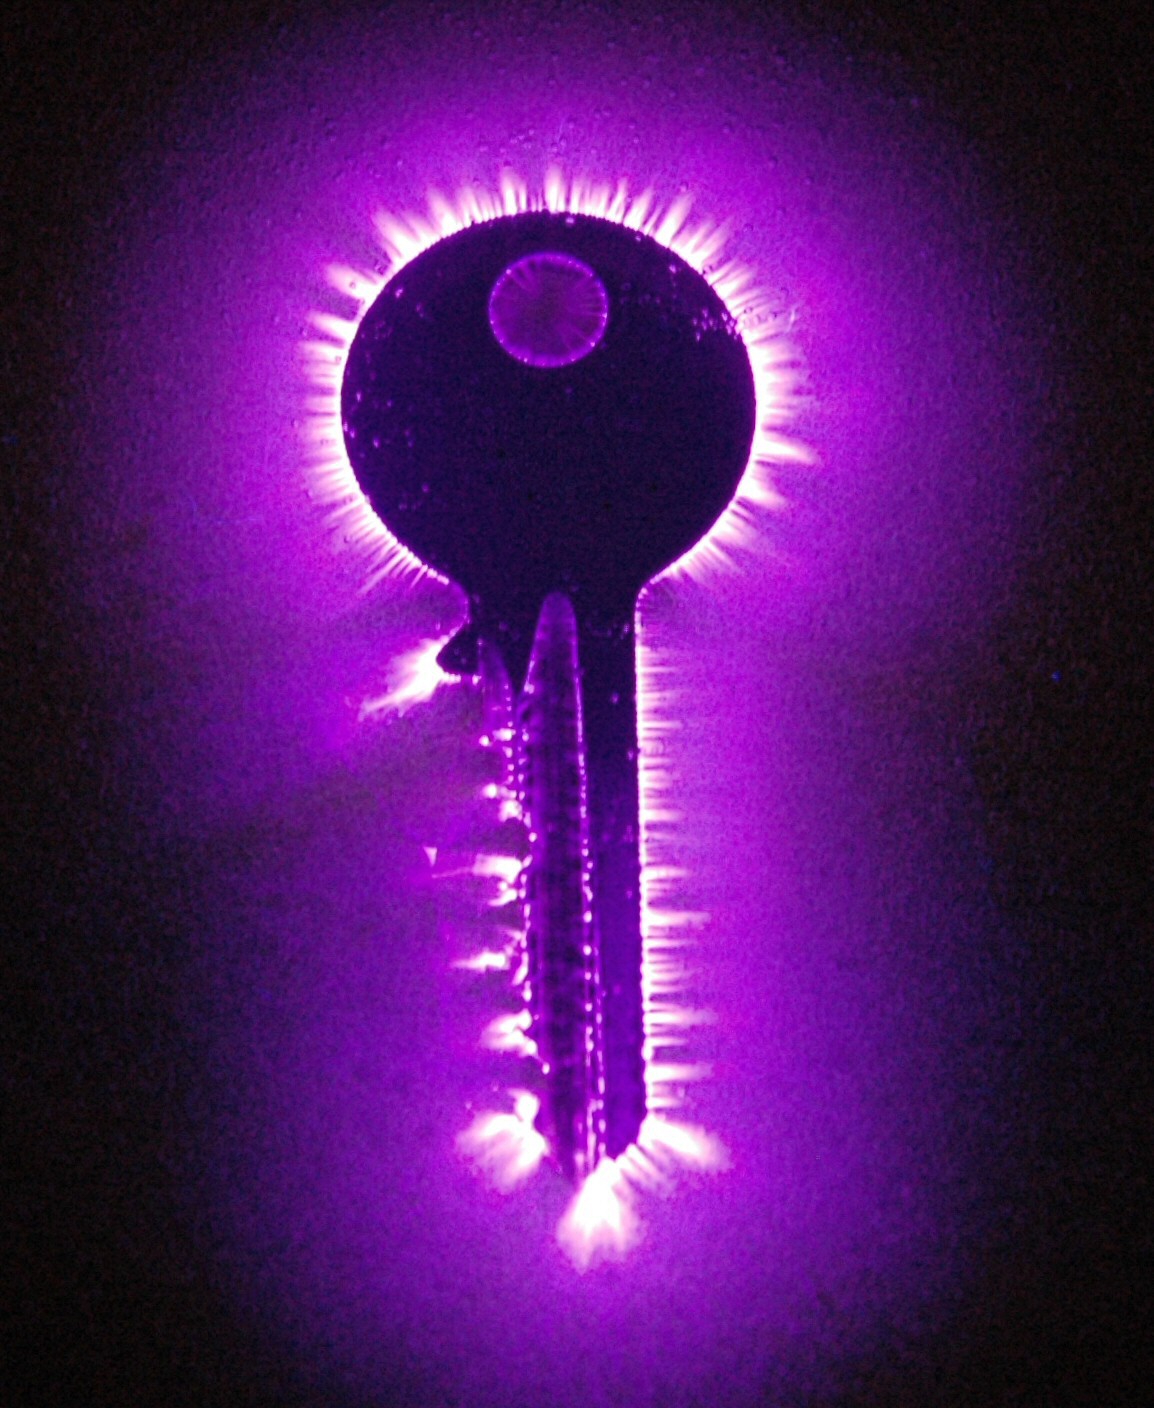 |
A key, Again this key has never been used so it still has nice sharp edges. I found that for the best results my camera needed to be at about 40cm from the glass, and I used an exposure of 13 seconds at F4.5. |