A friend of mine was asking me about MSF time reception and I realised I only knew some of the basics. So this sent me on a hunt for more information.
In the UK the MSF tme signal is sent on a carrier of 60khz from a transmitter in Anthorn Yorkshire with a radiated power if 17KW http://www.npl.co.uk/science-technology/time-frequency/products-and-services/time/msf-radio-time-signal
17KW sounds large, but this is at 60 Khz, the efficiency of ariels less than 2.5Km (a half a wavelength of 60Khz) long with all round coverage is going to be much less than 1, probably a lot less than 1. The old Time Signal transmitter at Rugby was in the order of 200KW. I can only assume the new transmitter is of a similar power to get a ERP of 17Kw.
After a little looking around, I discovered the web site of Andy (http://www.burningimage.net/msfsimulator) who has made a MSF transmitter for 60Khz using a Pc’s sound card using the third harmonic of 20Khz to produce a 60 Khz signal and written the Python code to encode a date time into the MSF protocol.
So with most of the heavy lifting done, I started to think about what I had to hand. Raspberry Pi’s…
My first thought was using the frequency generator built in to the PI to give the 60Khz as used in many PI transmitter projects , but there were limitations in trying to get 60Khz. So the next thought was a PWM output. A bit of googling gave me the formulae for the frequency of the hardware PWM on a PI
pwmClockDivisor=19200000/PWMRange/Freq
PWMrange is the number of “levels” you can specify for the PWM signal.
After some experimenting I found that you could set the range really small e.g. 2 Which is great if you sent the PWM a 0 it goes off. If you send it a 1 you get 50/50 Mark Space, ideal. Setting the pwmClockDivisor to 160 gives a 60Khz output.
The Wiring PI Wrapper for Python supports this setup. So setting the hardware PWM is a case of
io = wiringpi.GPIO(wiringpi.GPIO.WPI_MODE_PINS)
io.pinMode(PIN,io.PWM_OUTPUT)
io.pwmSetClock(160)
io.pwmSetRange(2)
The wiring Pi for Python setup is detailed here http://raspi.tv/how-to-install-wiringpi2-for-python-on-the-raspberry-pi
[code lang=”py”] #——————————————————————-# This script uses PWM on GPIO PIN 18 to transmit an MSF timecode
#
# Save it as msf.py somewhere on your Pi.
#
# Run it with ‘python msf.py’
#
# Requires the Wiring Pi Python Library
#
# Based on Audio MSF code from
#
# http://www.burningimage.net/msfsimulator
# by
# andy@burningimage.net
#
# PWM output, Frequency and DateTime Code Added by Derek Woodroffe
# tesla@extremeelectronics.co.uk
#——————————————————————-
#——————————————————————-
# Set the time/date to transmit below.
#
# The date time startes at the datetime you set regardless of local
# clock settings
#
# Use groundhogday=True to repeat the same "day" every 24 hours.
#
# Your clock(s) should have set its time by around minute 5.
# Some clocks only look at MSF data every 12 hours.
#
# The day of the week is automatically set to the correct value
#——————————————————————-
import time
import math
import wiringpi
import datetime
#—————– Carrier Frequency ——————————
#UK tested, others un-tested not sure about the modulation
Freq=60000 #60Khz UK/Japan – 66.66Khz Russia – 77.5Khz Germany/Taiwan
#———————– Set inital time —————————
#start with a defined datetime
mmfdt = datetime.datetime(2019,4,1 ,6,1) #datetime year,month,day,hour,min
#Run with current time
#mmfdt = datetime.datetime.now()
#run 1 hour in the future
#mmfdt = datetime.datetime.now()+datetime.timedelta(0,0,0,0,0,1,0) #timedelta([days[, seconds[, microseconds[, milliseconds[, minutes[, hours[, weeks]]]]]])
#———————— Groundhogday —————————–
#repeat after 24 hours.
#groundhogday=True
#dont repeat
groundhogday=False
#———————— Parity ———————————–
# Set to 1 to transmit proper parity bits
enableparity = 1
#——————————————————————-
def carrier_on(length):
io.pwmWrite(PIN,1)
time.sleep(0.001*length)
def carrier_off(length):
io.pwmWrite(PIN,0)
time.sleep(0.001*length)
def minutemarker():
carrier_off(500)
carrier_on(500)
def send01():
carrier_off(100)
carrier_on(100)
carrier_off(100)
carrier_on(700)
def send11():
carrier_off(300)
carrier_on(700)
def send00():
carrier_off(100)
carrier_on(900)
def send10():
carrier_off(200)
carrier_on(800)
bcdlist= [80, 40, 20, 10, 8, 4, 2, 1]
#setup PWM GPIO pin 18 (pin1) Hardware PWM at Freq
PIN=1
#pwmClock divisor=19.2e6/2/Frequency
pwmClock=19200000/2/Freq
io = wiringpi.GPIO(wiringpi.GPIO.WPI_MODE_PINS)
io.pinMode(PIN,io.PWM_OUTPUT)
io.pwmSetClock(pwmClock)
io.pwmSetRange(2)
io.pwmWrite(PIN,0)
mmfdts=mmfdt
while(True):
year = mmfdt.year
month = mmfdt.month
dayofmonth = mmfdt.day
dayofweek = (mmfdt.weekday()+1) % 7 #0 = sunday, 1 = monday etc.
hour = mmfdt.hour
minute= mmfdt.minute
# Ignore the ‘0’ element in the list as it confuses matters
# with the timecode
timecodeA = [0] * 60
timecodeB = [0] * 60
# Convert the year to BCD and store in the correct place in the timecode
bcdindex=0
temp = year
sum=0
for i in range(17,25):
if temp >= bcdlist[bcdindex]:
timecodeA[i] = 1
sum += 1;
temp -= bcdlist[bcdindex]
bcdindex += 1
# Work out the parity bit for 17-24
if (sum % 2) != 1:
timecodeB[54] = enableparity
# Now do the month
bcdindex=3 #starts at 10
temp = month
sum = 0
for i in range(25,30):
if temp >= bcdlist[bcdindex]:
timecodeA[i] = 1
temp -= bcdlist[bcdindex]
sum += 1
bcdindex += 1
# Do the day of month
bcdindex=2 #starts at 20
temp = dayofmonth
for i in range(30,36):
if temp >= bcdlist[bcdindex]:
timecodeA[i] = 1
temp -= bcdlist[bcdindex]
sum += 1
bcdindex += 1
# Work out the parity bit for 25-35
if (sum % 2) != 1:
timecodeB[55] = enableparity
# Do the day of week
bcdindex=5 #starts at 4
temp = dayofweek
sum = 0
for i in range(36,39):
if temp >= bcdlist[bcdindex]:
timecodeA[i] = 1
temp -= bcdlist[bcdindex]
sum += 1
bcdindex += 1
# Work out the parity bit for 36-38
if (sum % 2) != 1:
timecodeB[56] = enableparity
# Do the hour
bcdindex=2 #starts at 20
temp = hour
sum = 0
for i in range(39,45):
if temp >= bcdlist[bcdindex]:
timecodeA[i] = 1
temp -= bcdlist[bcdindex]
sum += 1
bcdindex += 1
# Do the minute
bcdindex=1 #starts at 40
temp = minute
for i in range(45,52):
if temp >= bcdlist[bcdindex]:
timecodeA[i] = 1
temp -= bcdlist[bcdindex]
sum += 1
bcdindex += 1
# Work out the parity bit for 36-38
if (sum % 2) != 1:
timecodeB[57] = enableparity
#Bits 53A – 58A should always be 1
for i in range(53,59):
timecodeA[i] = 1
print(str(year).zfill(2) + "-" + str(month).zfill(2) + "-" + str(dayofmonth).zfill(2) + " " + str(hour).zfill(2) + ":" + str(minute).zfill(2)+ " – " + str(dayofweek) )
#print("A bits: " + str(timecodeA[1:]))
#print("B bits: " + str(timecodeB[1:]))
# Now play the timecode out
minutemarker()
for i in range(1,60):
if (timecodeA[i] == 1) and (timecodeB[i] == 1):
send11()
elif (timecodeA[i] == 0) and (timecodeB[i] == 1):
send01()
elif (timecodeA[i] == 0) and (timecodeB[i] == 0):
send00()
elif (timecodeA[i] == 1) and (timecodeB[i] == 0):
send10()
mmfdt = mmfdt + datetime.timedelta(0,60) #timedelta([days[, seconds[, microseconds[, milliseconds[, minutes[, hours[, weeks]]]]]]])
if (groundhogday):
if (mmfdt-mmfdts>datetime.timedelta(1)):
#restart day
mmfdt=mmfdts
print ("RESTART DAY")
Then
io.pwmWrite(PIN,1) turns on the 60 Khz and io.pwmWrite(PIN,0) turns it off.
I replaced all of Andy’s Sound Card Code with functions that mimicked the operation, but used the PWM commands above and a sleep to give me the correct on/off times (yes, sleep is inaccurate, this could be improved)
Adding a short wire to GPIO 1 (PIN18) and placing this near an MSF clock, worked… (it was 4 in the afternoon, and not April 1st 2019)
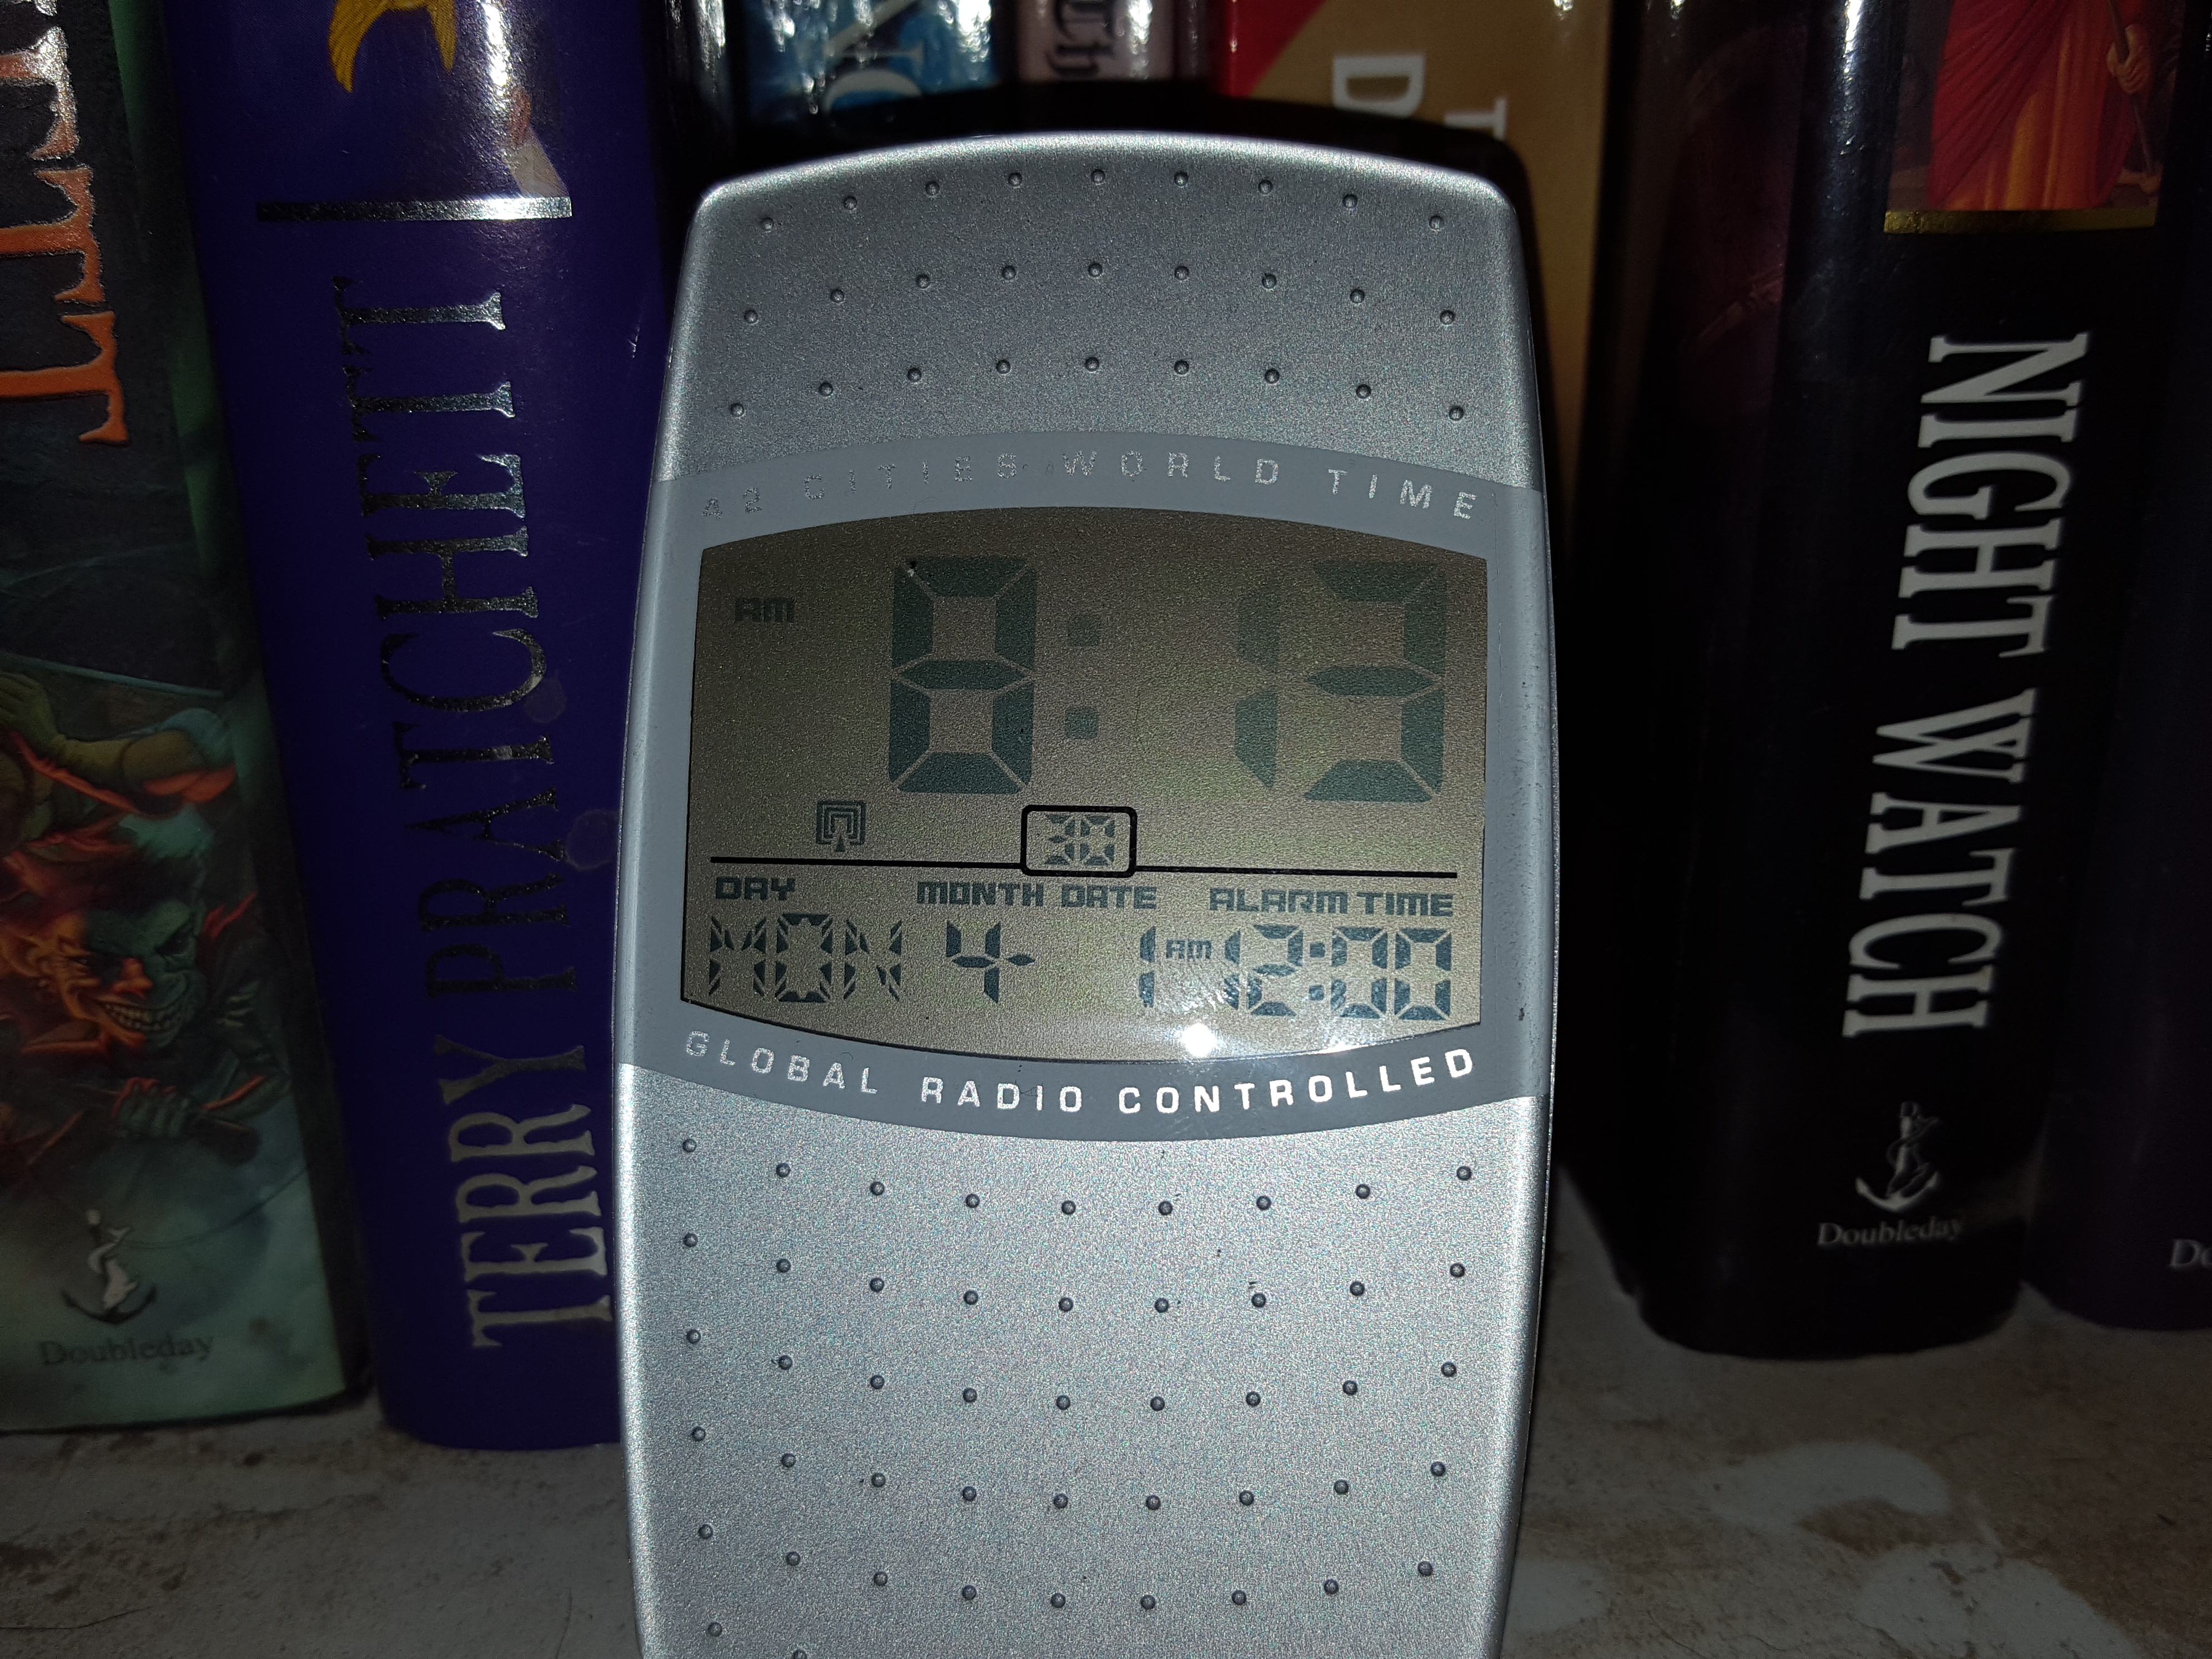
But if you want some fun, this close is probably not enough 🙂
Note: Transmitting on this frequency is Illegal and It is possible to affect all sorts of equipment that uses MSF. The transmitter below has a range of only a few feet and so is unlikely to cause any unexpected effects, but don’t do this where there is any medical or industrial control equipment that may use the time signal.
Oh, and your neighbour may get quite miffed if his alarm clock goes off at the wrong time…
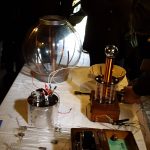
So adding some power..
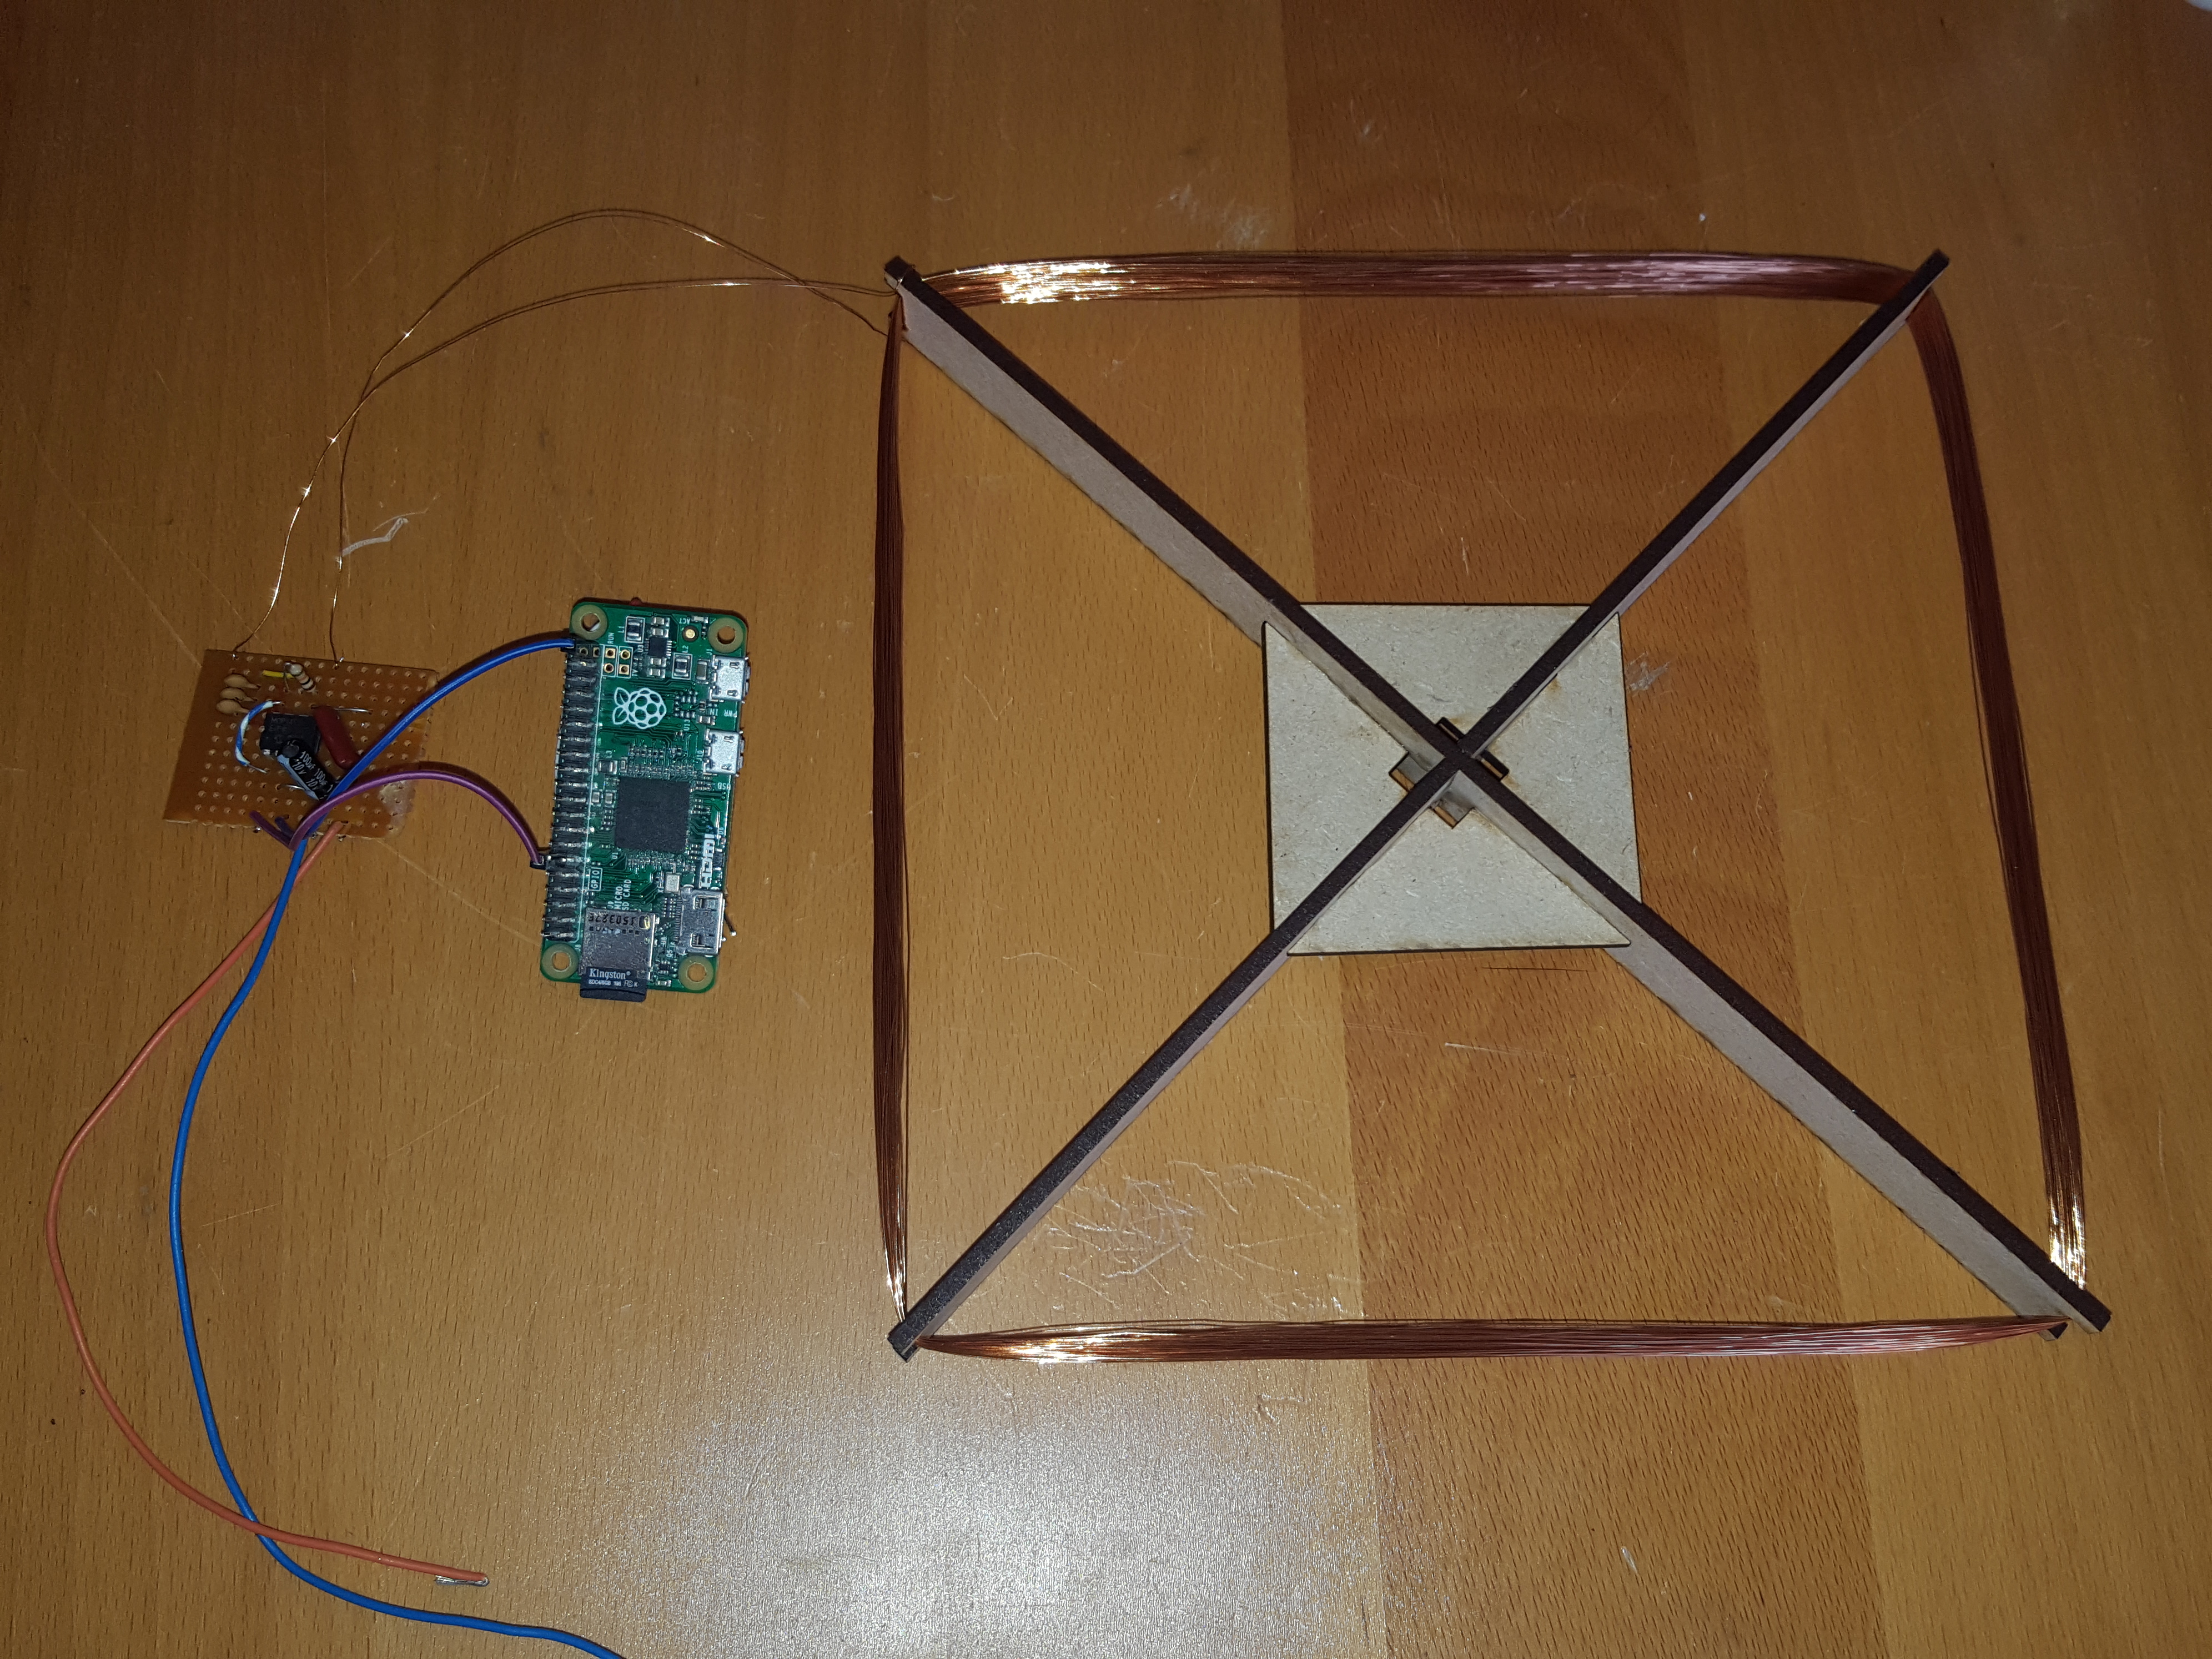
I made an X of 300mm strips of MDF and wound 100Turns of 0.3mm enamelled wire around the structure.
This I drove from a MC4428 mosfet driver. Using both channels together gives a full bridge drive of up to 1.5A and can run up to 24V.
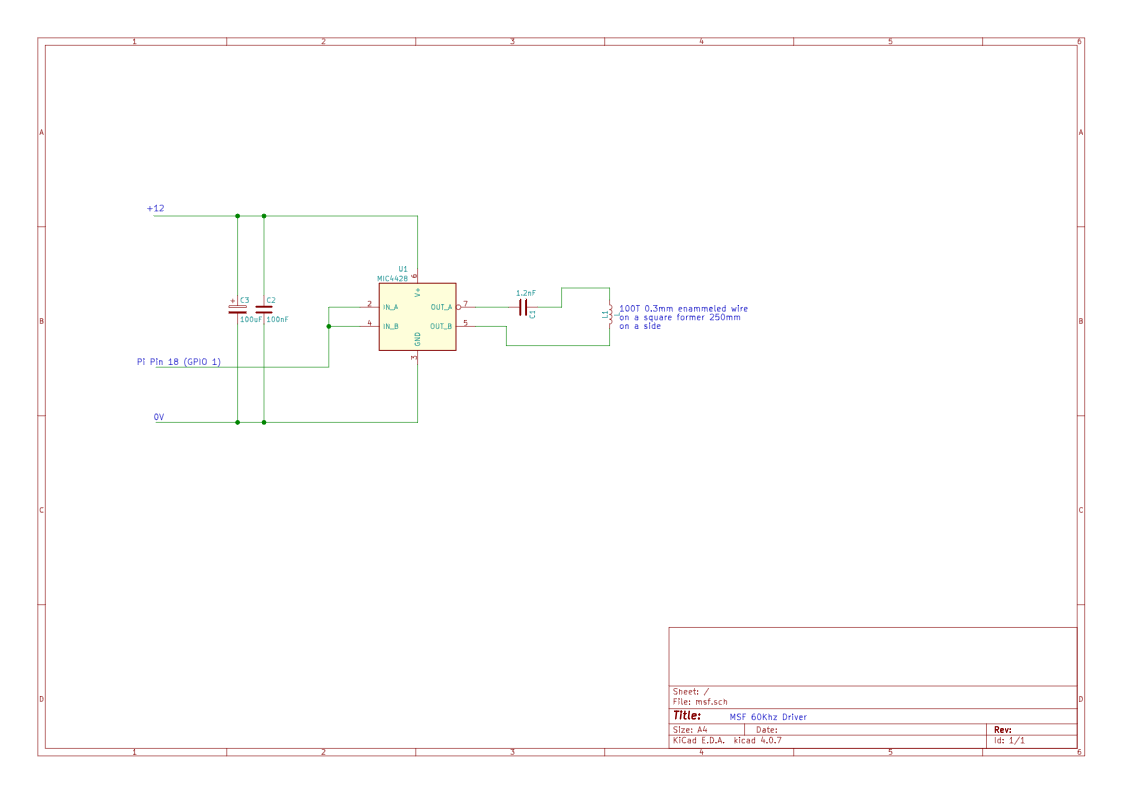
C1 will need to be modified to get your coil in tune. Tuning can easily be done by monitoring the Cap to coil connection and varying the value of C1 for maximum voltage. Beware that the voltage on C1 can get to about 100V when in tune, so keep it away from your PI#s GPIO
(And other things too)
The Circuit generates about 1W of power, but remember the ariel is only a fraction of the 2.5Km dipole required for 1:1 ERP , so the actual ERP is much lower. Mine will “correct” clocks time at a range of about 4-5 Meters.