
A Pico Emulated Camputers Lynx
The Camputers Lynx was a classic, although not massively popular computer in the early 1980’s. It featured a z80 at 6Mhz and full colour graphics, with none of the BBC micro’s (or others) Graphics mode shenanigans. And for its time many advanced capabilities like 96K memory, a disk system (later upgradable to CP/M 80), and a proper keyboard. Unfortunately it hit at a bad time, the Spectrum was much cheaper, but much less capable, and the BBC was being pushed massively by the BBC (unsurprisingly). It’s eventual down fall was that its brilliant graphics were both quite slow and due to its strange memory banking system, rather hard to program. Eventually it lost out due to the lack of game titles compared to the Spectrum and BBC Micro/Electron.
But I had one and I loved it (latterly I had three)

I already have a PCB that Ive used for Pico Emulation of a number if things, so that was my go to as a start.
I had asked for permission to use the code by Charles Peter Debenham Todd retrogubbins (as there is no licence on his GitHub pages) and he graciously let me use his code with no restrictions.
I based my Pico design on his PALE emulator and his ESP 32 emulator https://github.com/retrogubbins/PaleESP32VGA
One of the first issues I had was that the Z80 emulation that he used did not have any licence either, so early on I swapped it to LIBZ80 © Gabriel Gambetta (gabriel.gambetta@gmail.com) 2000 – 2014 which is currently maintained by EtchedPixels as part of the z80 emulation kit https://github.com/EtchedPixels/EmulatorKit
I’ve used this library before in the RC2040 So familiarity was on my side too.

Swapping over the emulator and porting the ESP32 code to the Pico was amazingly straight forward, I needed to write some code to DMA out the RGB banks to a display (240×320 OLED) and I quickly got a Lynx prompt.

Unfortunately it was in Yellow, and the emulation stopped there. I took me a while to get past this, until I realised that the Lynx Beeps, between writing the Red and Green banks, and before writing Blue. I hadn’t implemented the code for the sound / speaker.
Adding this in gave me not only a while logo, but two power up beeps, and (after spanering in serial to the keyboard emulation ) a workable basic.

So time to make a case.
I took the measurements from a real Lynx and scaled it to roughly fit the keyboard I had with the PicoPuter. It came out as roughly 1:3

Of course Not everything fitted correctly, so after a few goes.

I got one that fitted and held the PCB’s in roughly the right place.
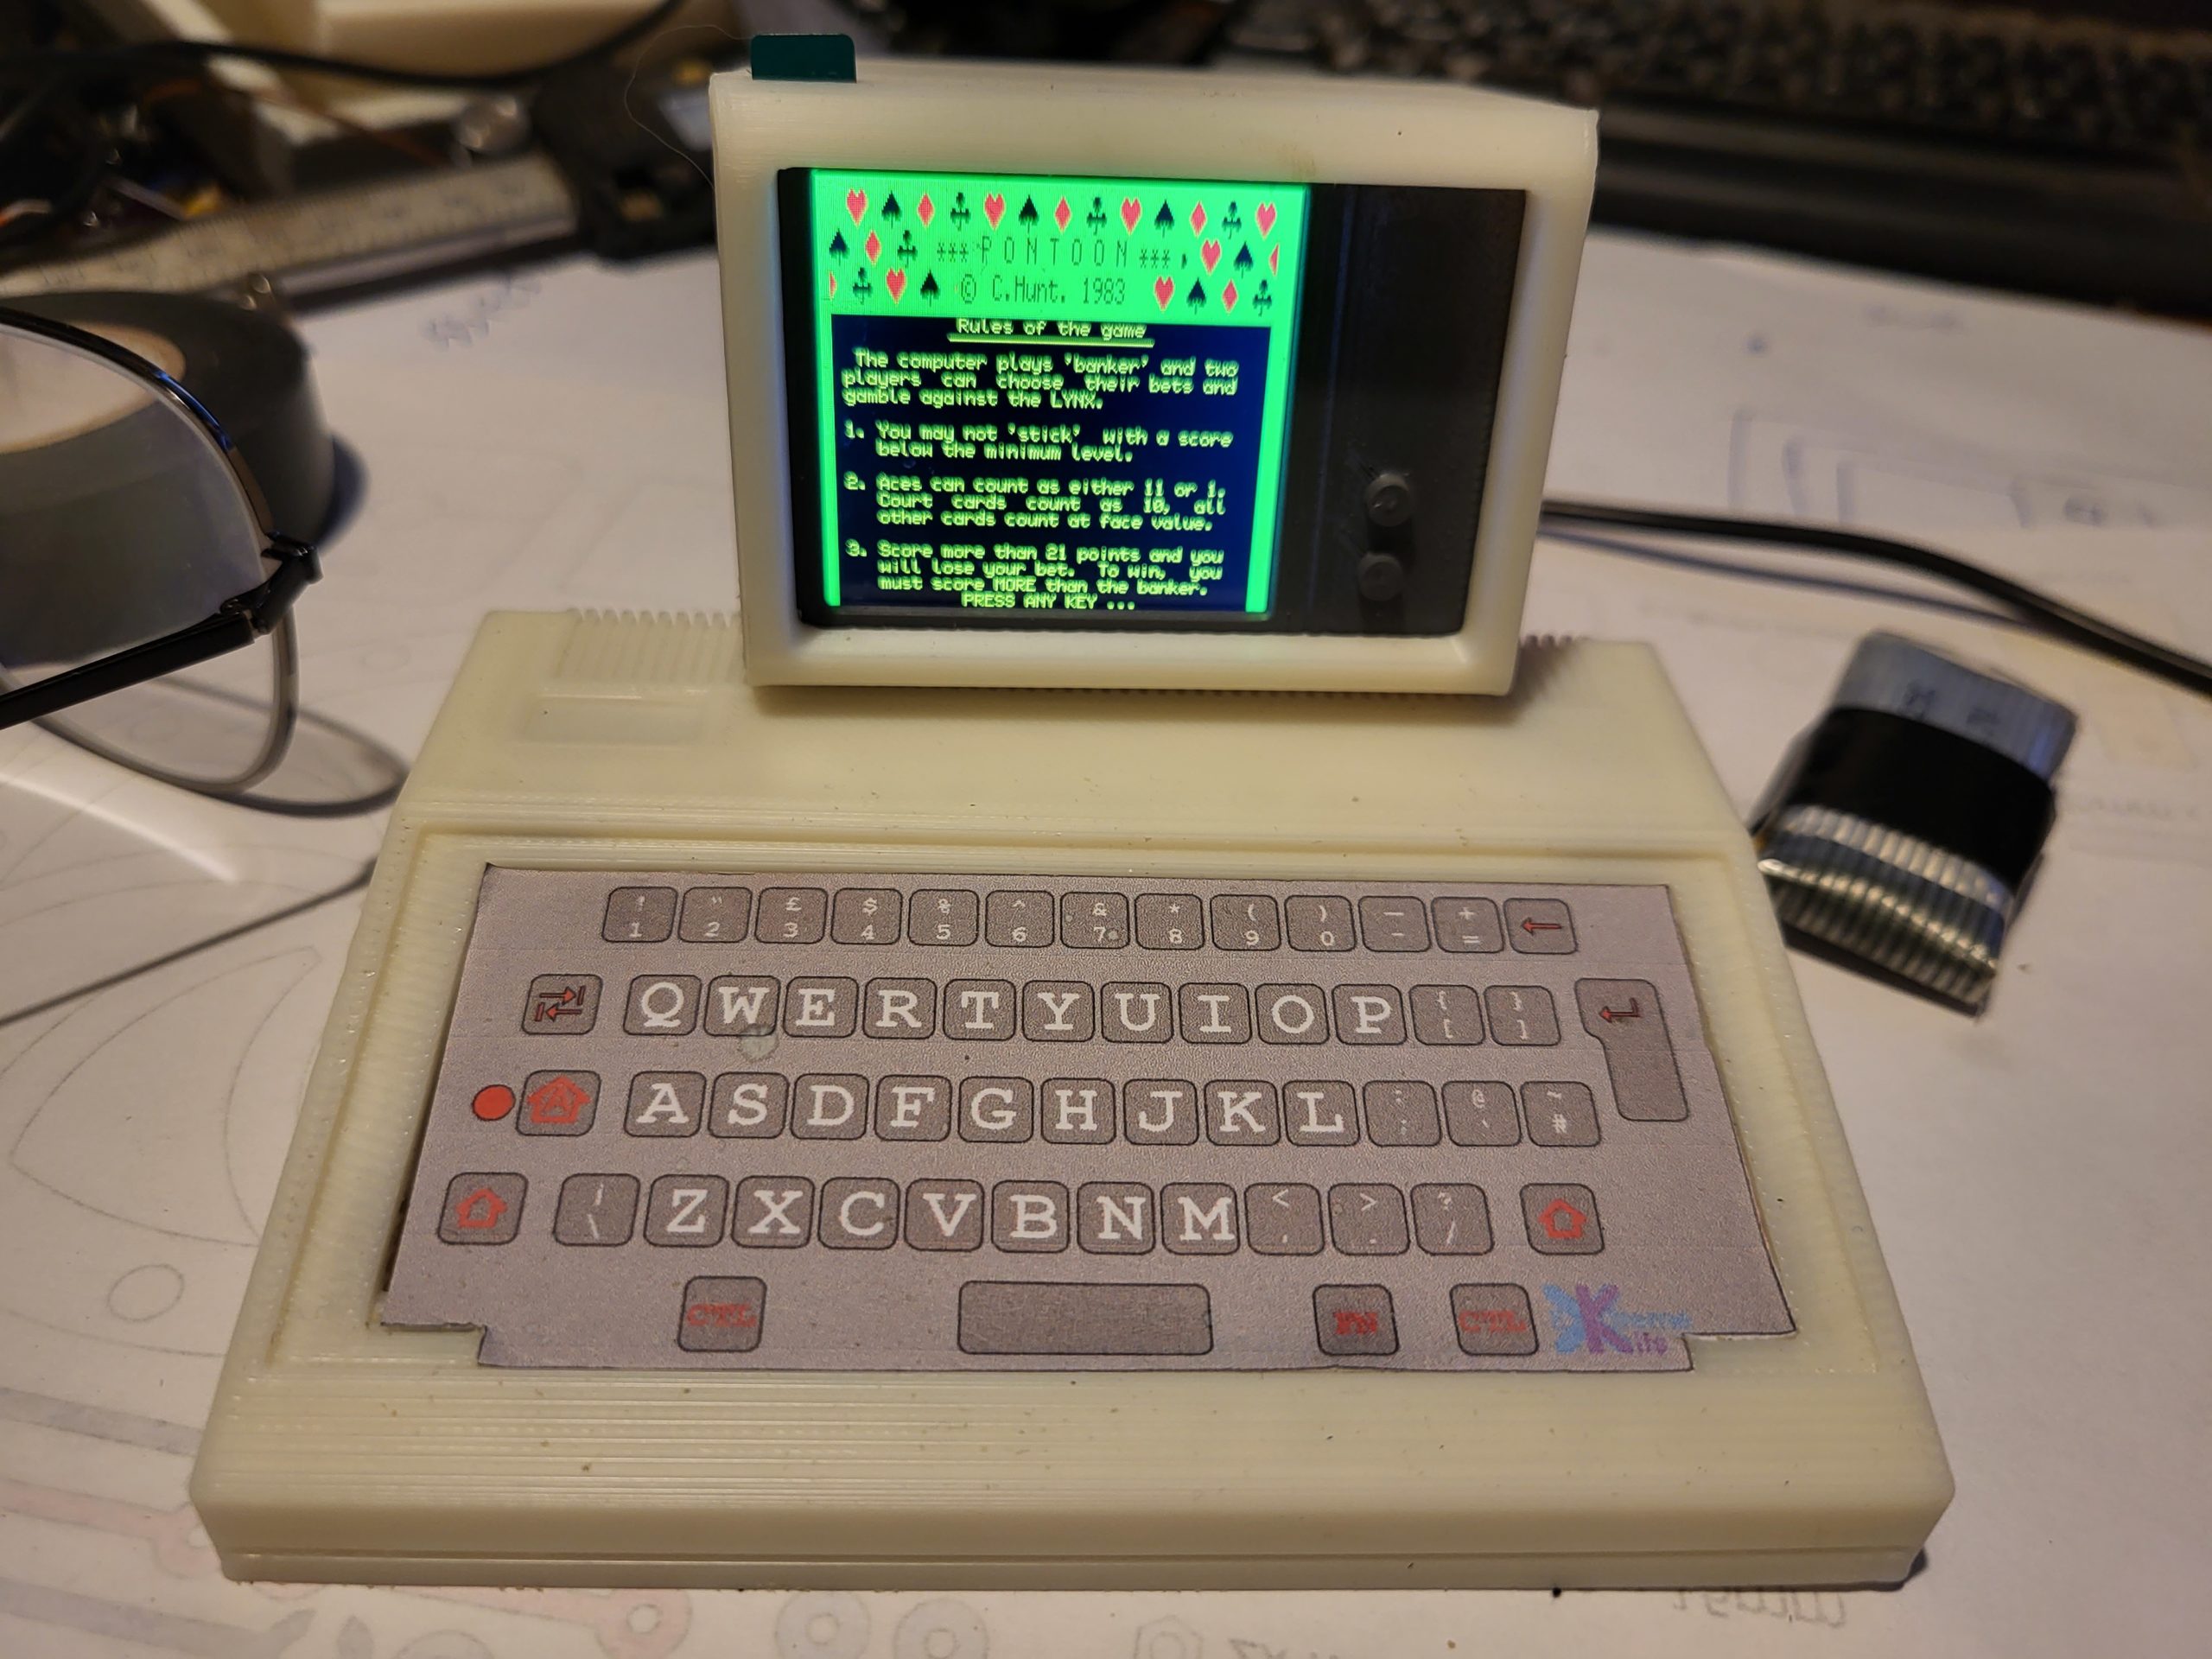
Of course I needed a monitor, so I did a quick 3D print of an IBM 5151 style monitor. This gave me the space to the right to hide the display connector. and as the original was only 12″ didn’t look out of place with the small Lynx Case.
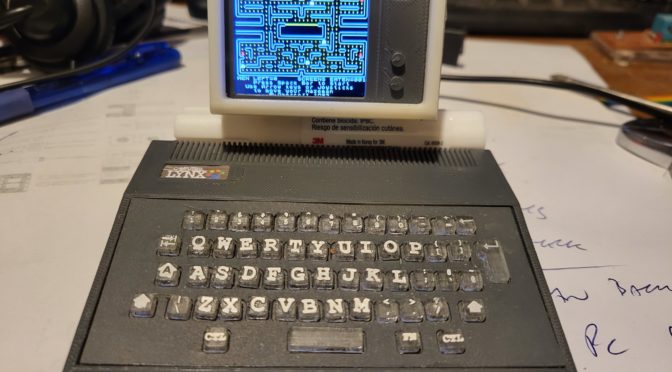
For the keyboard I wanted actual working keys.
So I made an escutcheon from grey sprayed card

and laser cut/engraved a set of small keys to fit. Because I couldn’t get grey acrylic I used transparent acrylic, on top of a grey sprayed key holder.

The effect is grey keys with white painted idents.
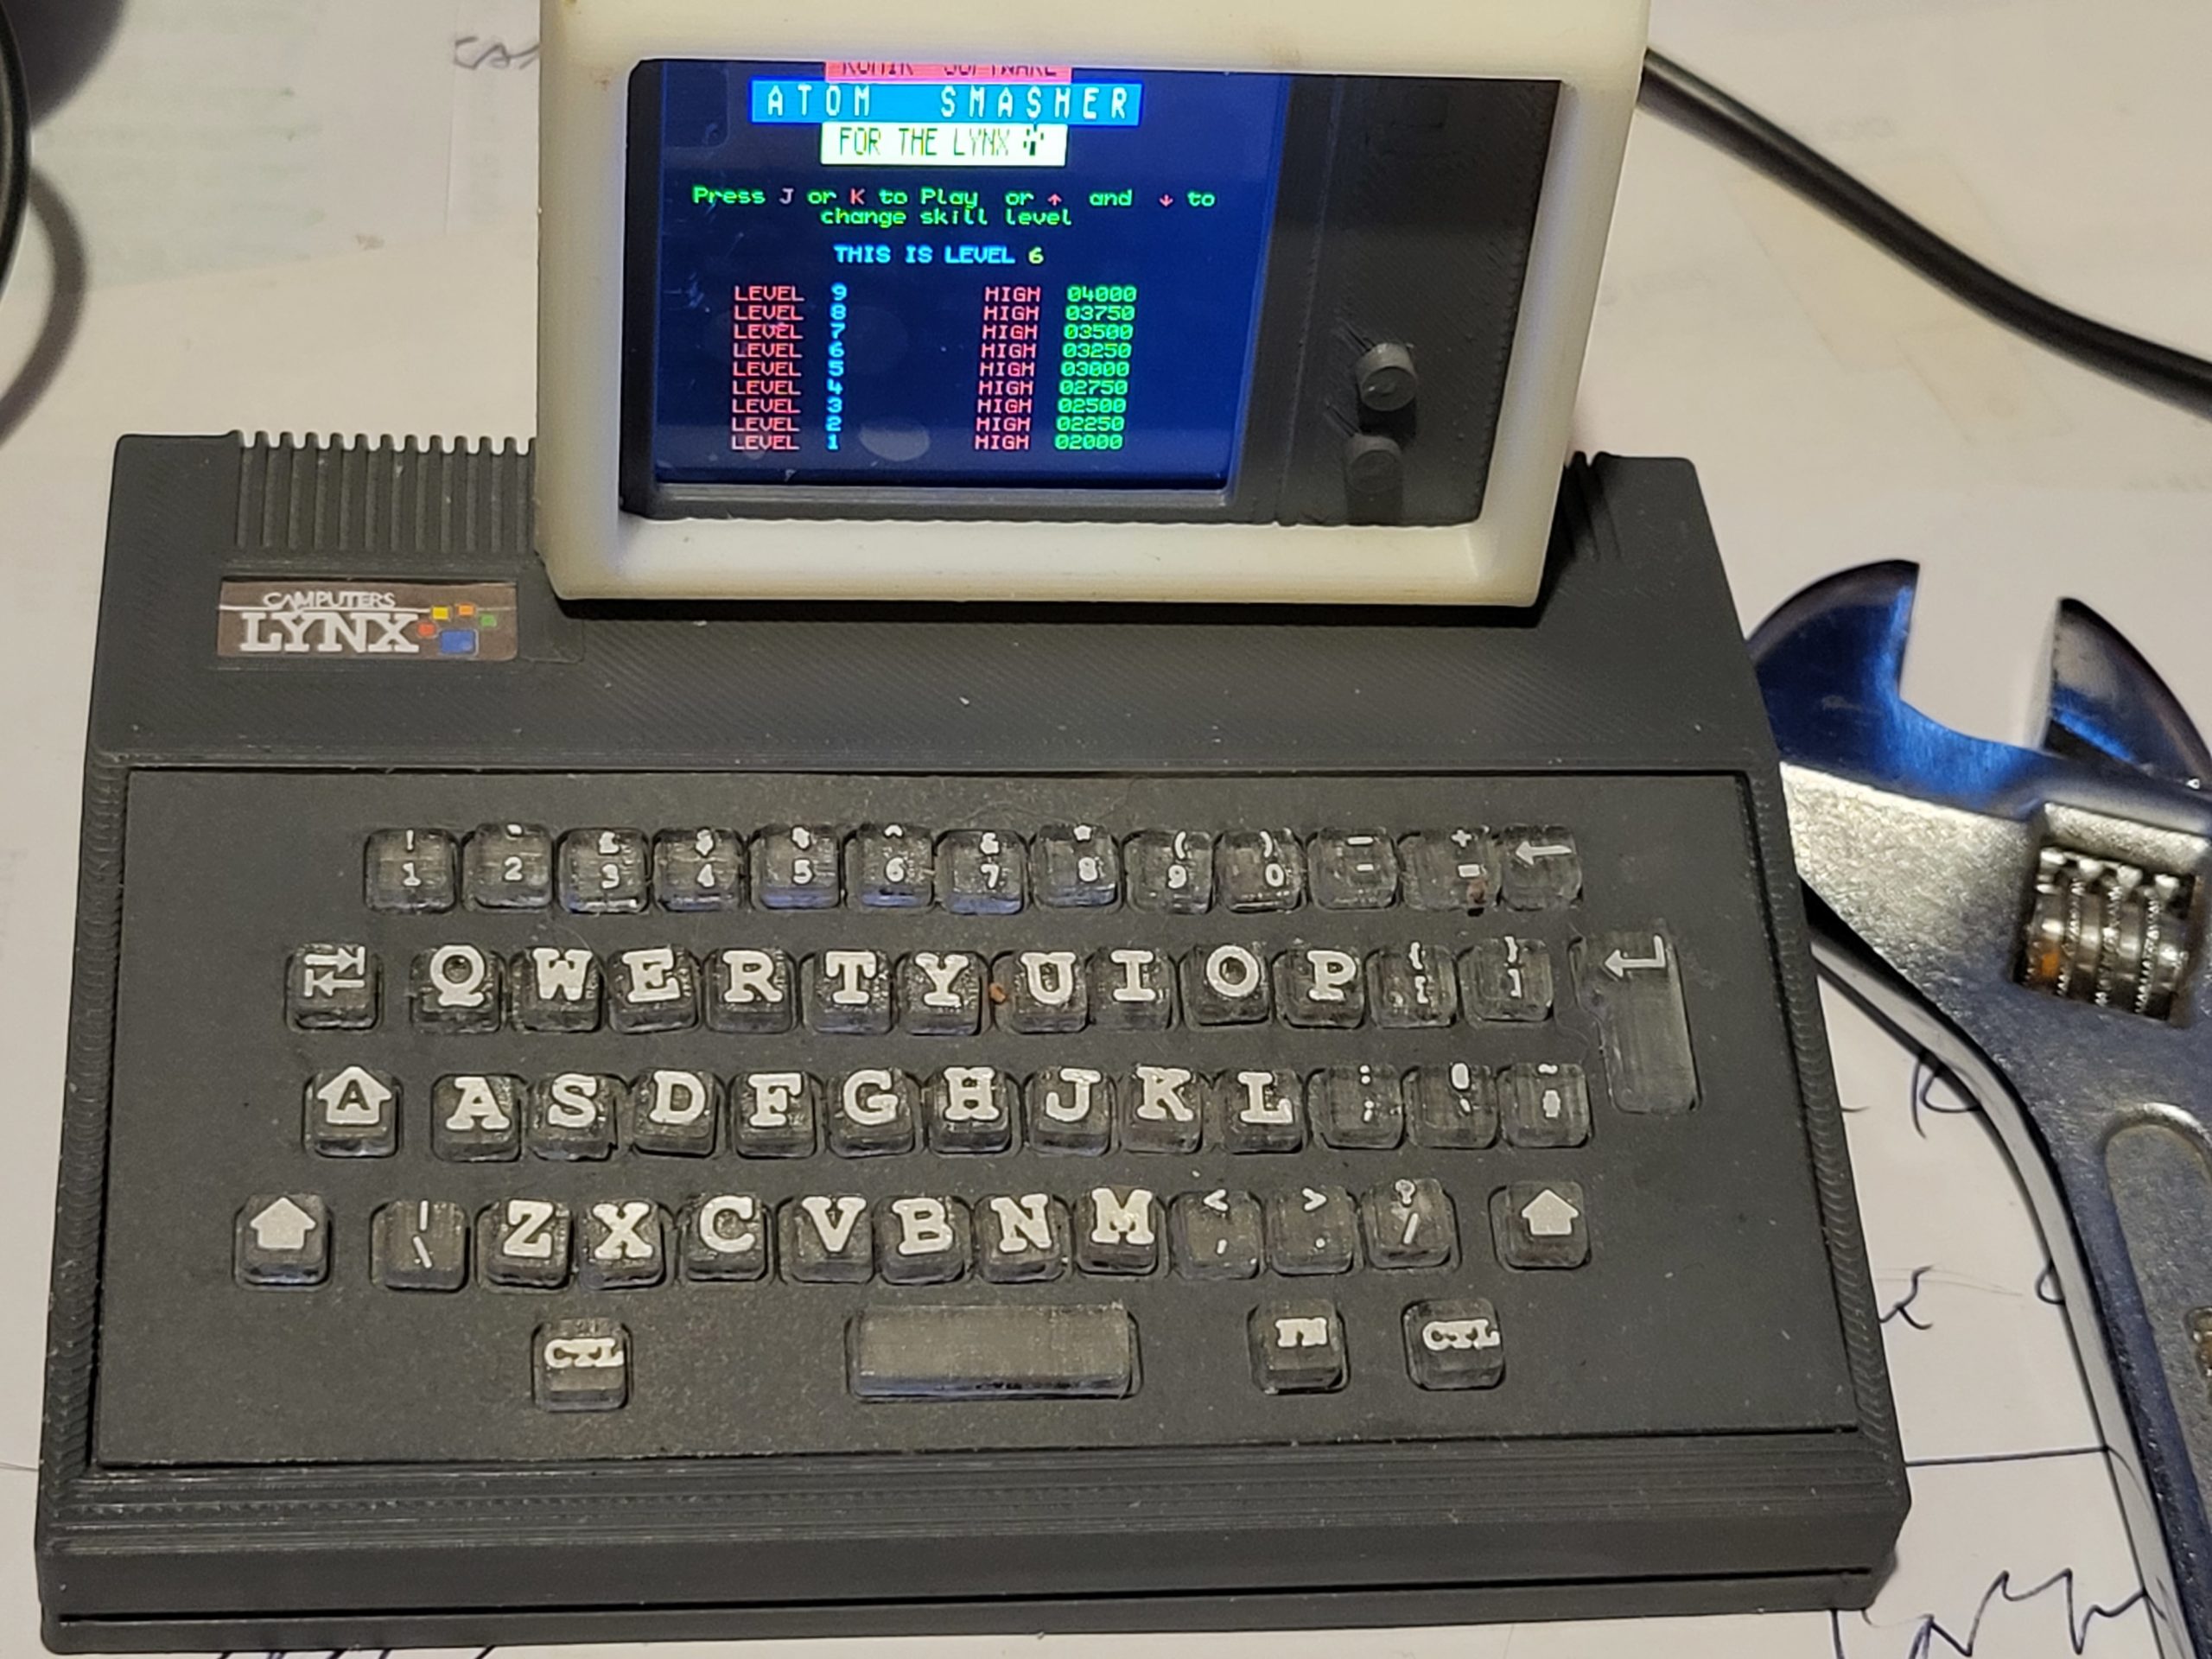
Not 100% happy with these, but I have a set for working grey keys, on a grey Lynx shaped case. For a more accurate layout I’d need a custom Lynx keyboard PCB.
The whole case is only 120mm wide to give you some idea of scale.
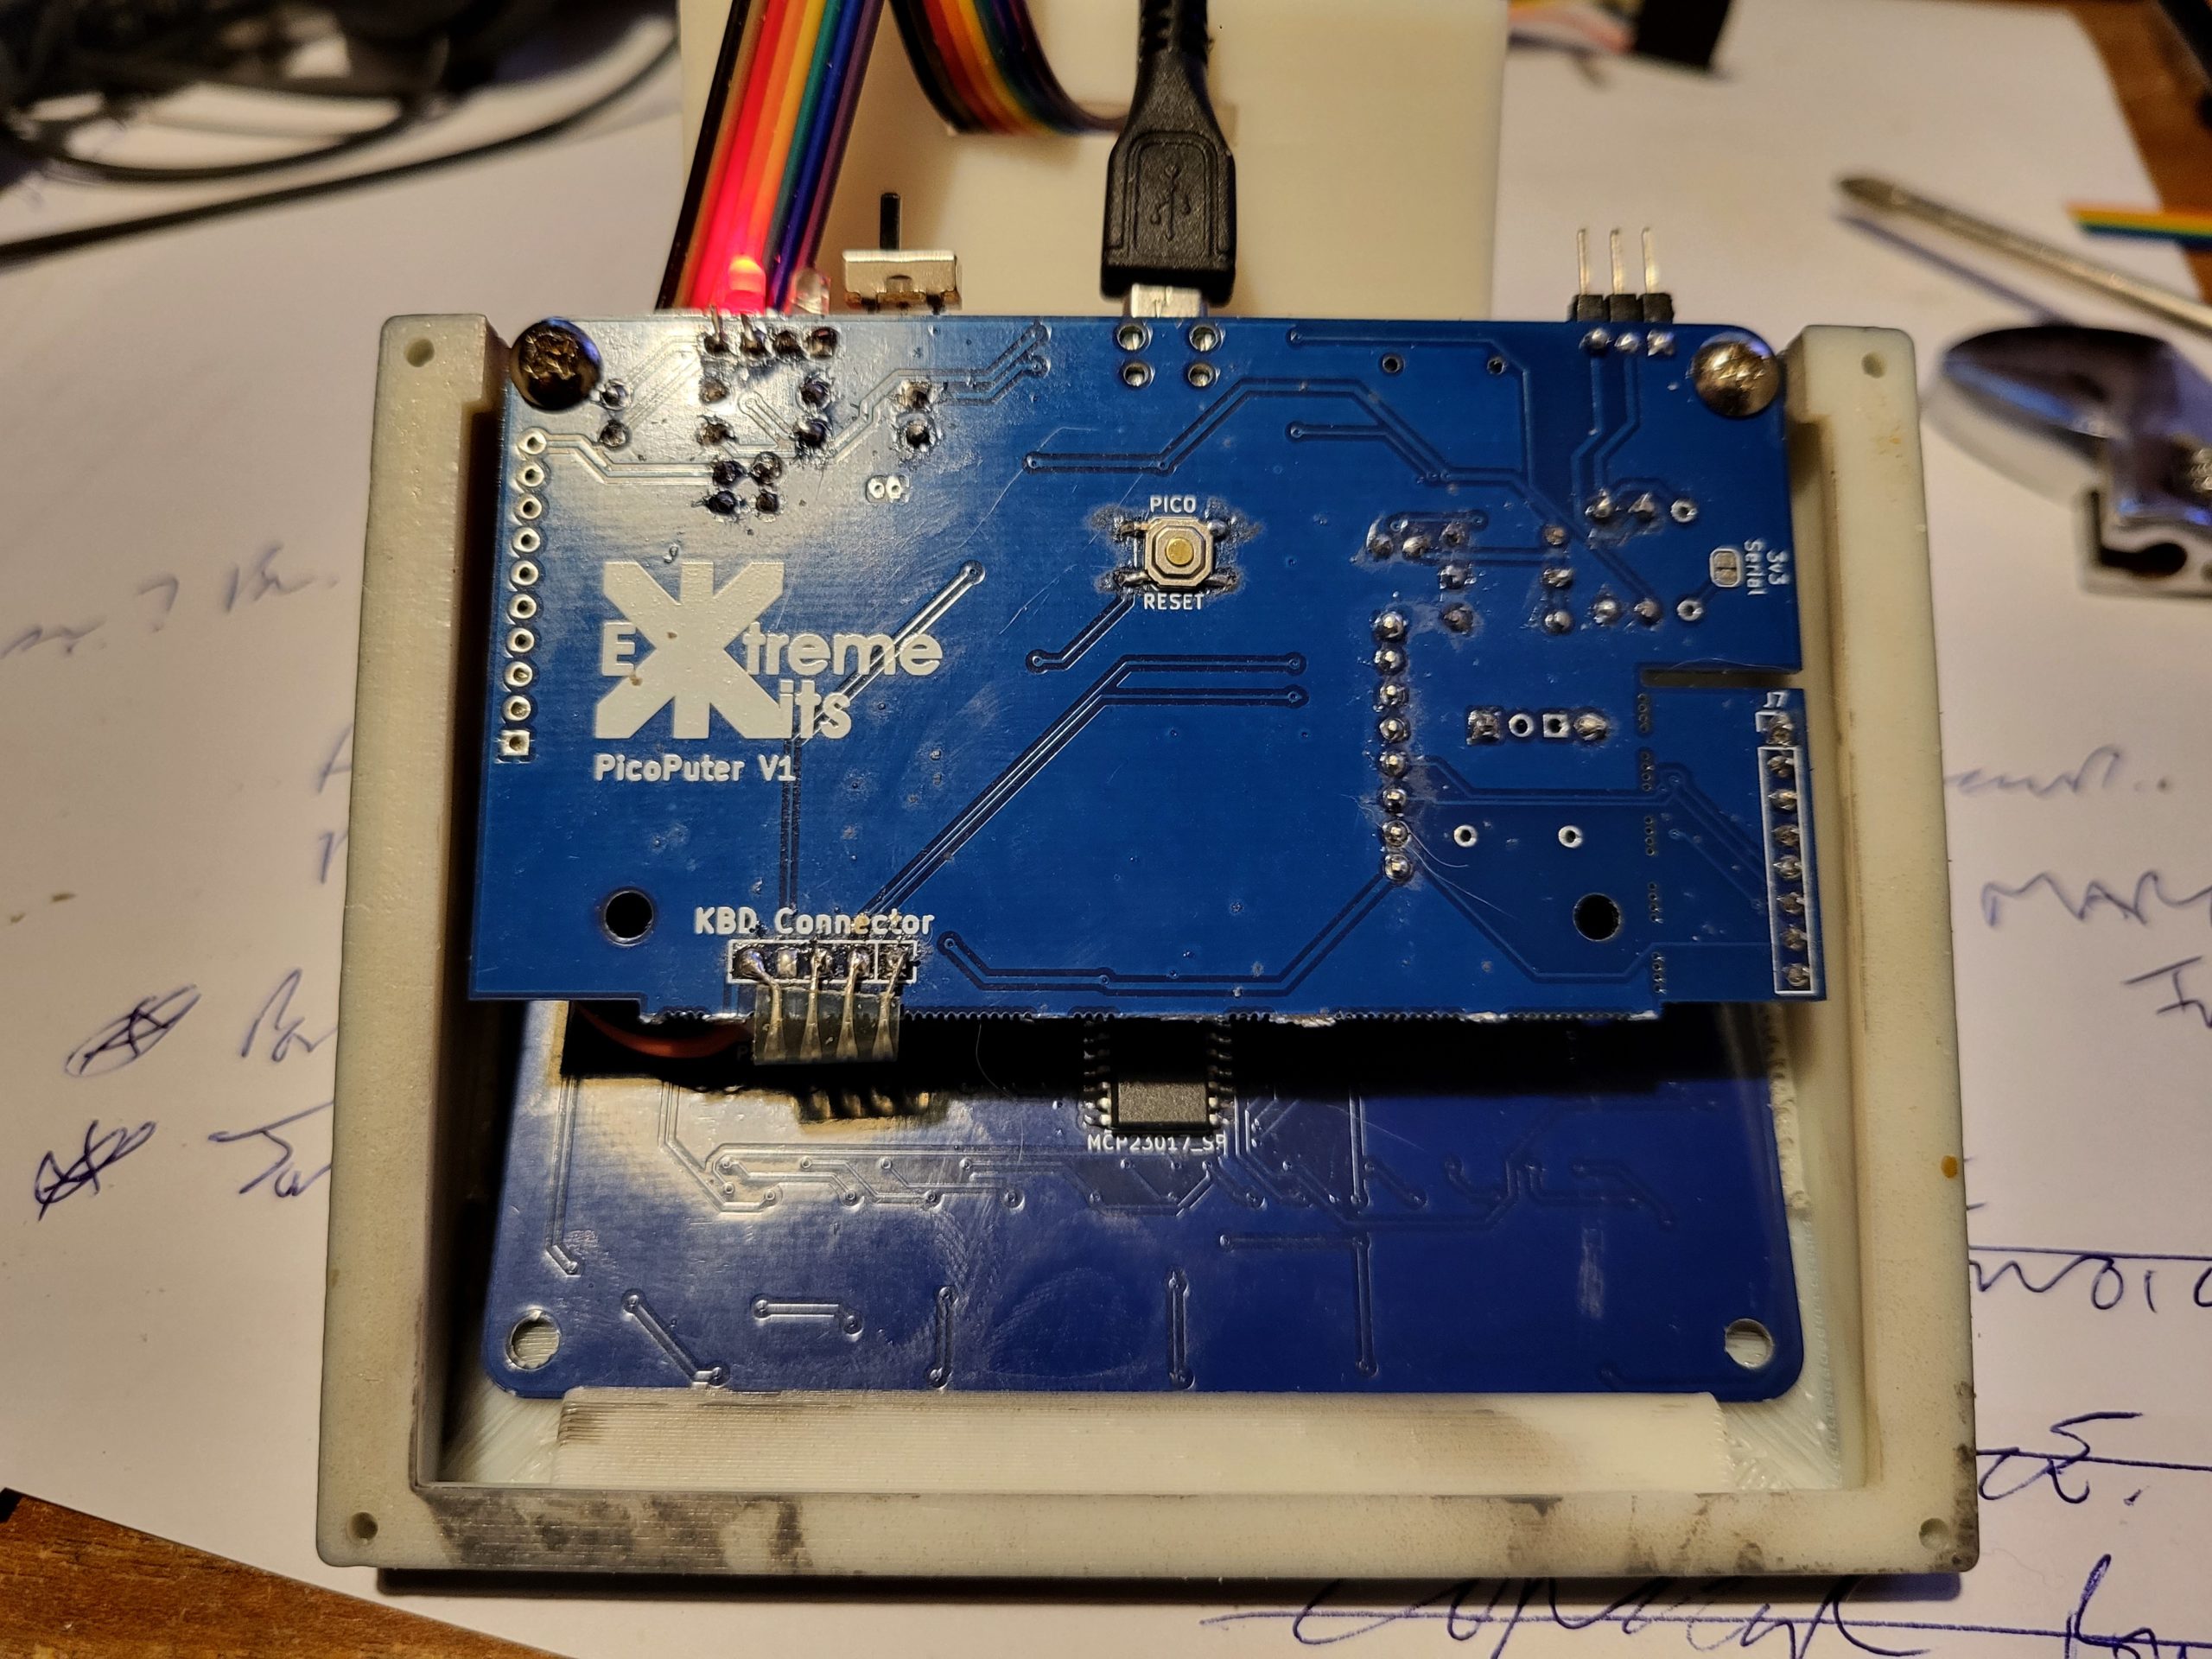
The two PicoPuter PCB’s sit inside and a small battery, because it was vital for this to run as a portable 🙂
The Ribbon cable is the feed to the display, which is mostly hidden by the case and the display itself.

and attached to the back of the display by a small daughter board.