
Continued from Tales of a cheap Chinese laser cutter – Lasering!
After cutting a large piece I noticed some inconsistency with the quality of the cut from one side of the bed to the other. I’d always intended to replace the silly clamp type bed anyway. Plus It did make me wonder why the cutting sweet spot was 6-8mm above the bed,
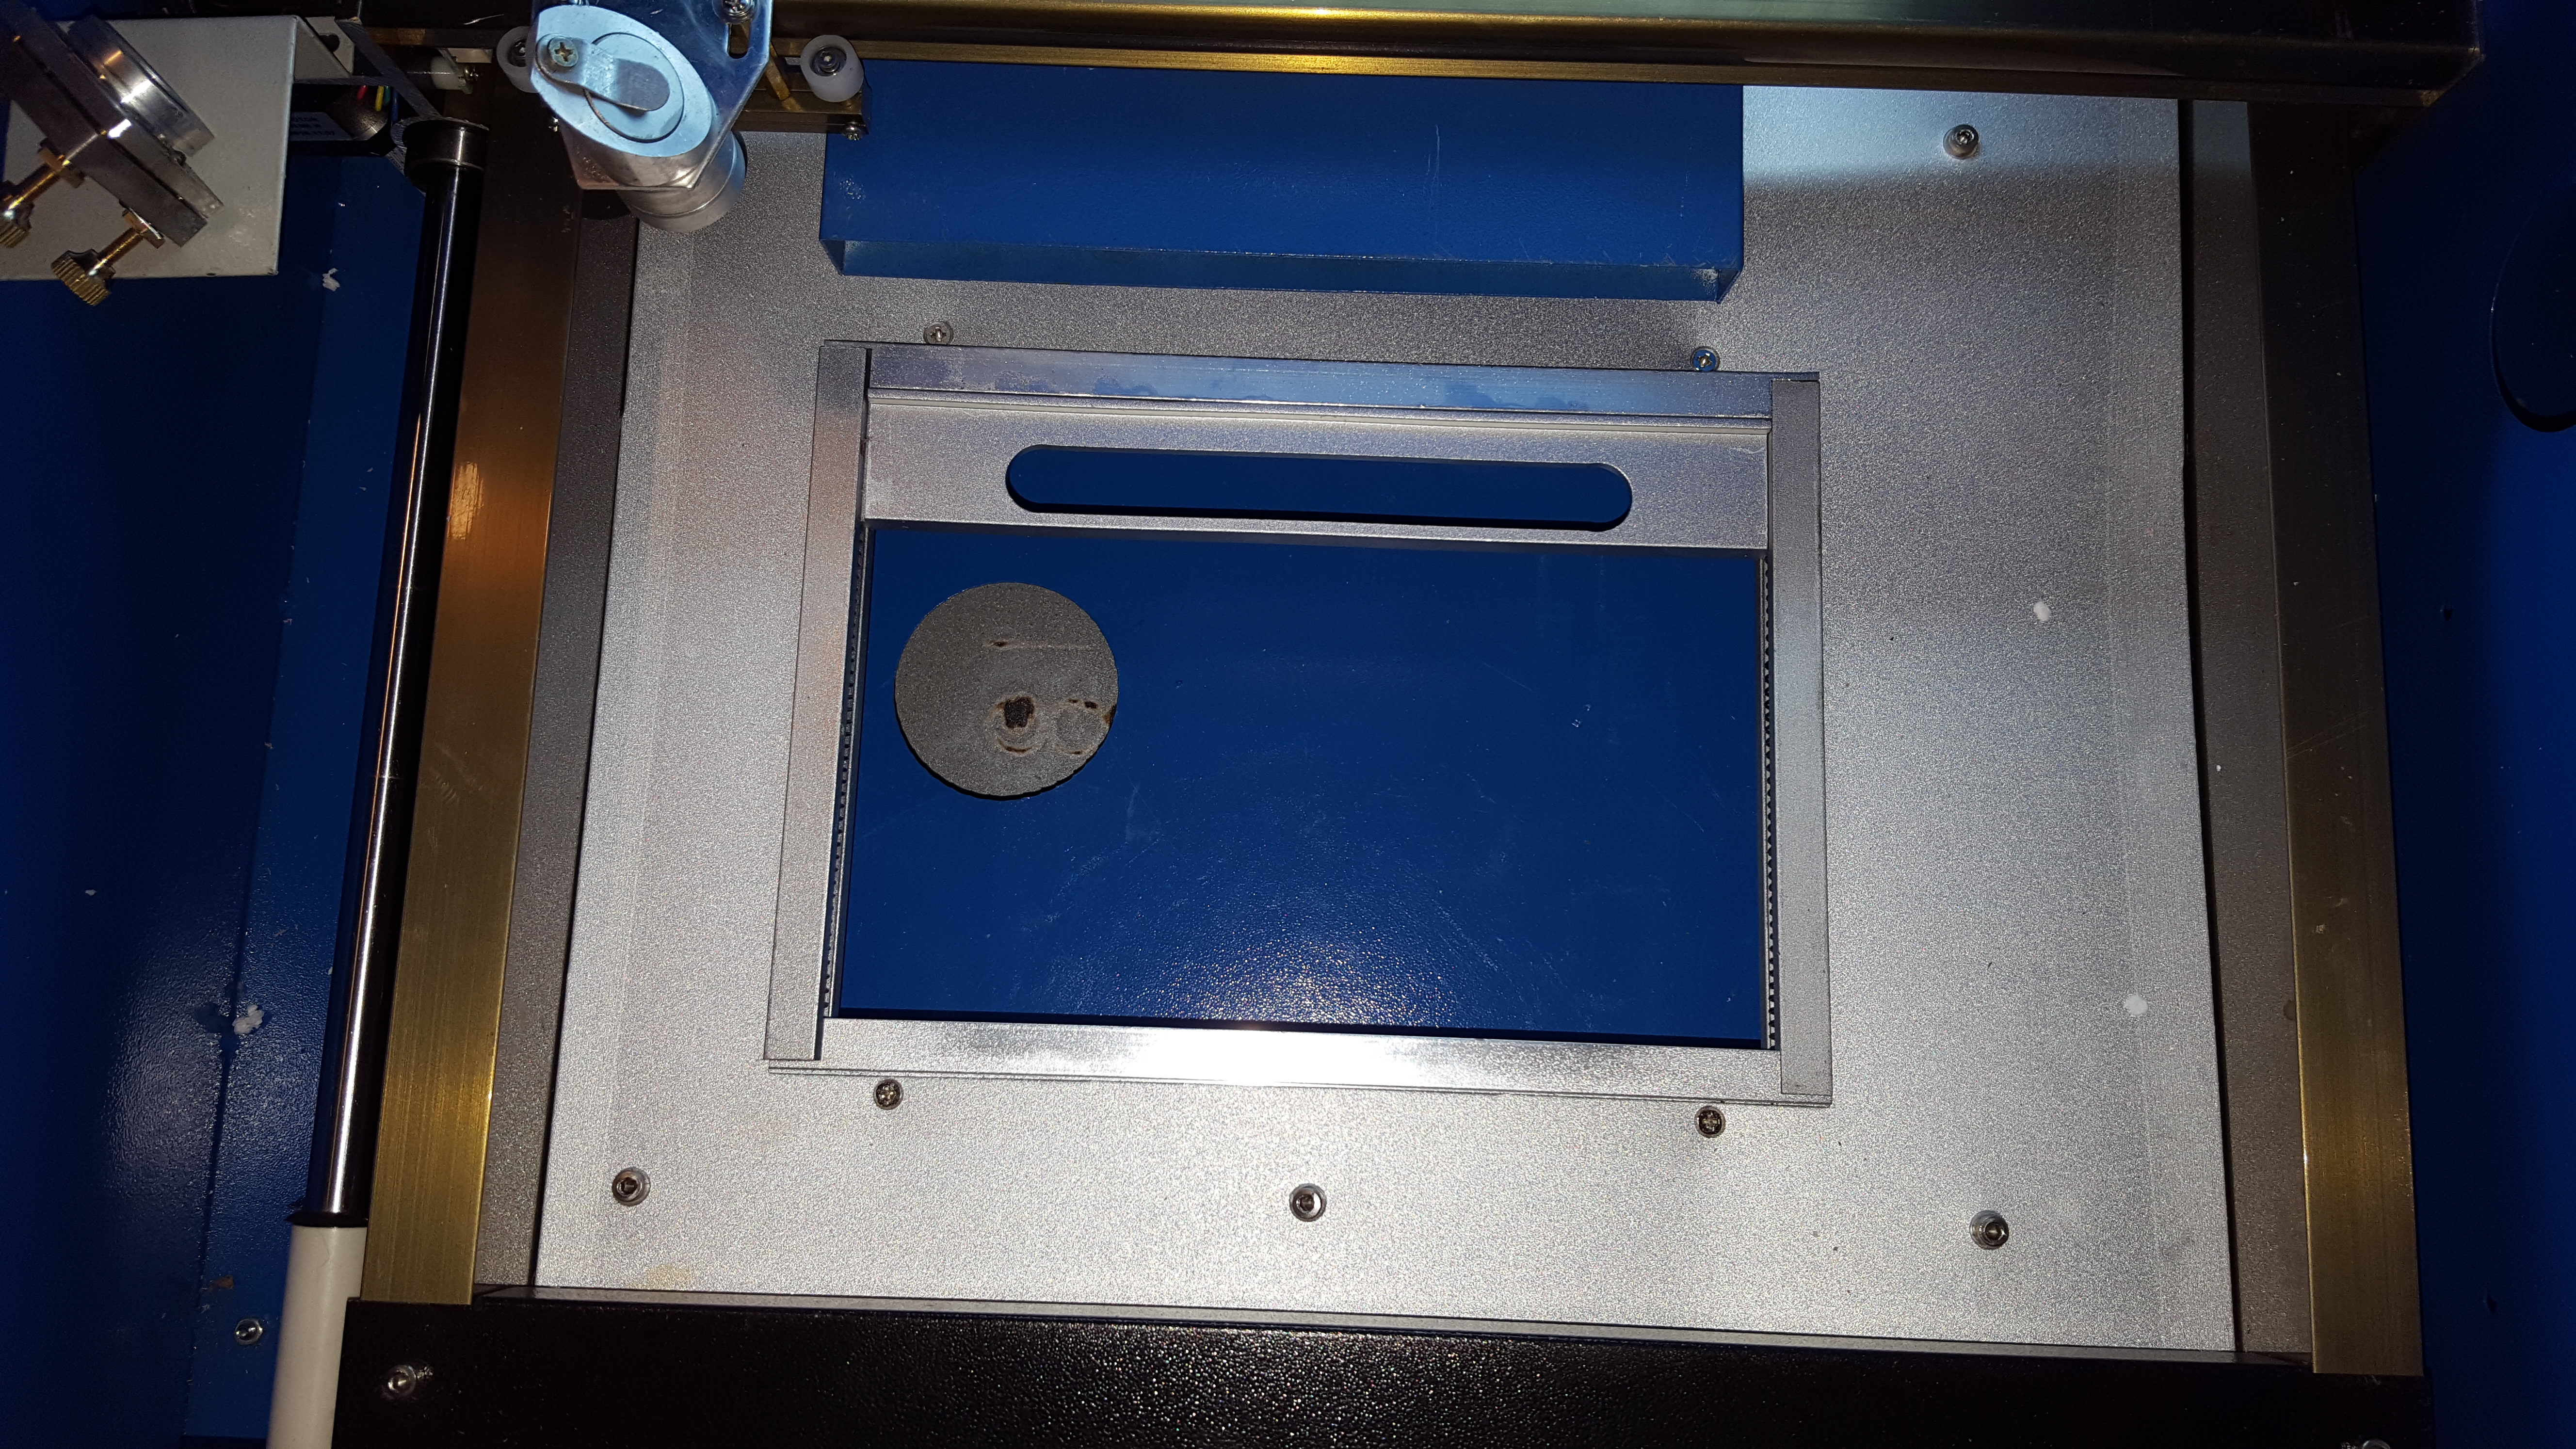
so I thought it would be a good time to investigate.
The bed plate obviously wasn’t as flat as I’d would have liked. I suspect this damage was caused by the extractor fan being stowed in/on the bed during transit from China, with no packaging what so ever. Every bump on the journey would have had its toll on the bed.
Luckily the bead is easy to remove with 5 screws. Which sit on 5 standoffs from the bottom of the cutter.
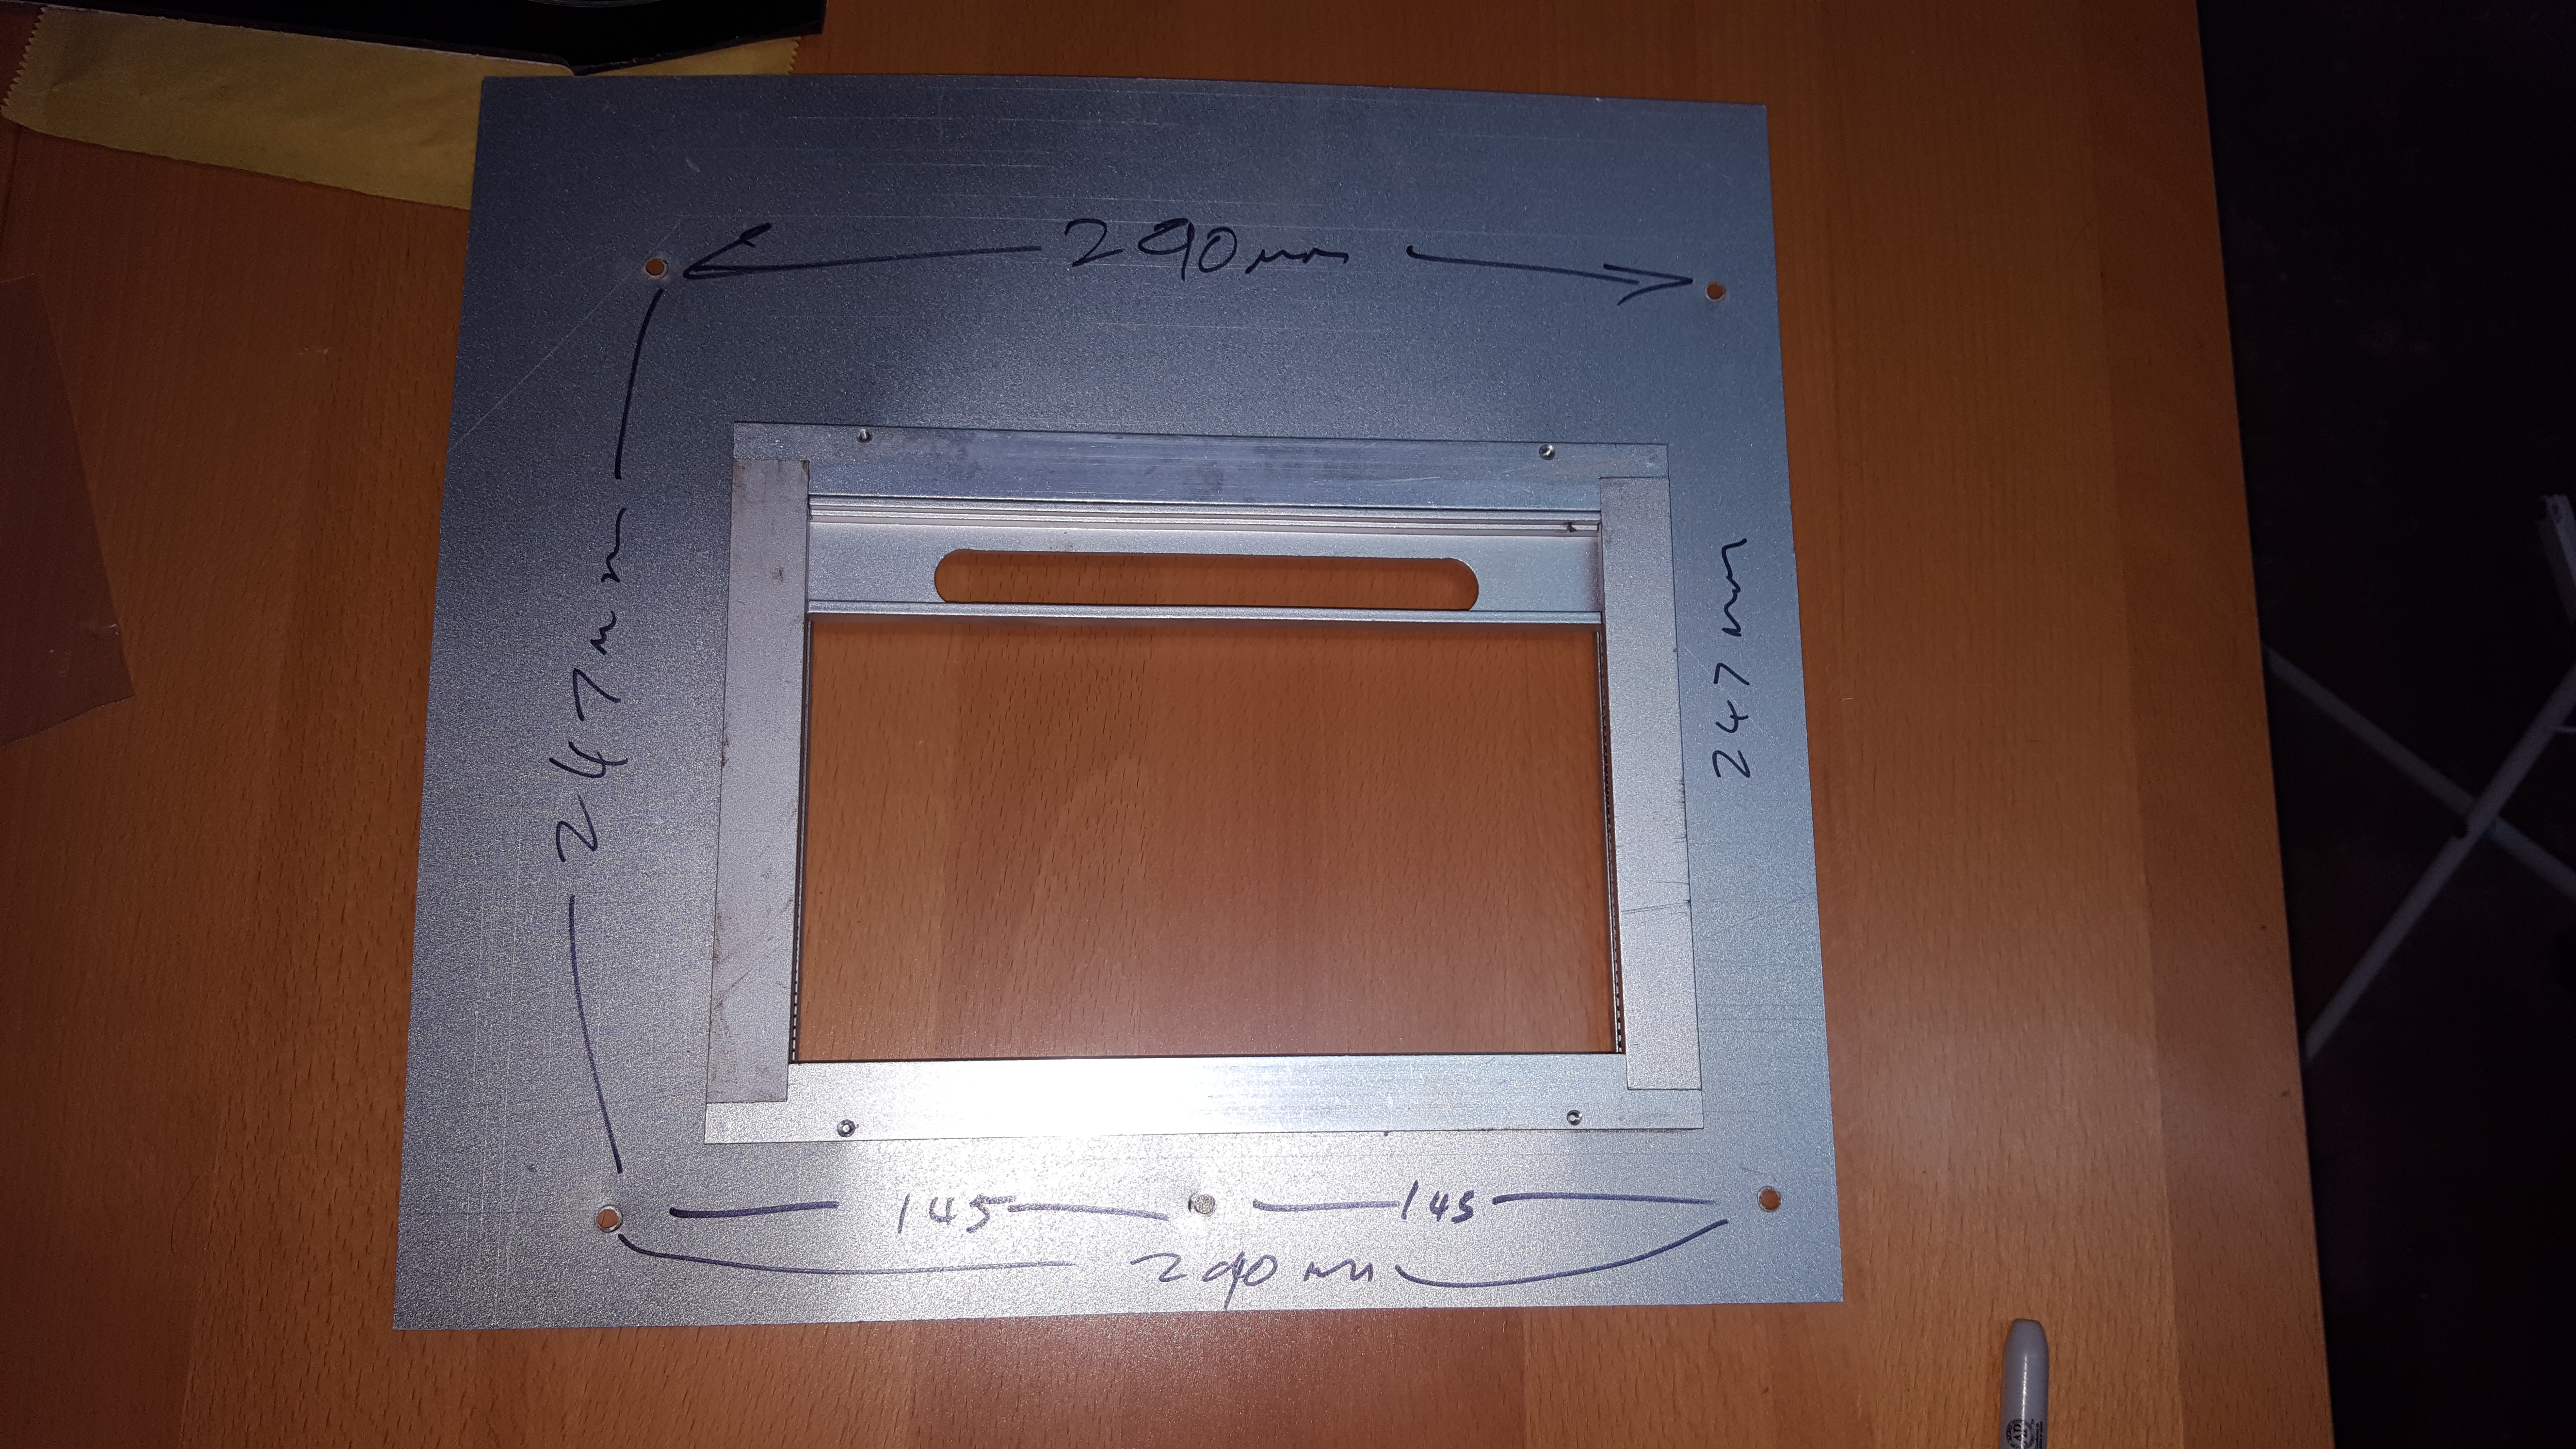
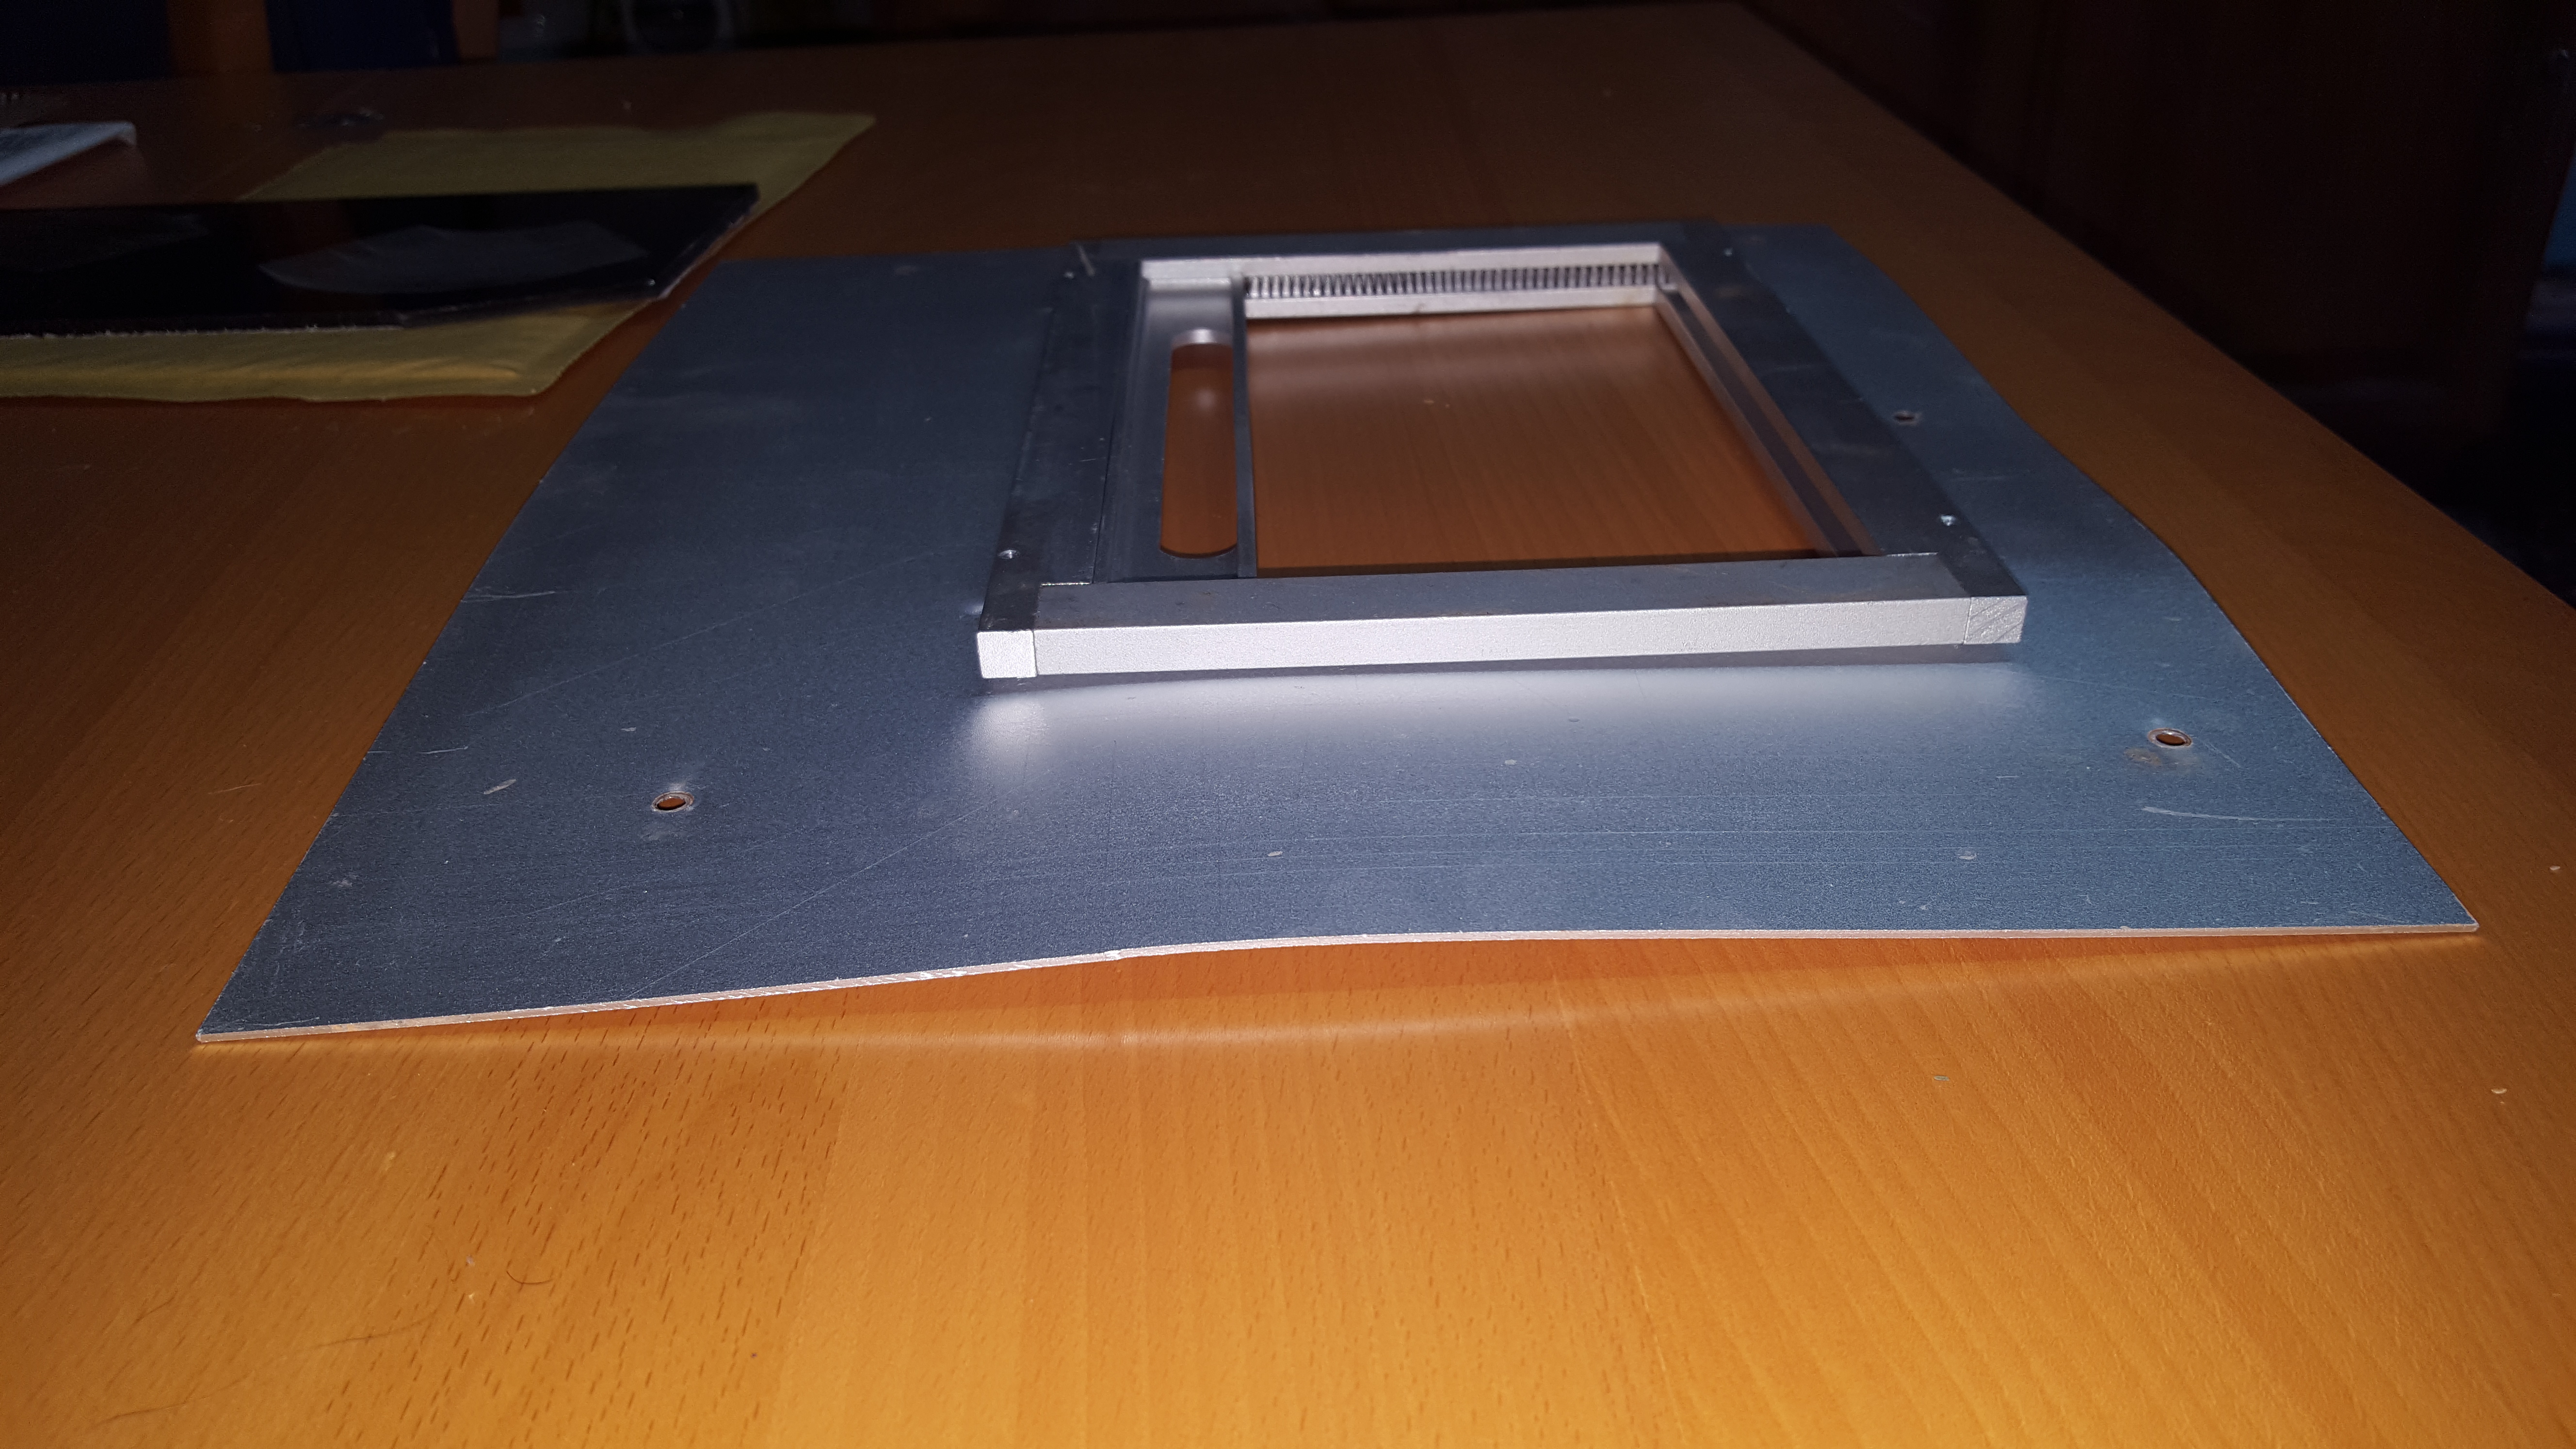
I marked the relative position of all of the holes and set about making a frame.
The frame is constructed from 20mmx15mm Aluminum angle (all I could find at a local DIY store. )
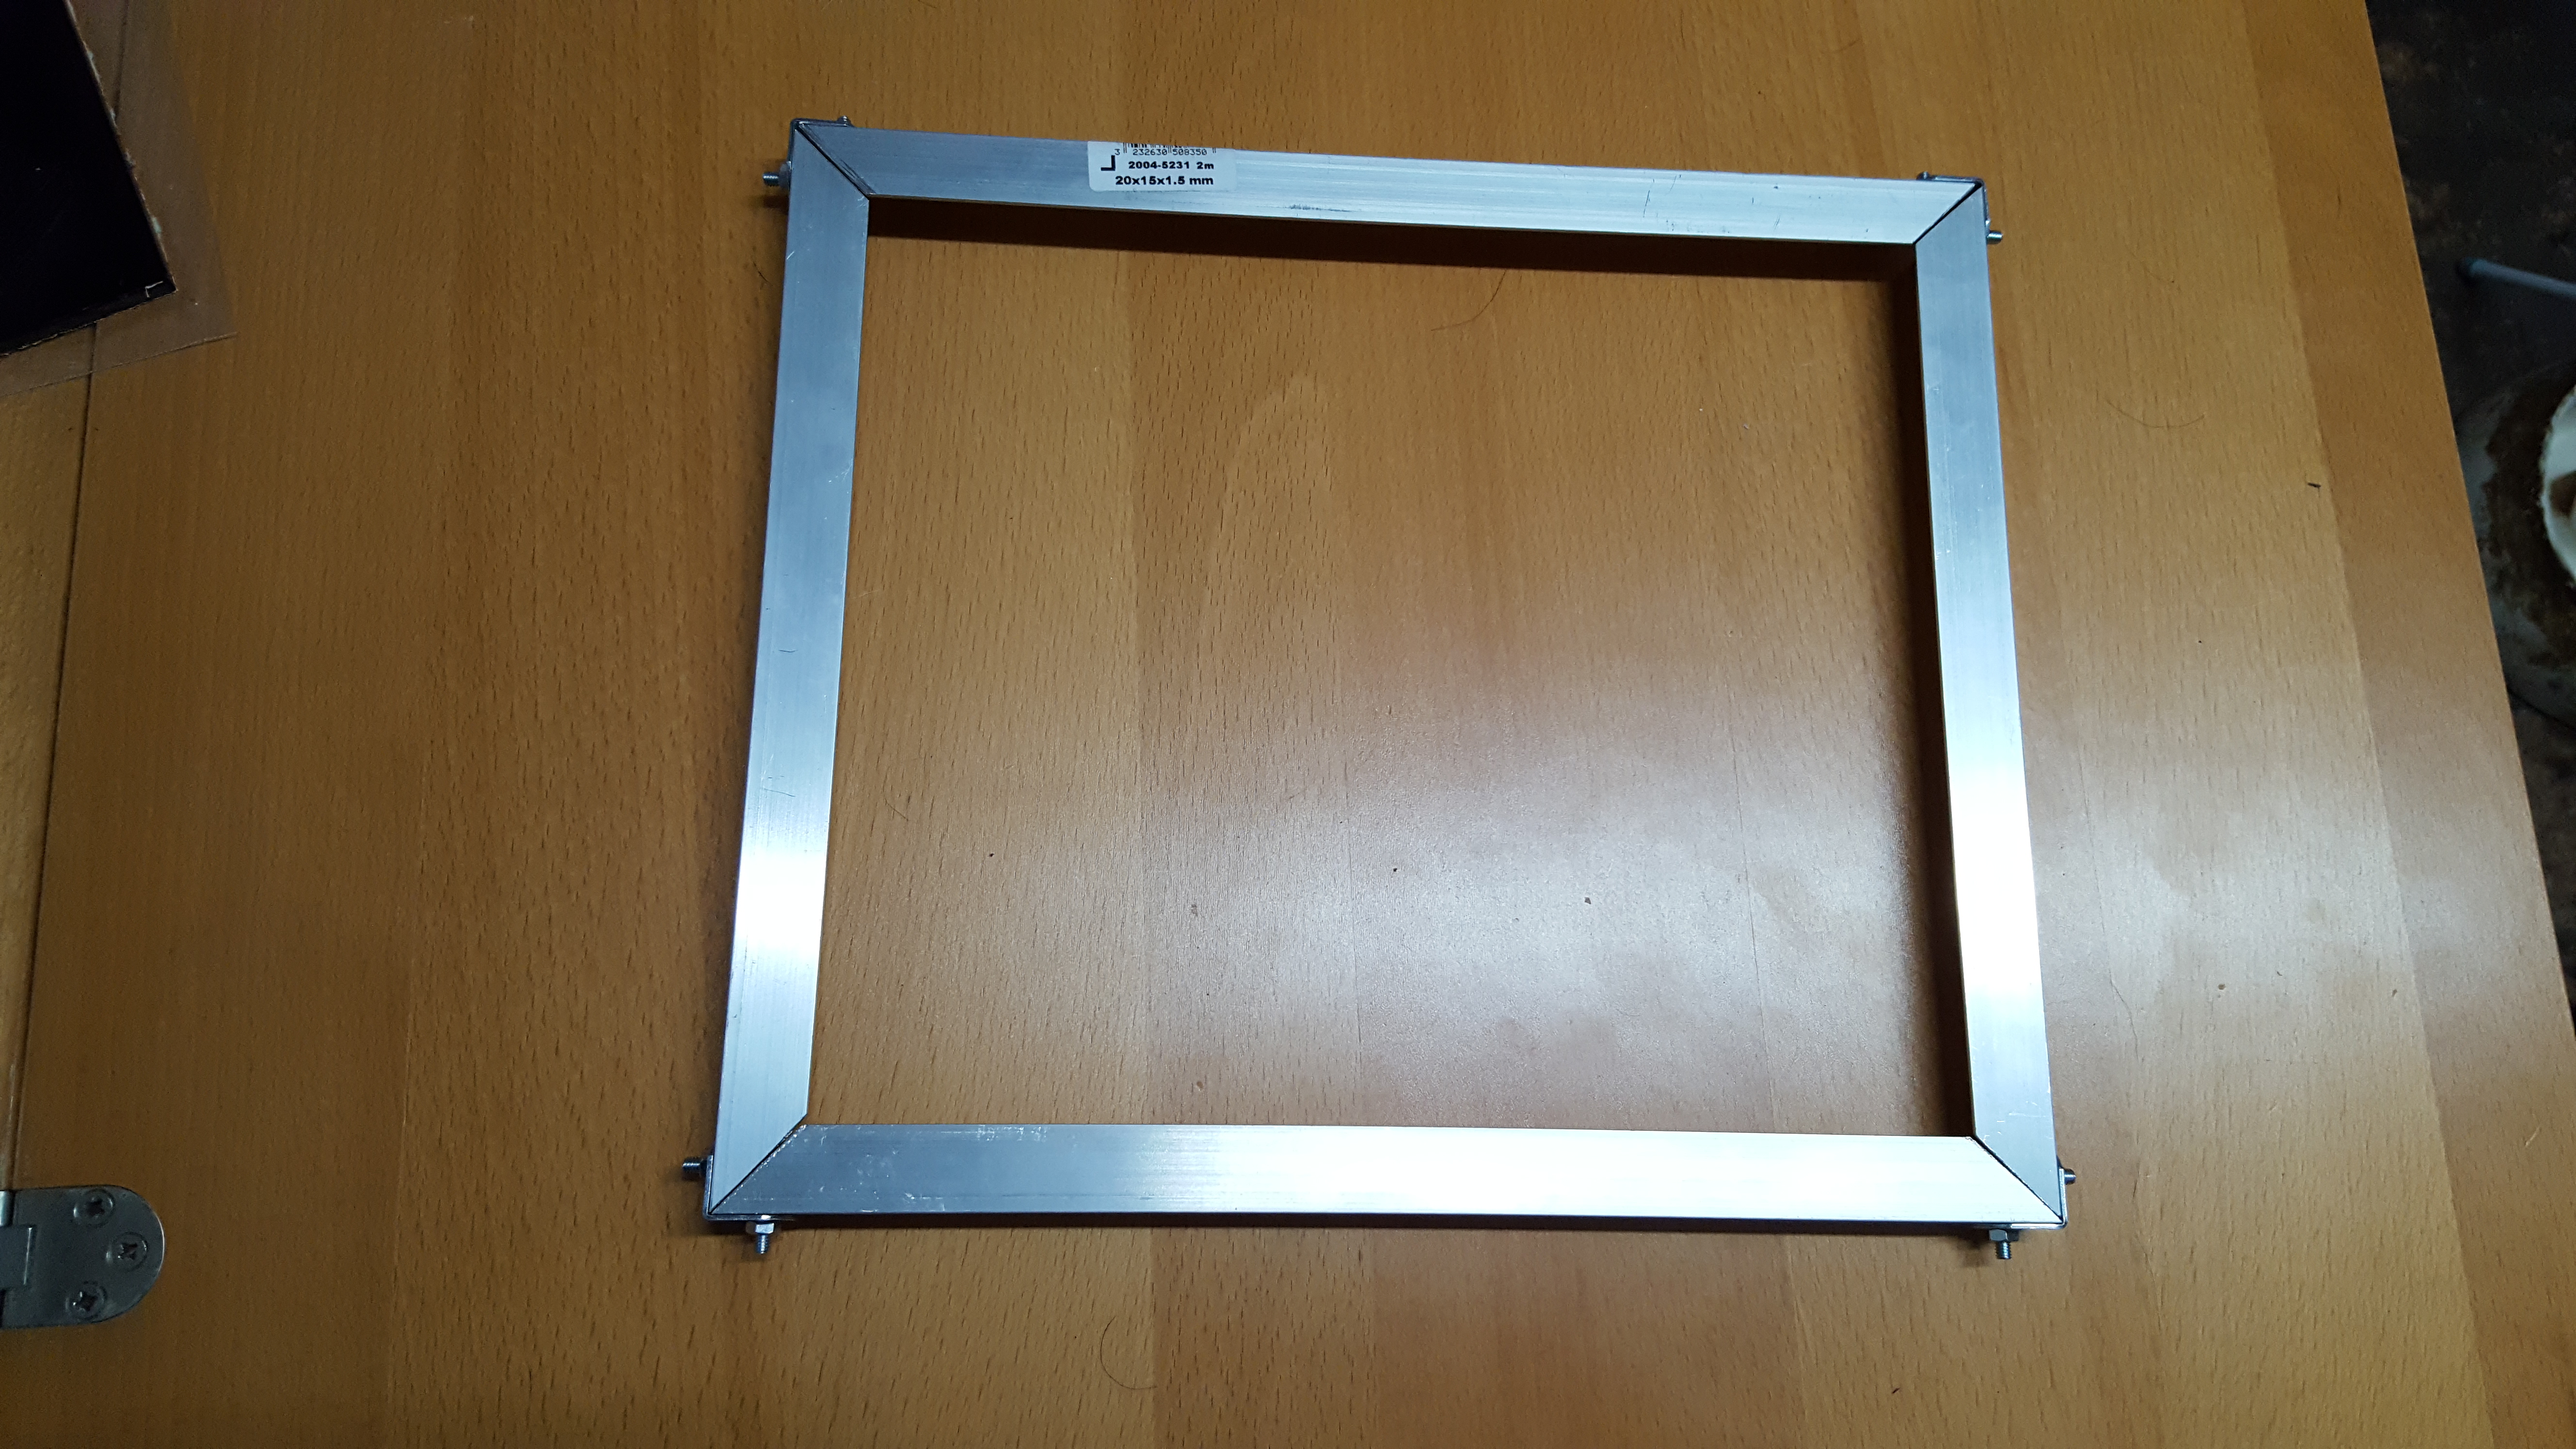
I cut these to length leaving a 10mm overlap from the mounting holes. The corners are reinforced by 4 angle brackets.
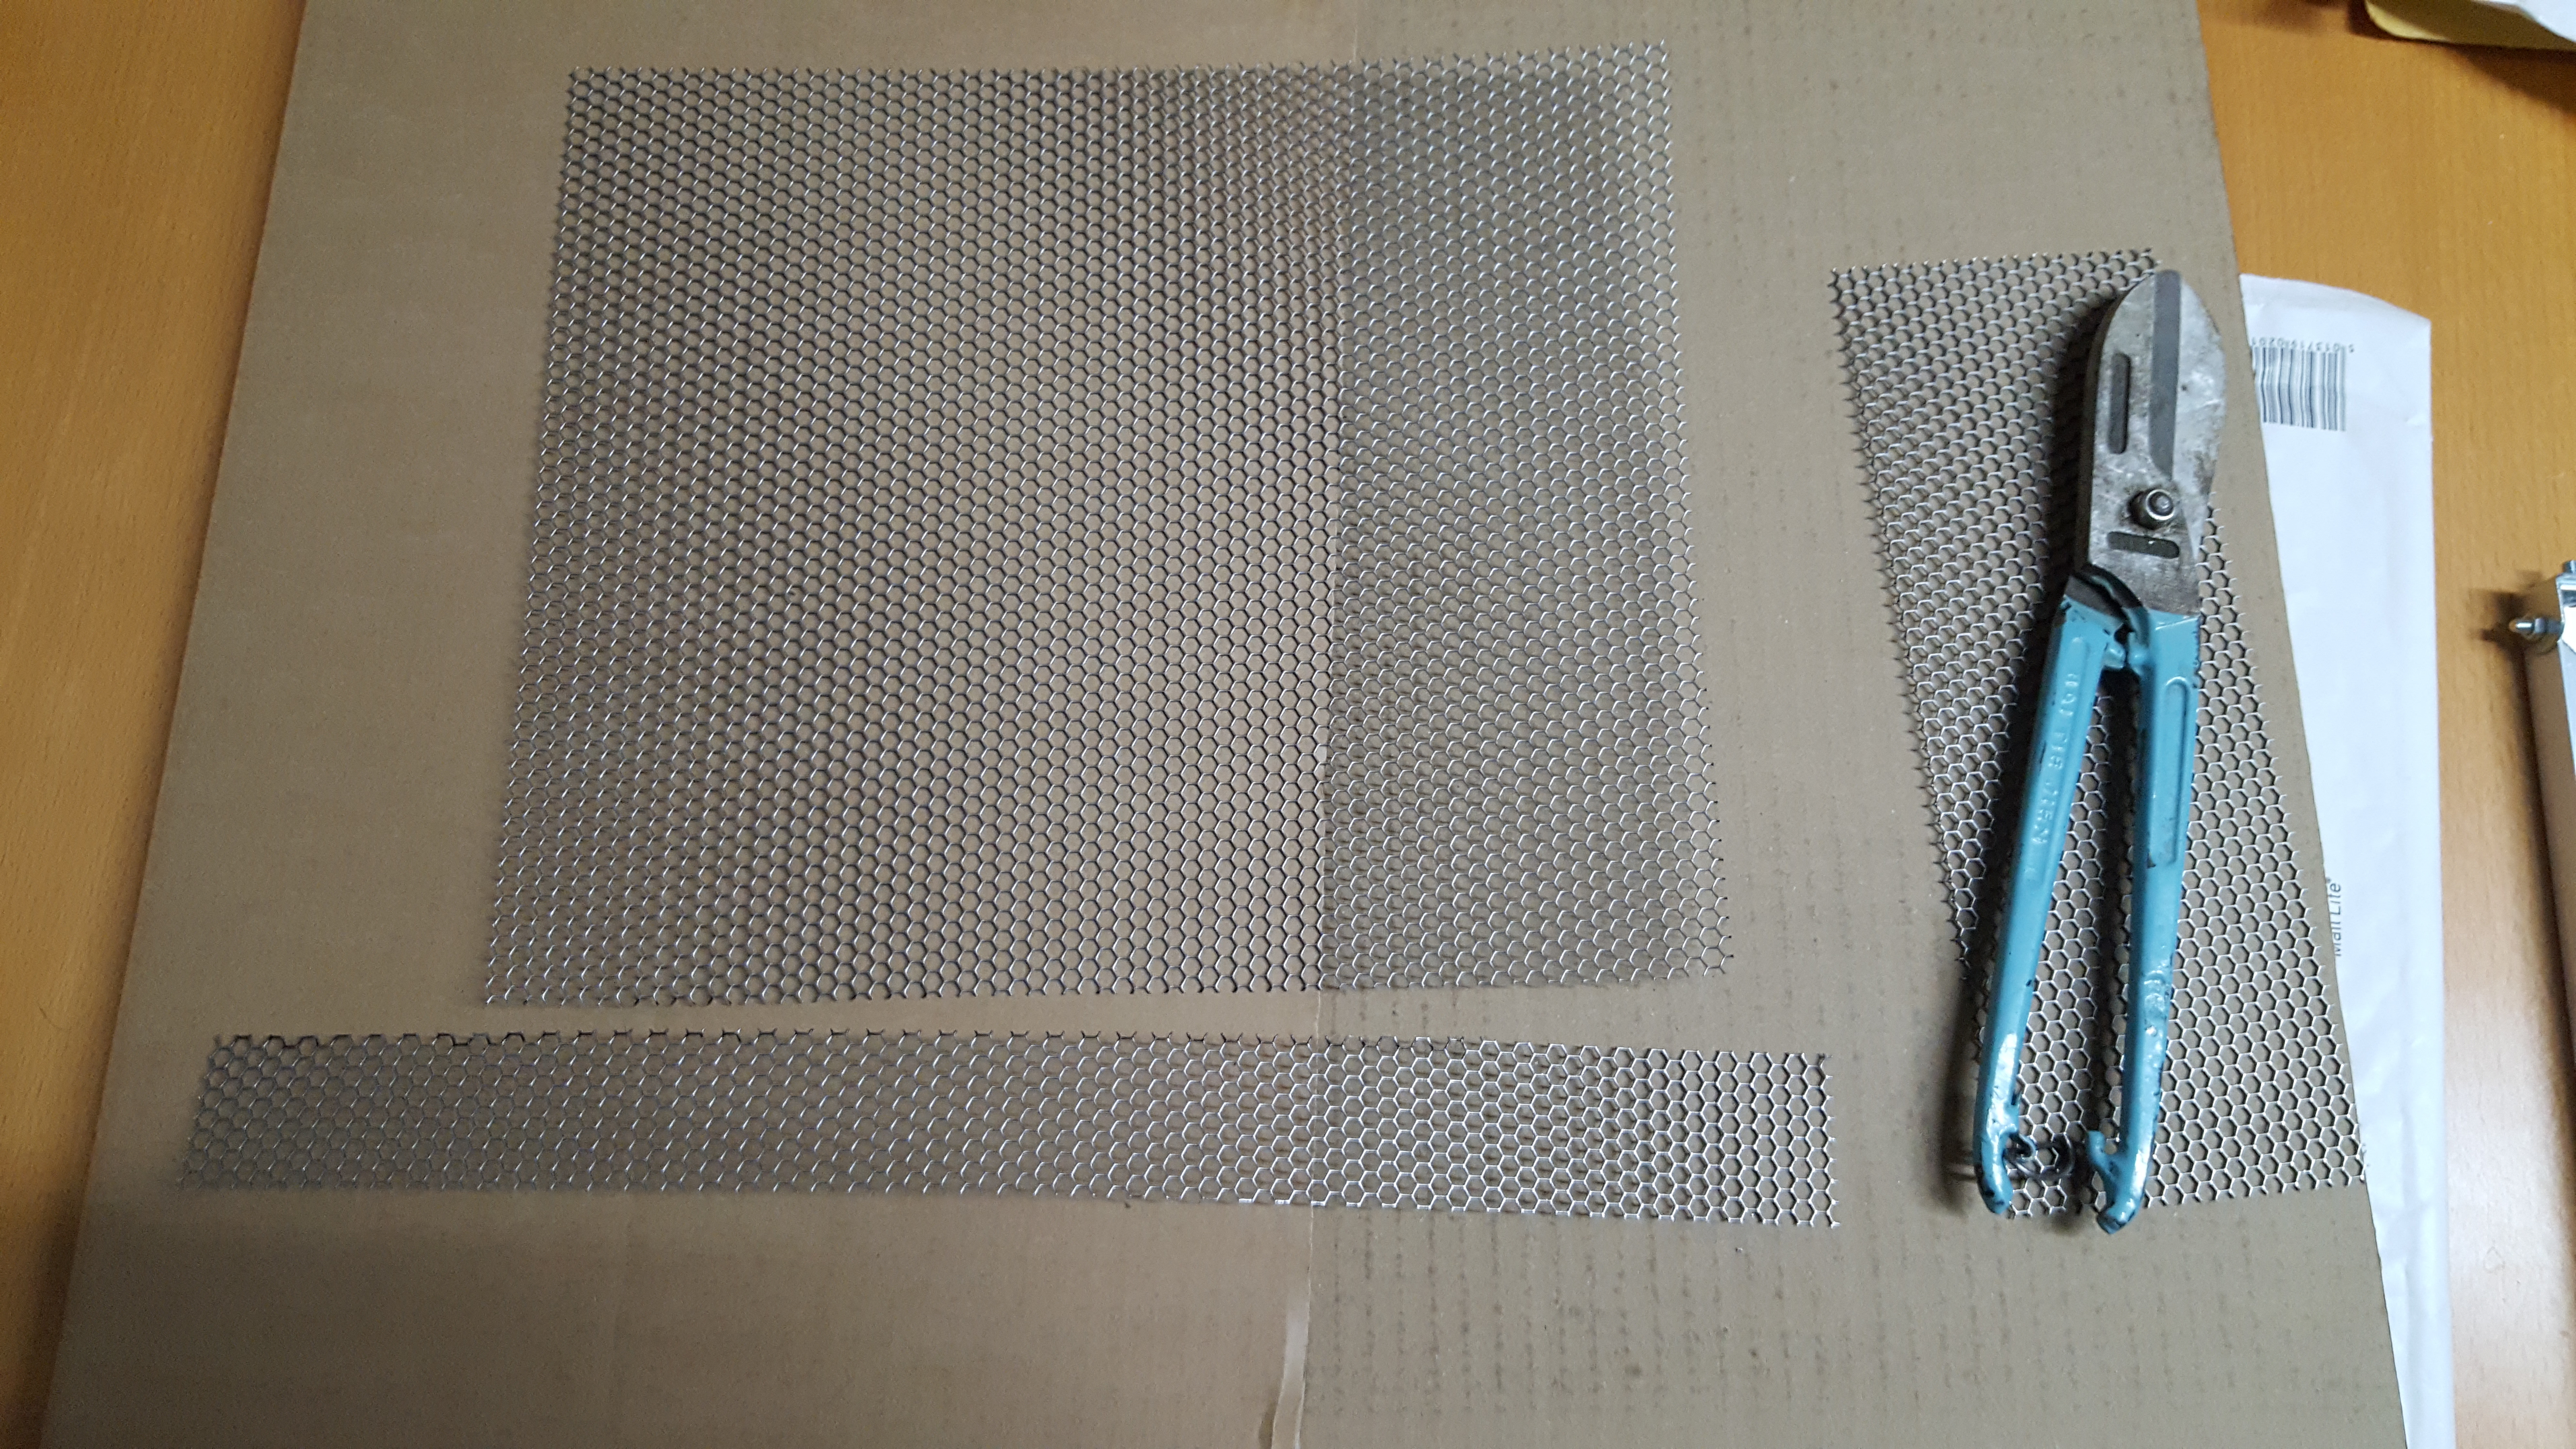
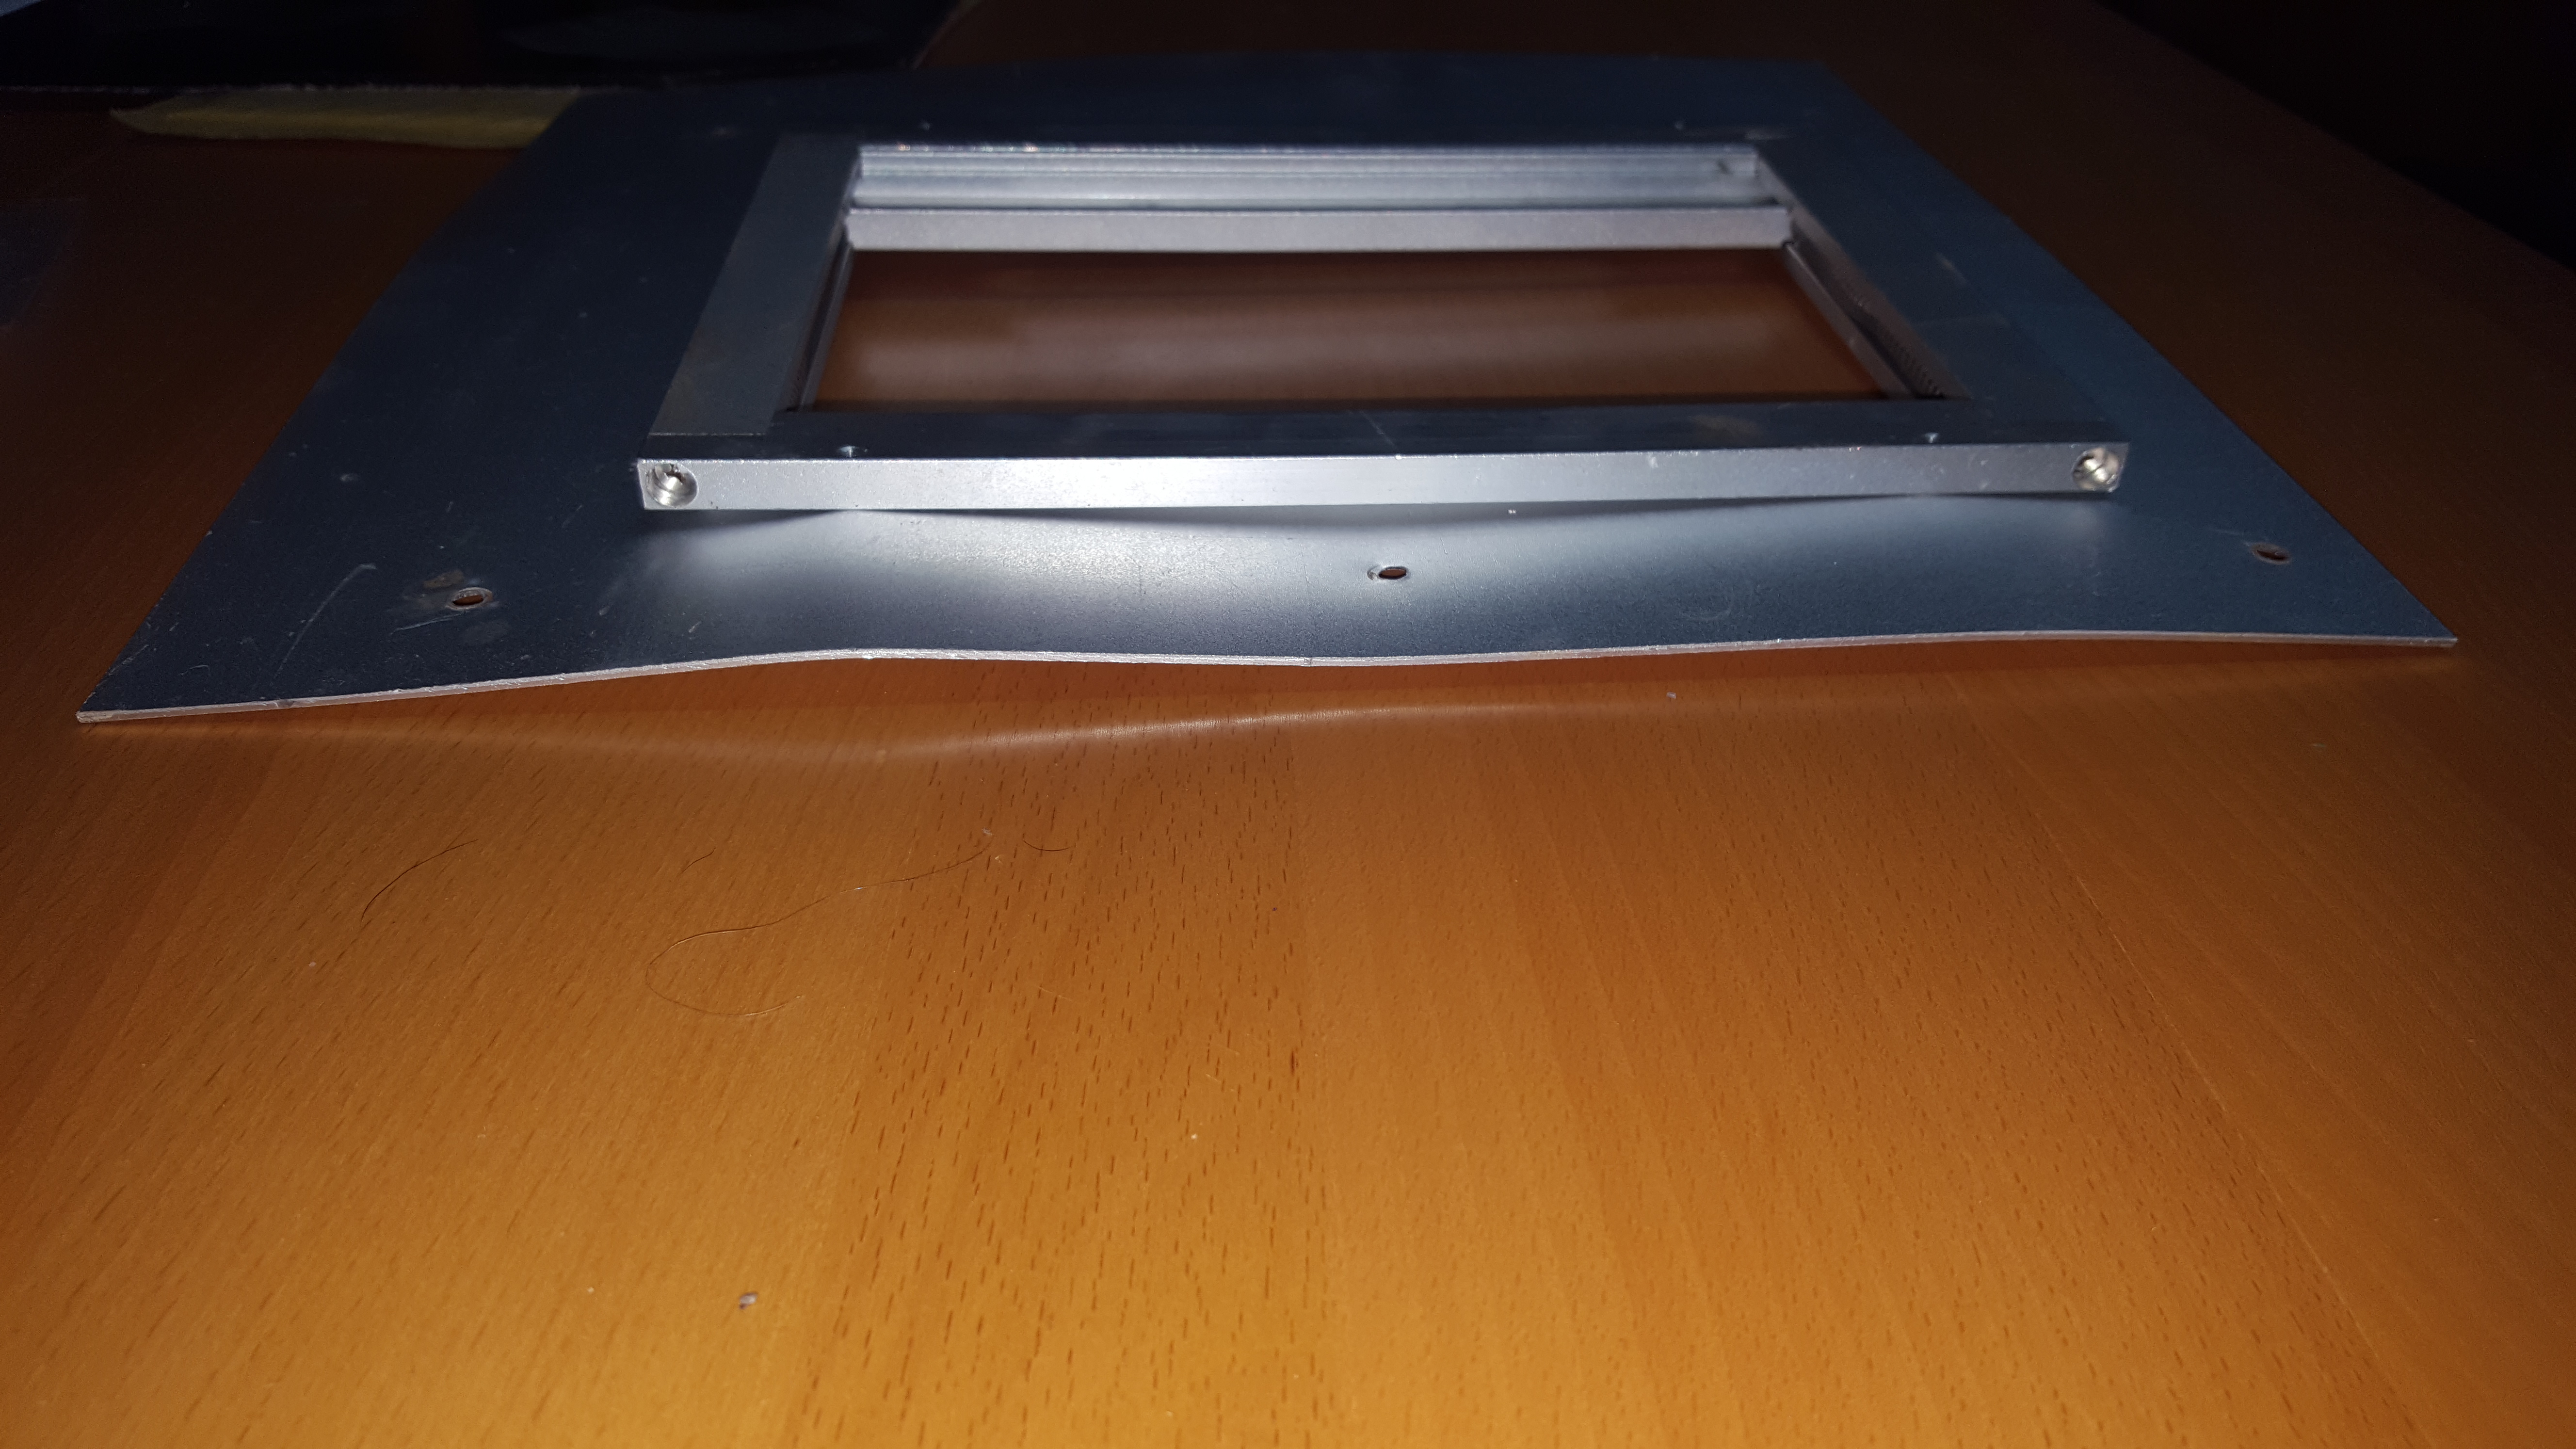
A sheet of steel hex mesh (5mm hex, 400x300mm) was cut to fit into the frame. As I didn’t want anything sticking up above the height of the aluminum frame, I sanded (rough) and cleaned the inside of the angle and epoxied the mesh to the inside edge.
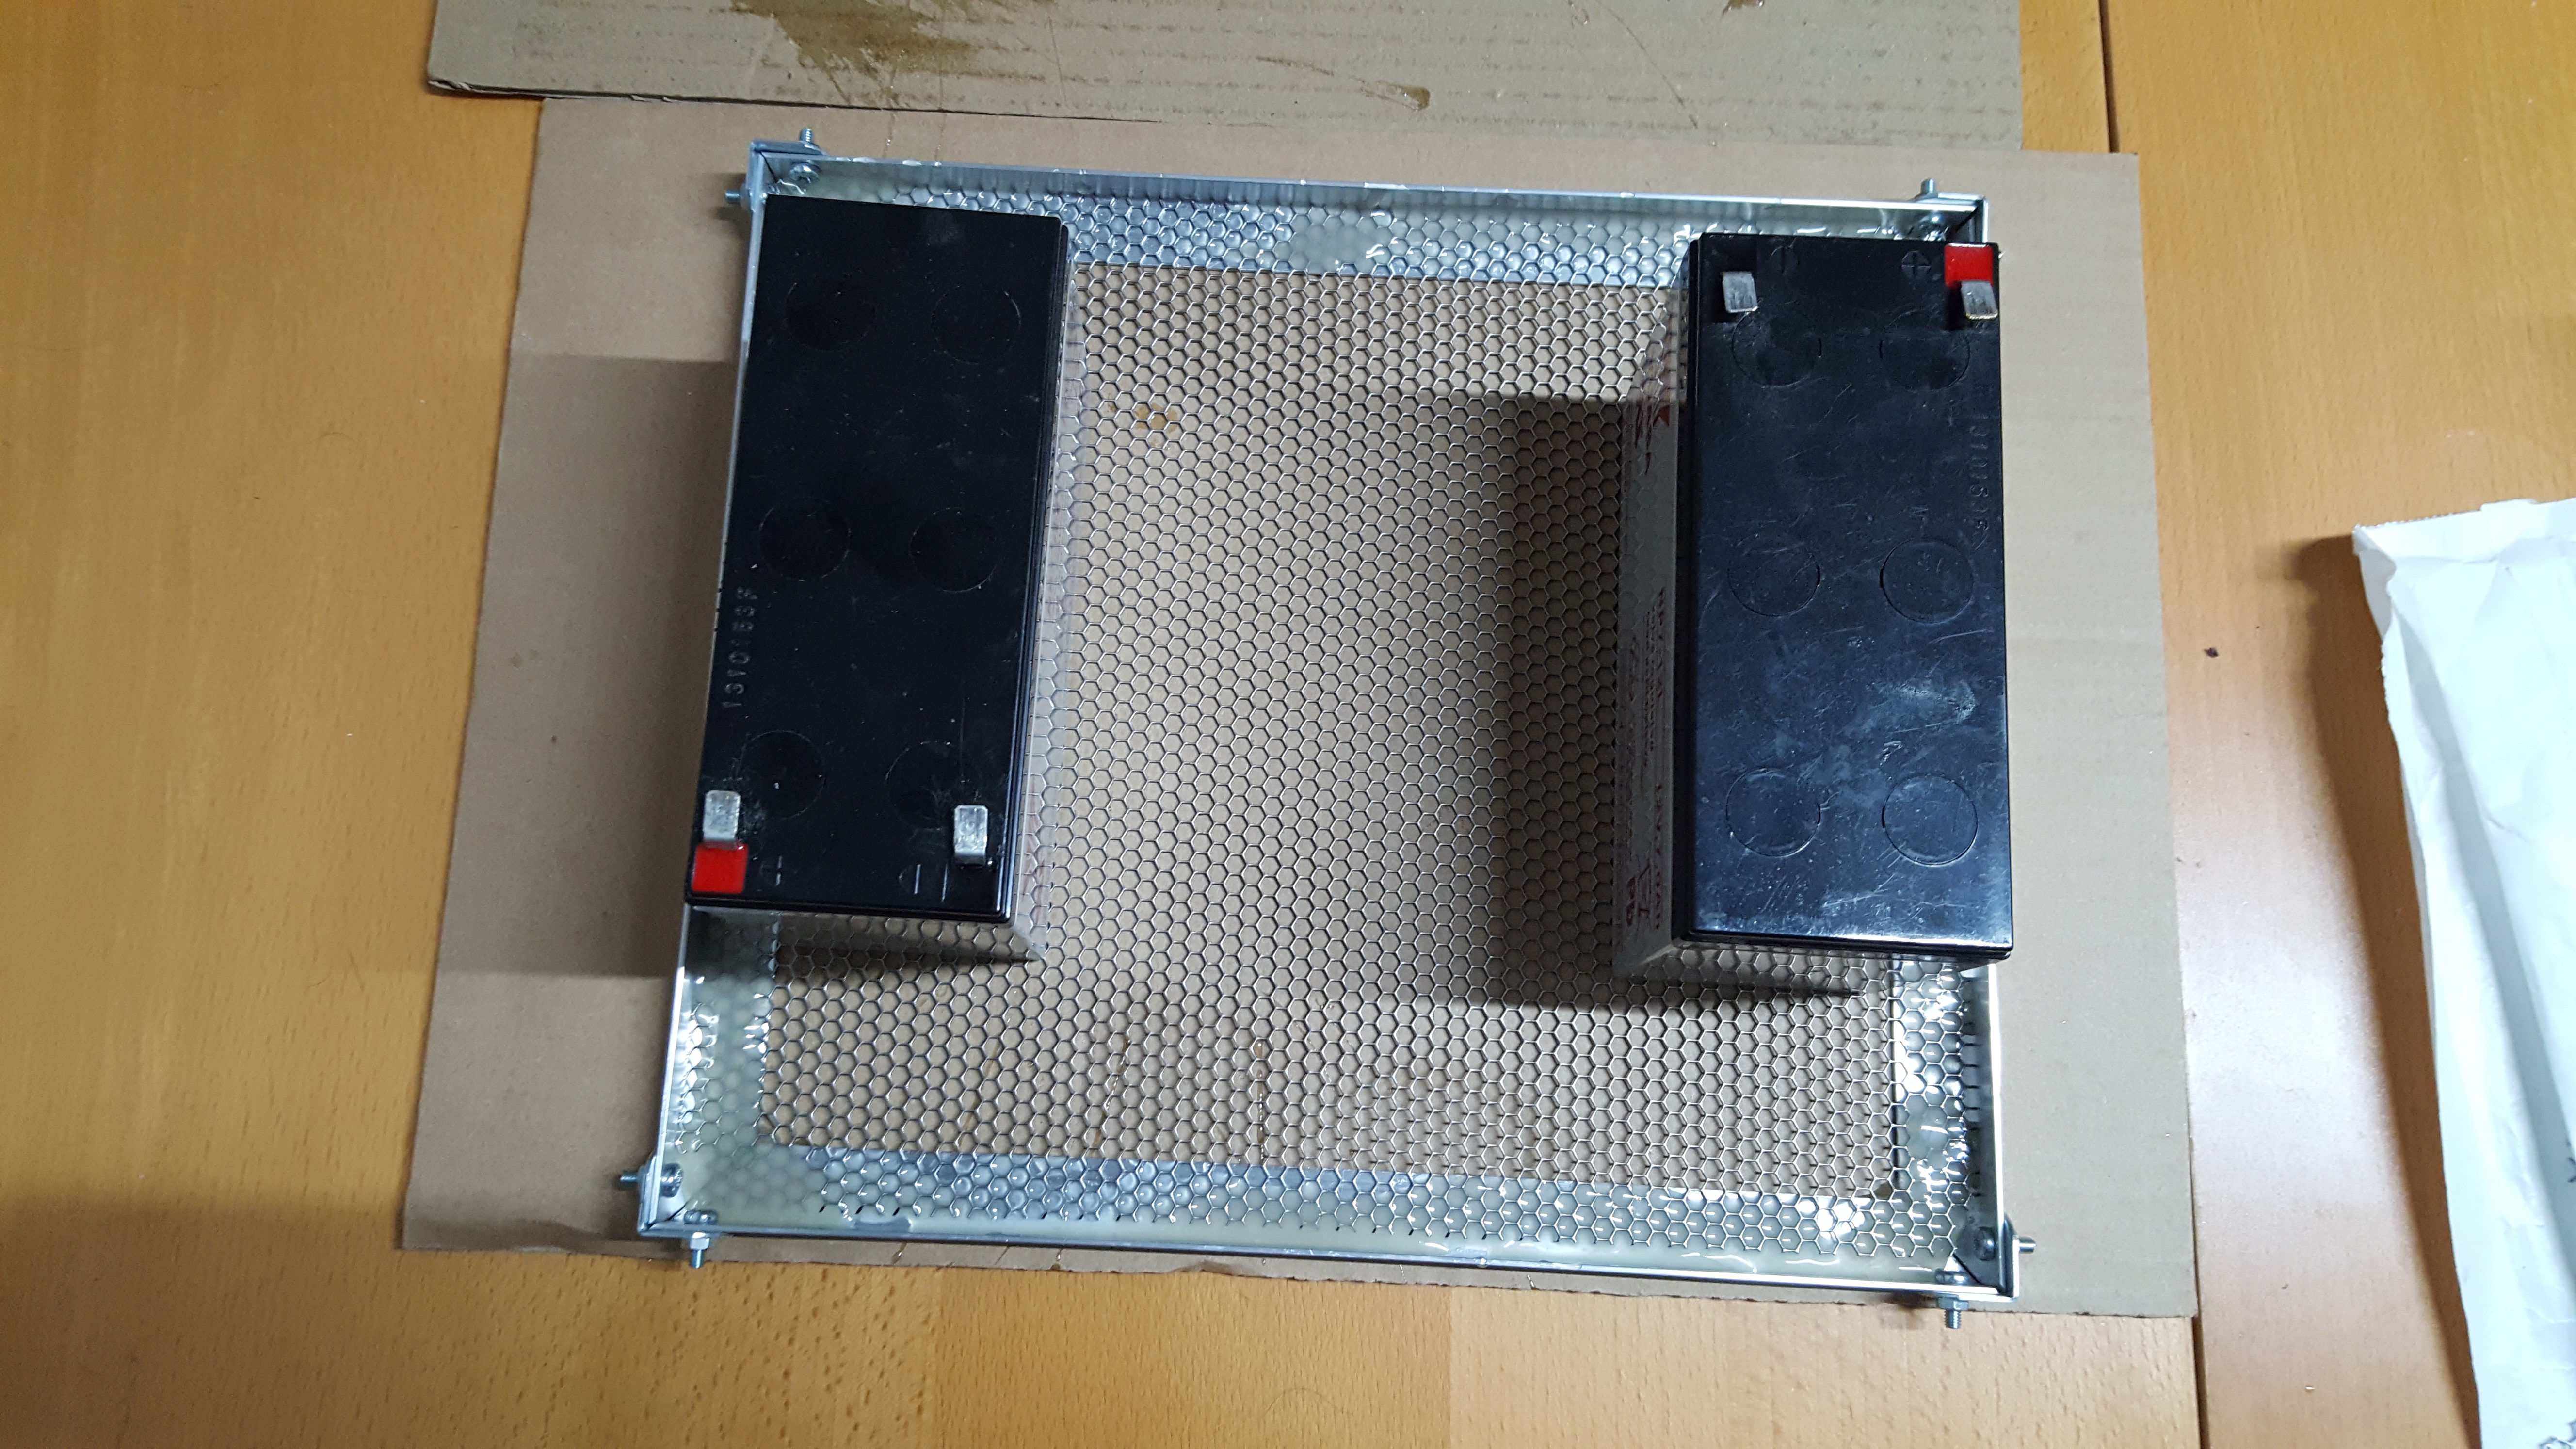
The two batteries ensure the mesh sits flat whilst the glue cures.
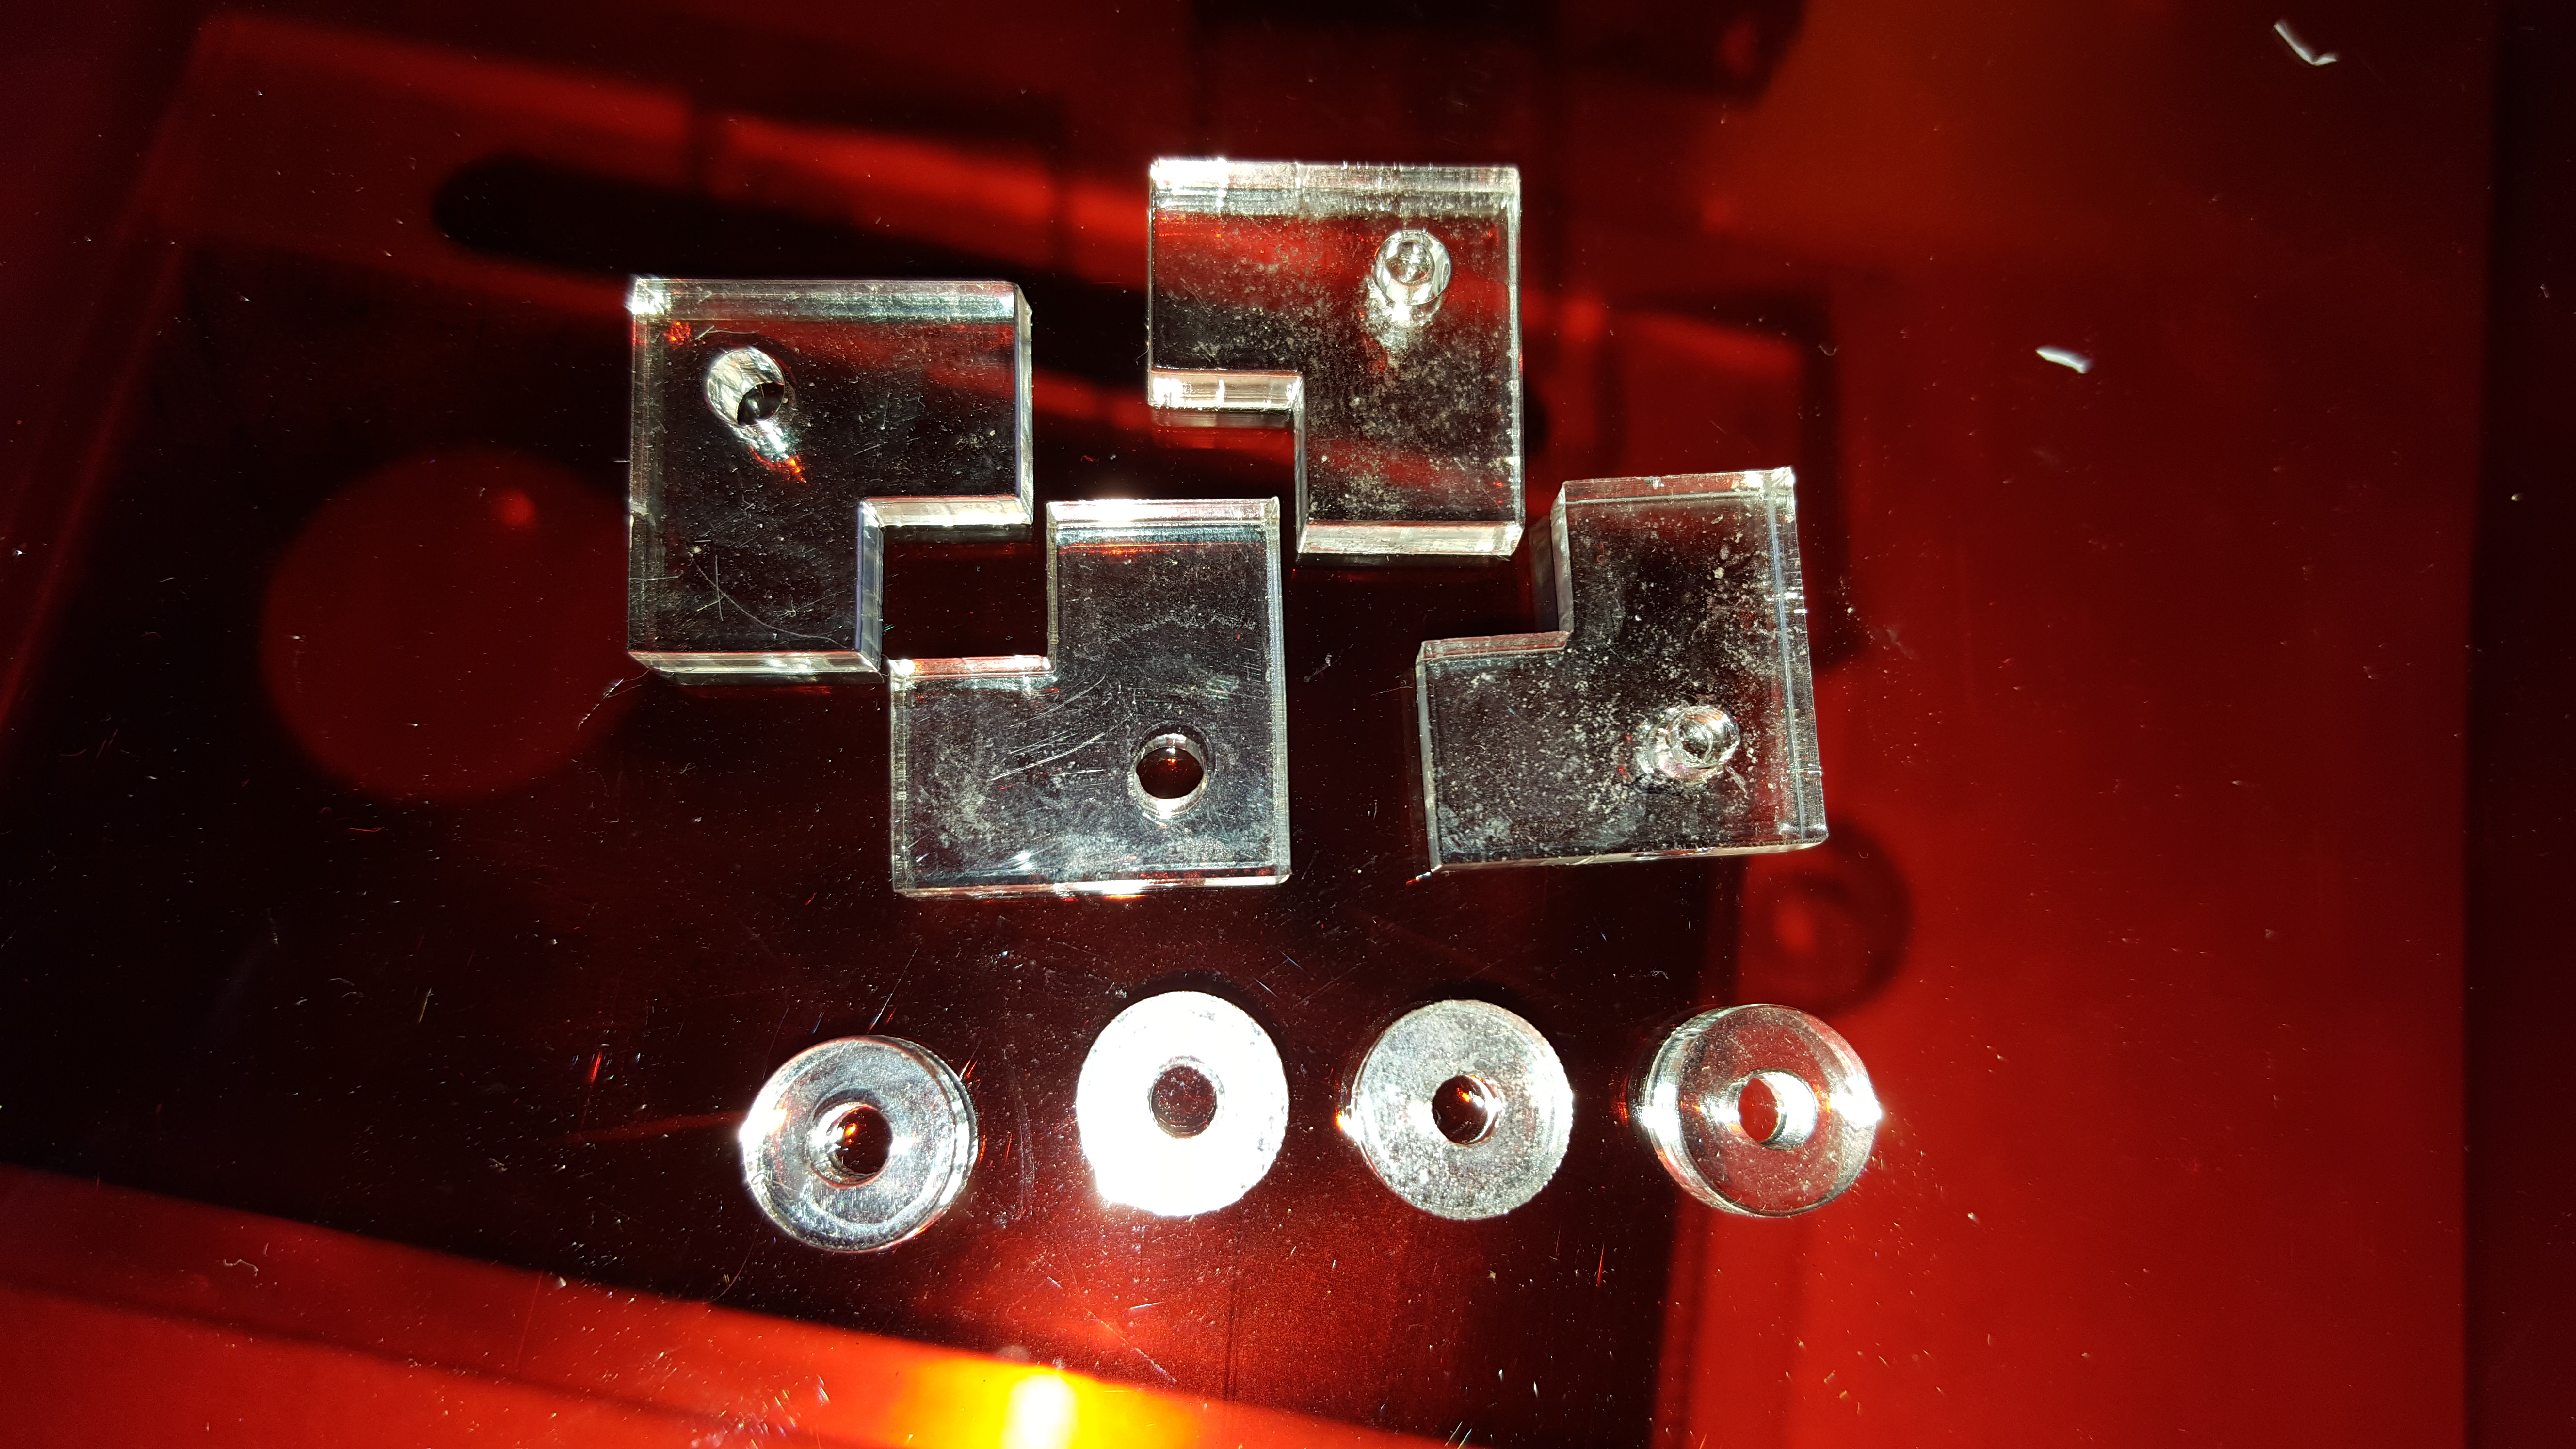
I laser cut some spacers so I can (with a bit of hassle) increase the height of the bed
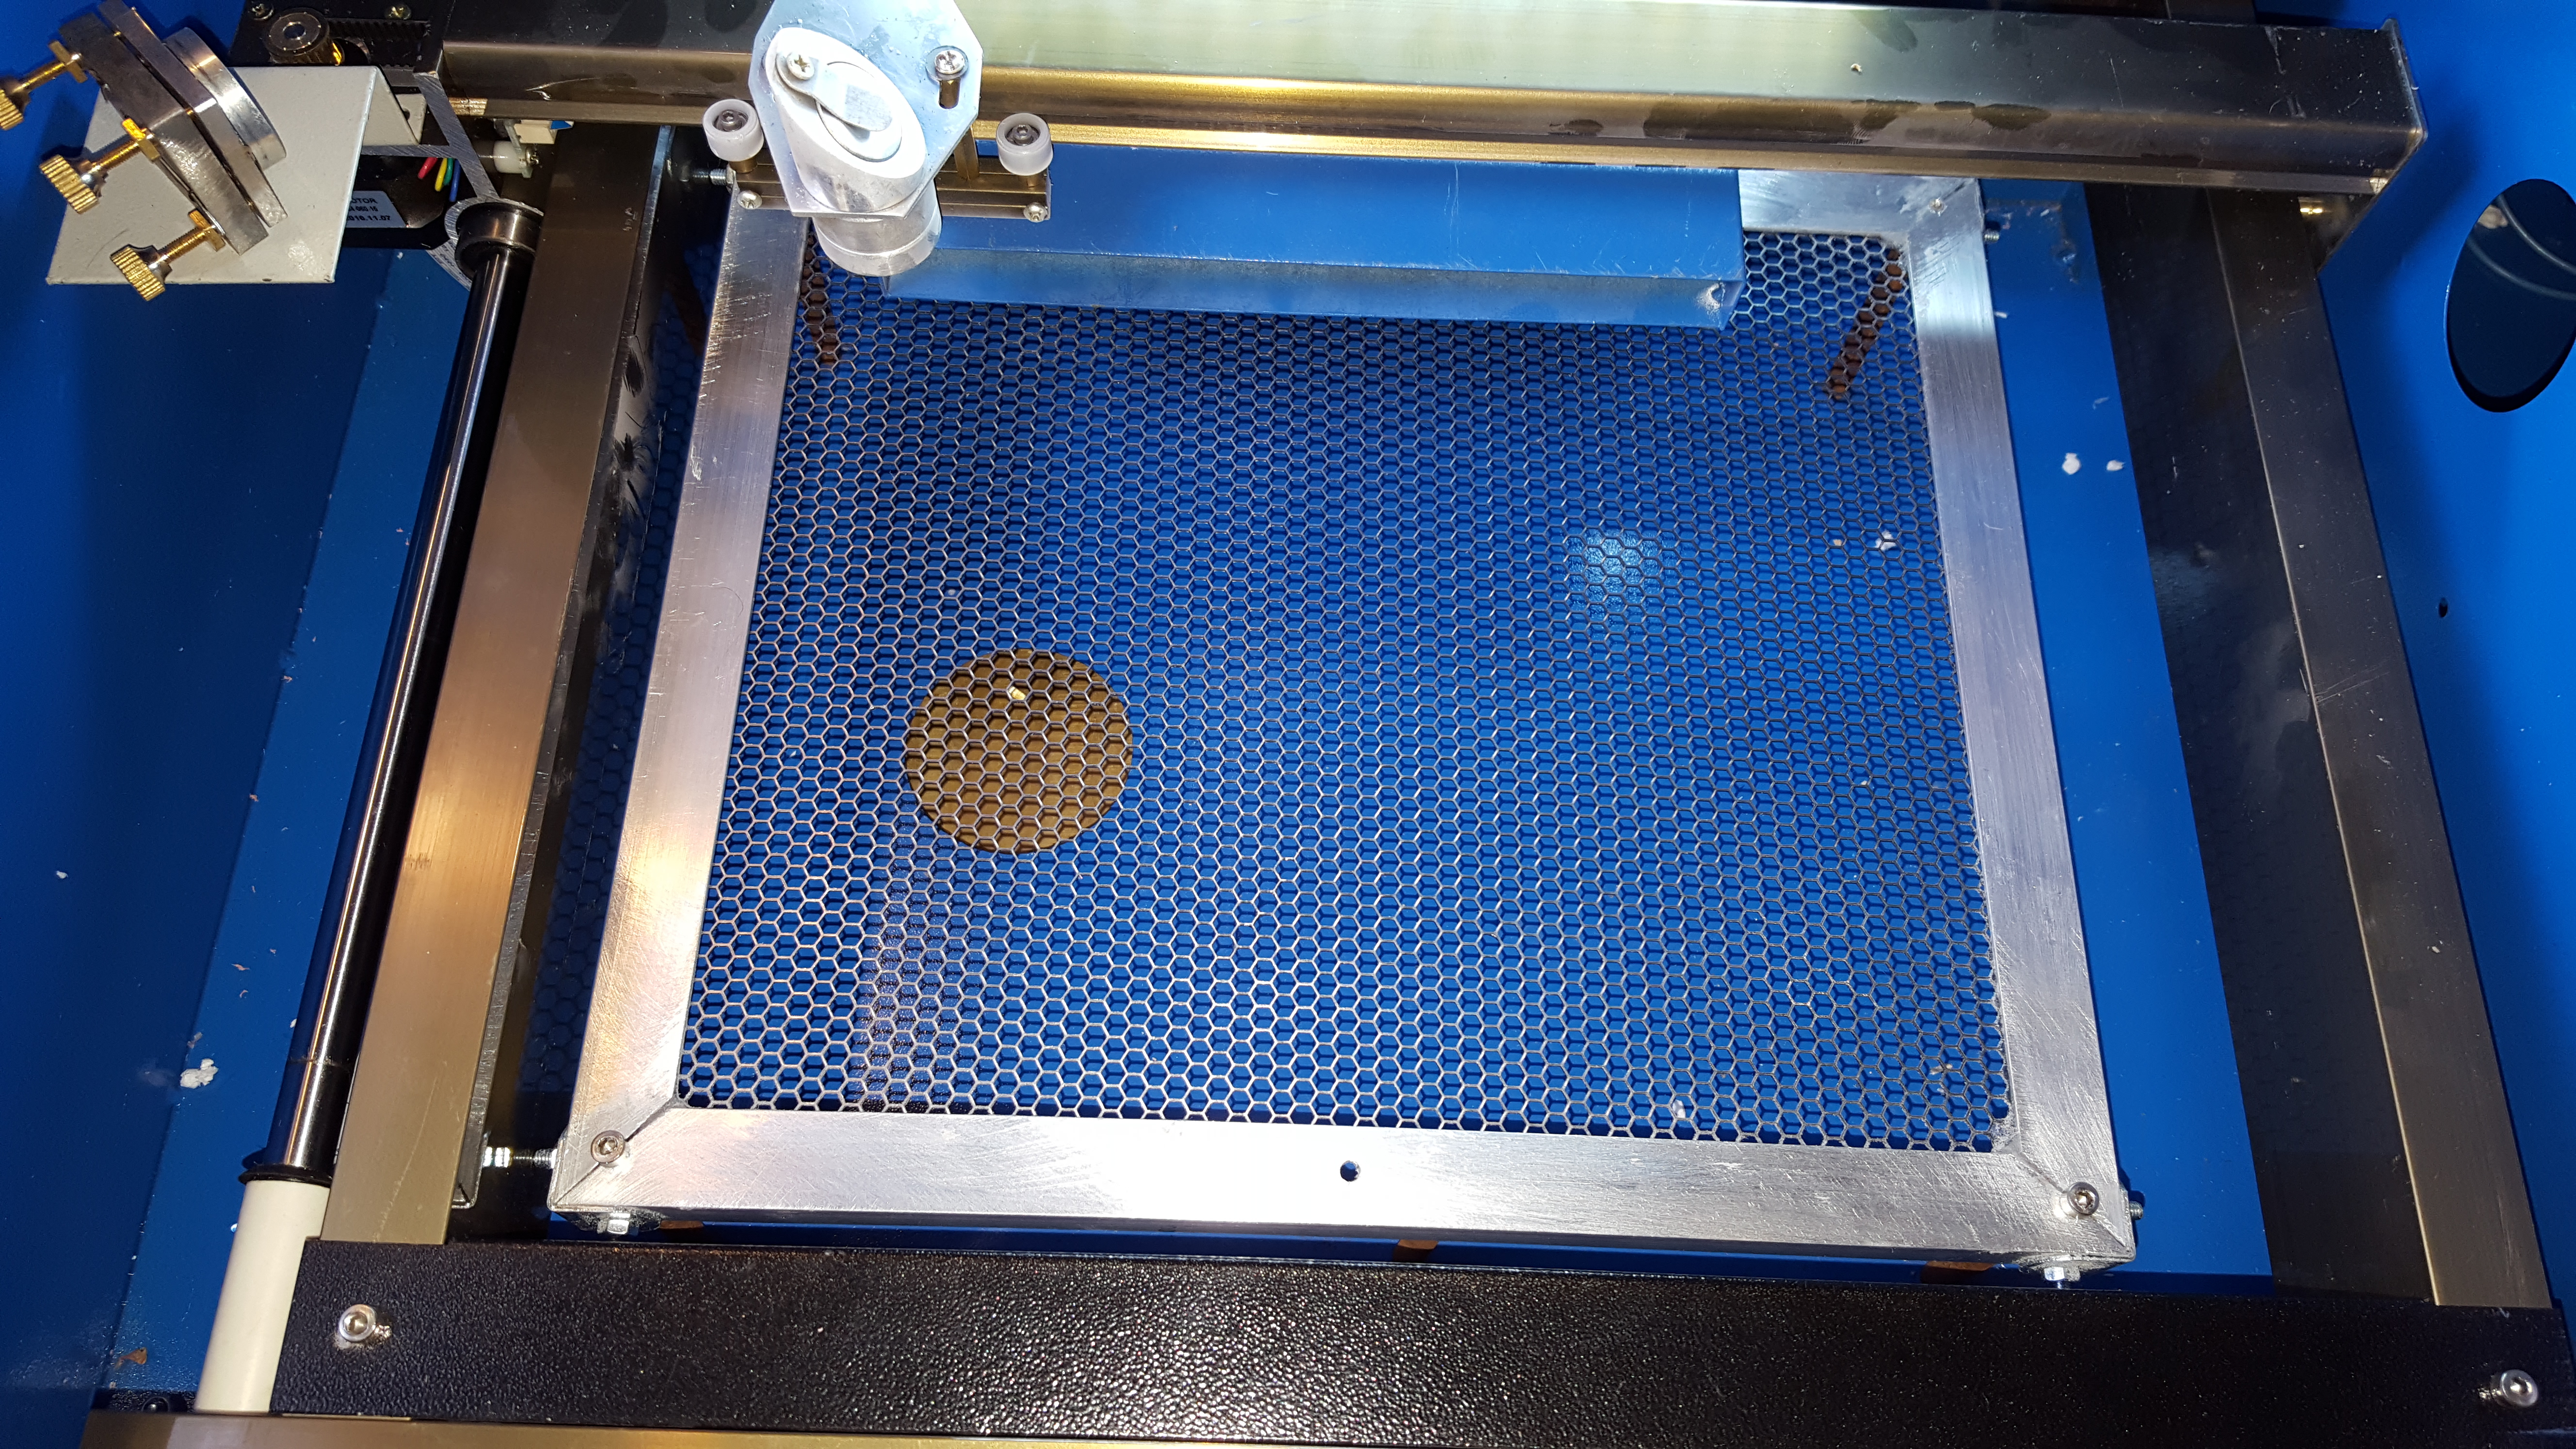
Replacement bed fitted.
Continued in http://www.extremeelectronics.co.uk/tales-cheap-chinese-laser-cutter-extraction-improving-air-flow/