
I’ve been looking for a laser cutter for some time, and note being able to justify the £2000 cost of a “proper” one eventually decided to go for one of the cheap Chinese ones from ebay.
I will note here that I knew what I was getting in to there are many blogs out there detailing the problems that other people have had with these devices. if you are looking to purchase one, read them …
I have 30+ years experience of high voltage electronics, small scale engineering and experience with all sorts of lasers. If you do not have this sort of knowledge, these laser cutters are not for you.
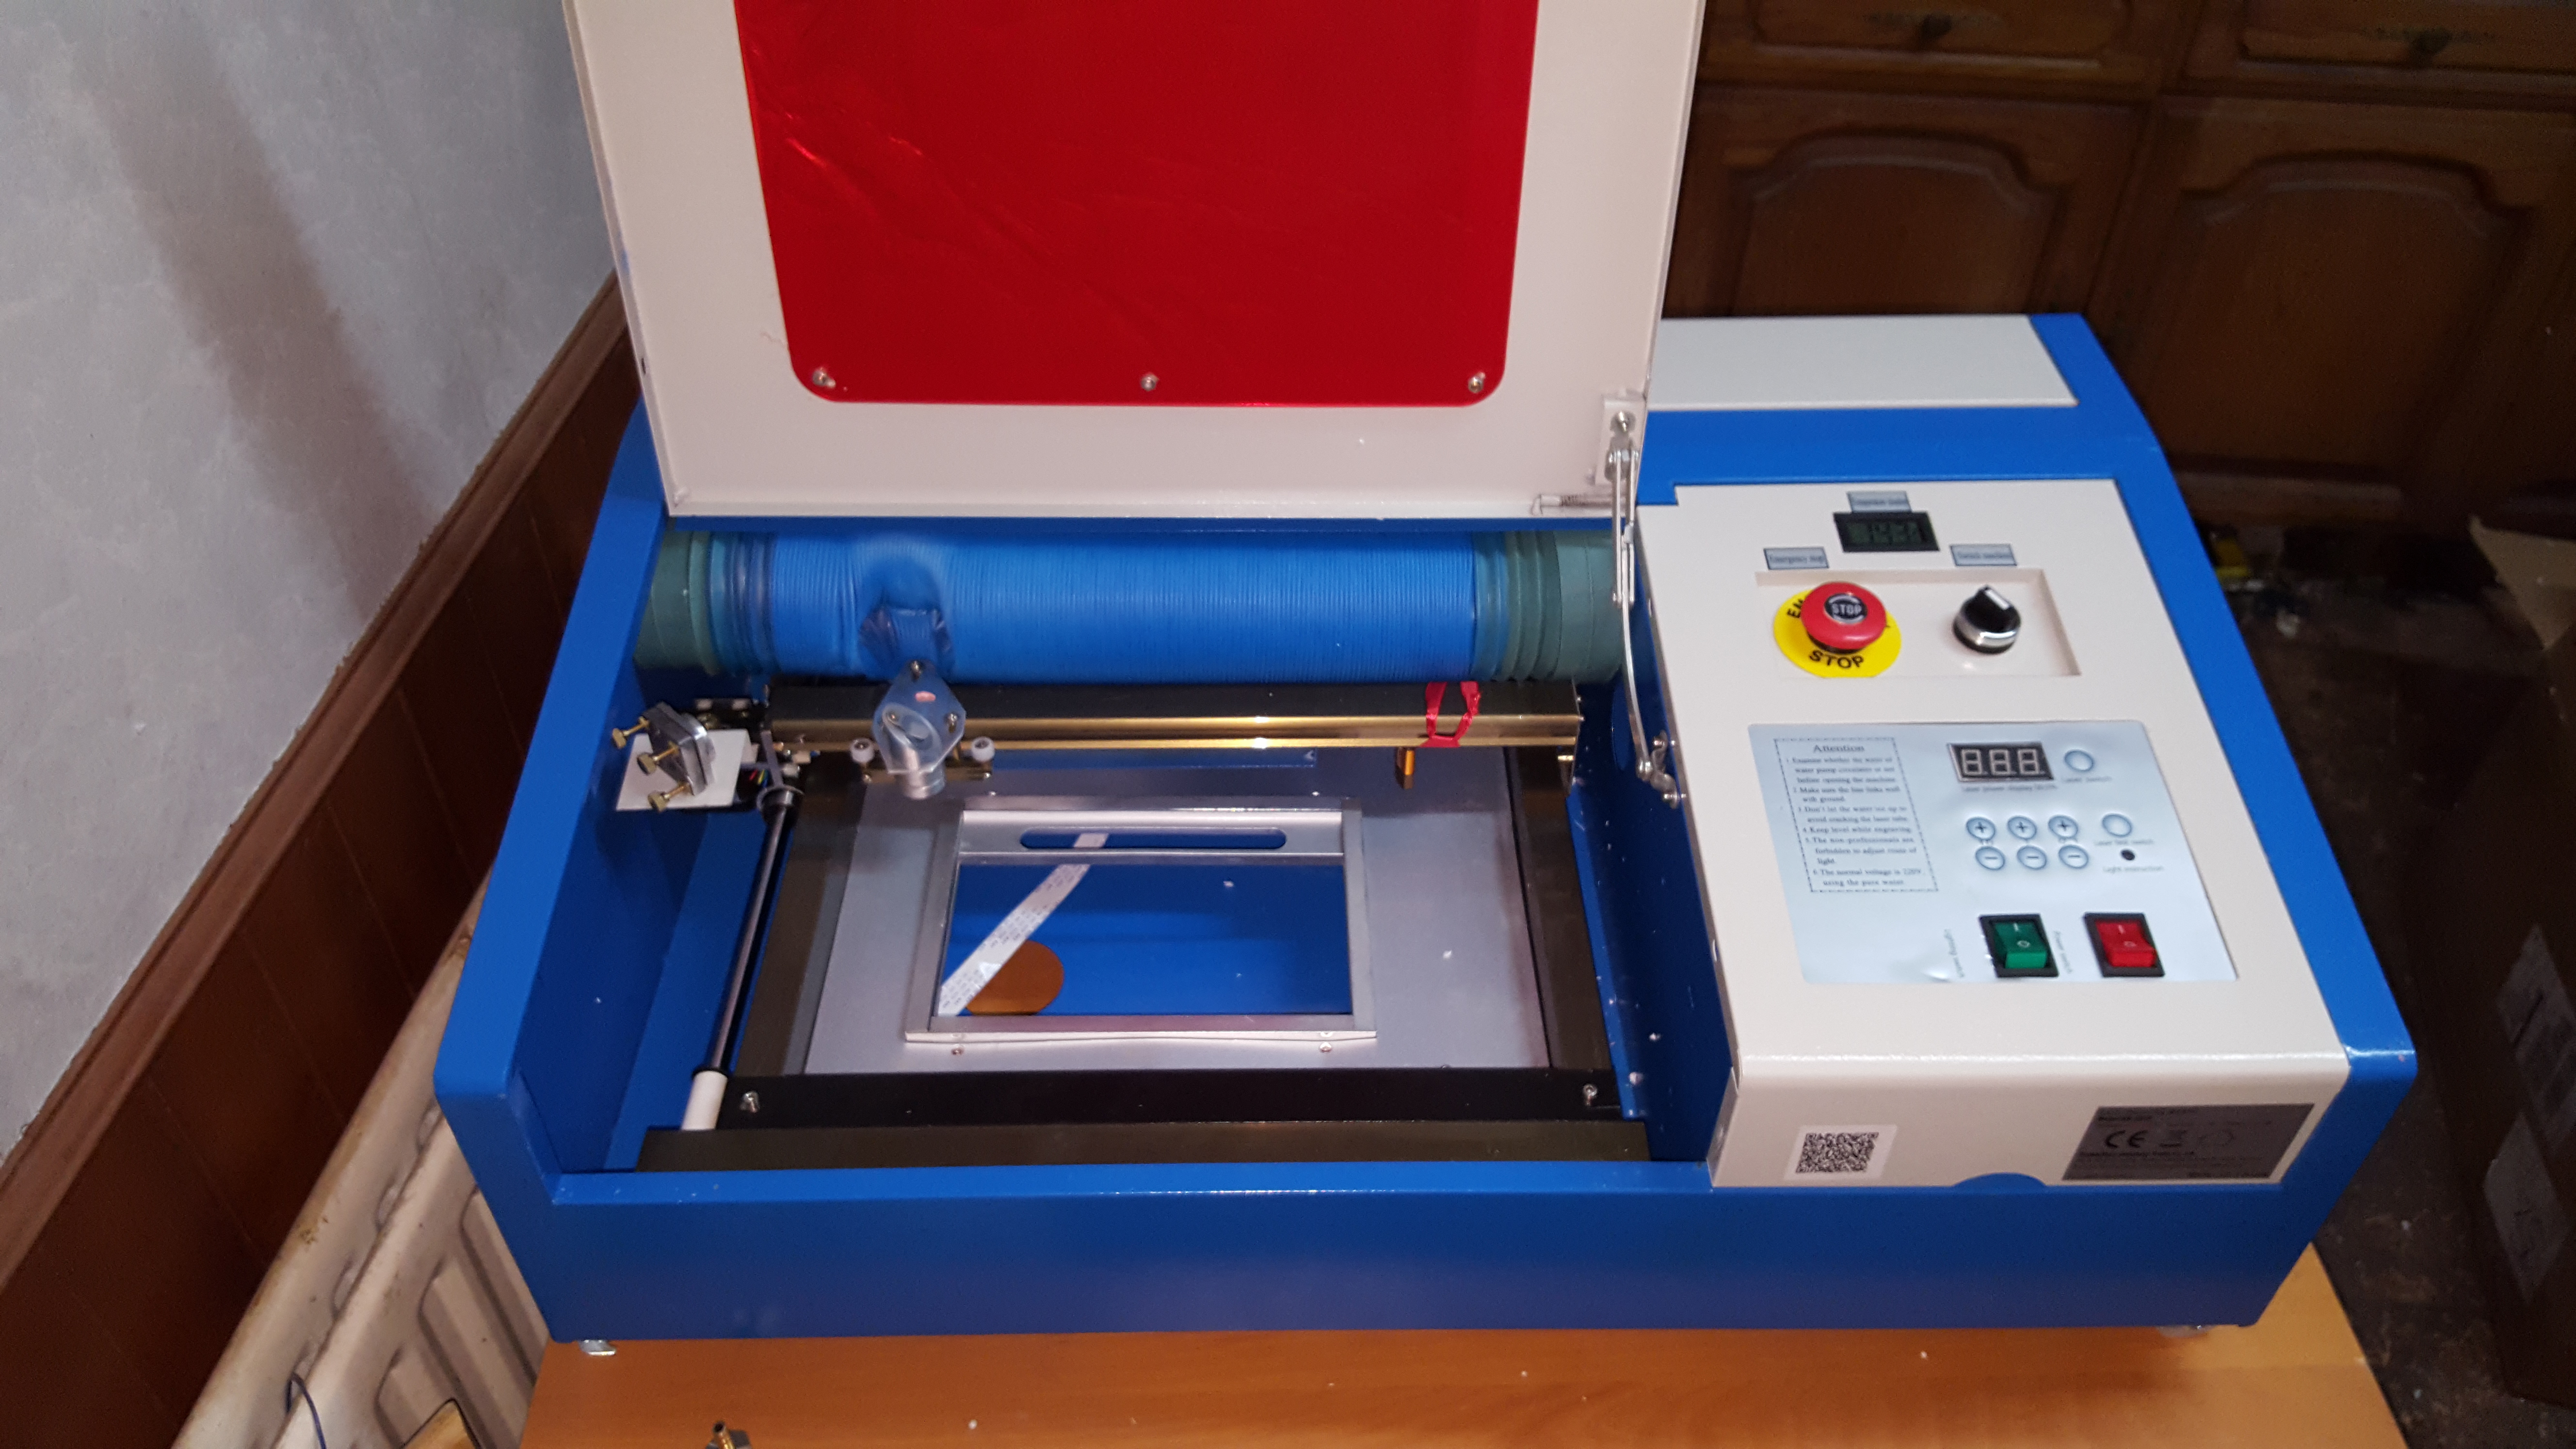
On first look of the laser cutter after unpacking a couple of things were obvious. The XY bed was not secured in transit, and the laser head had been banging against the extraction tube
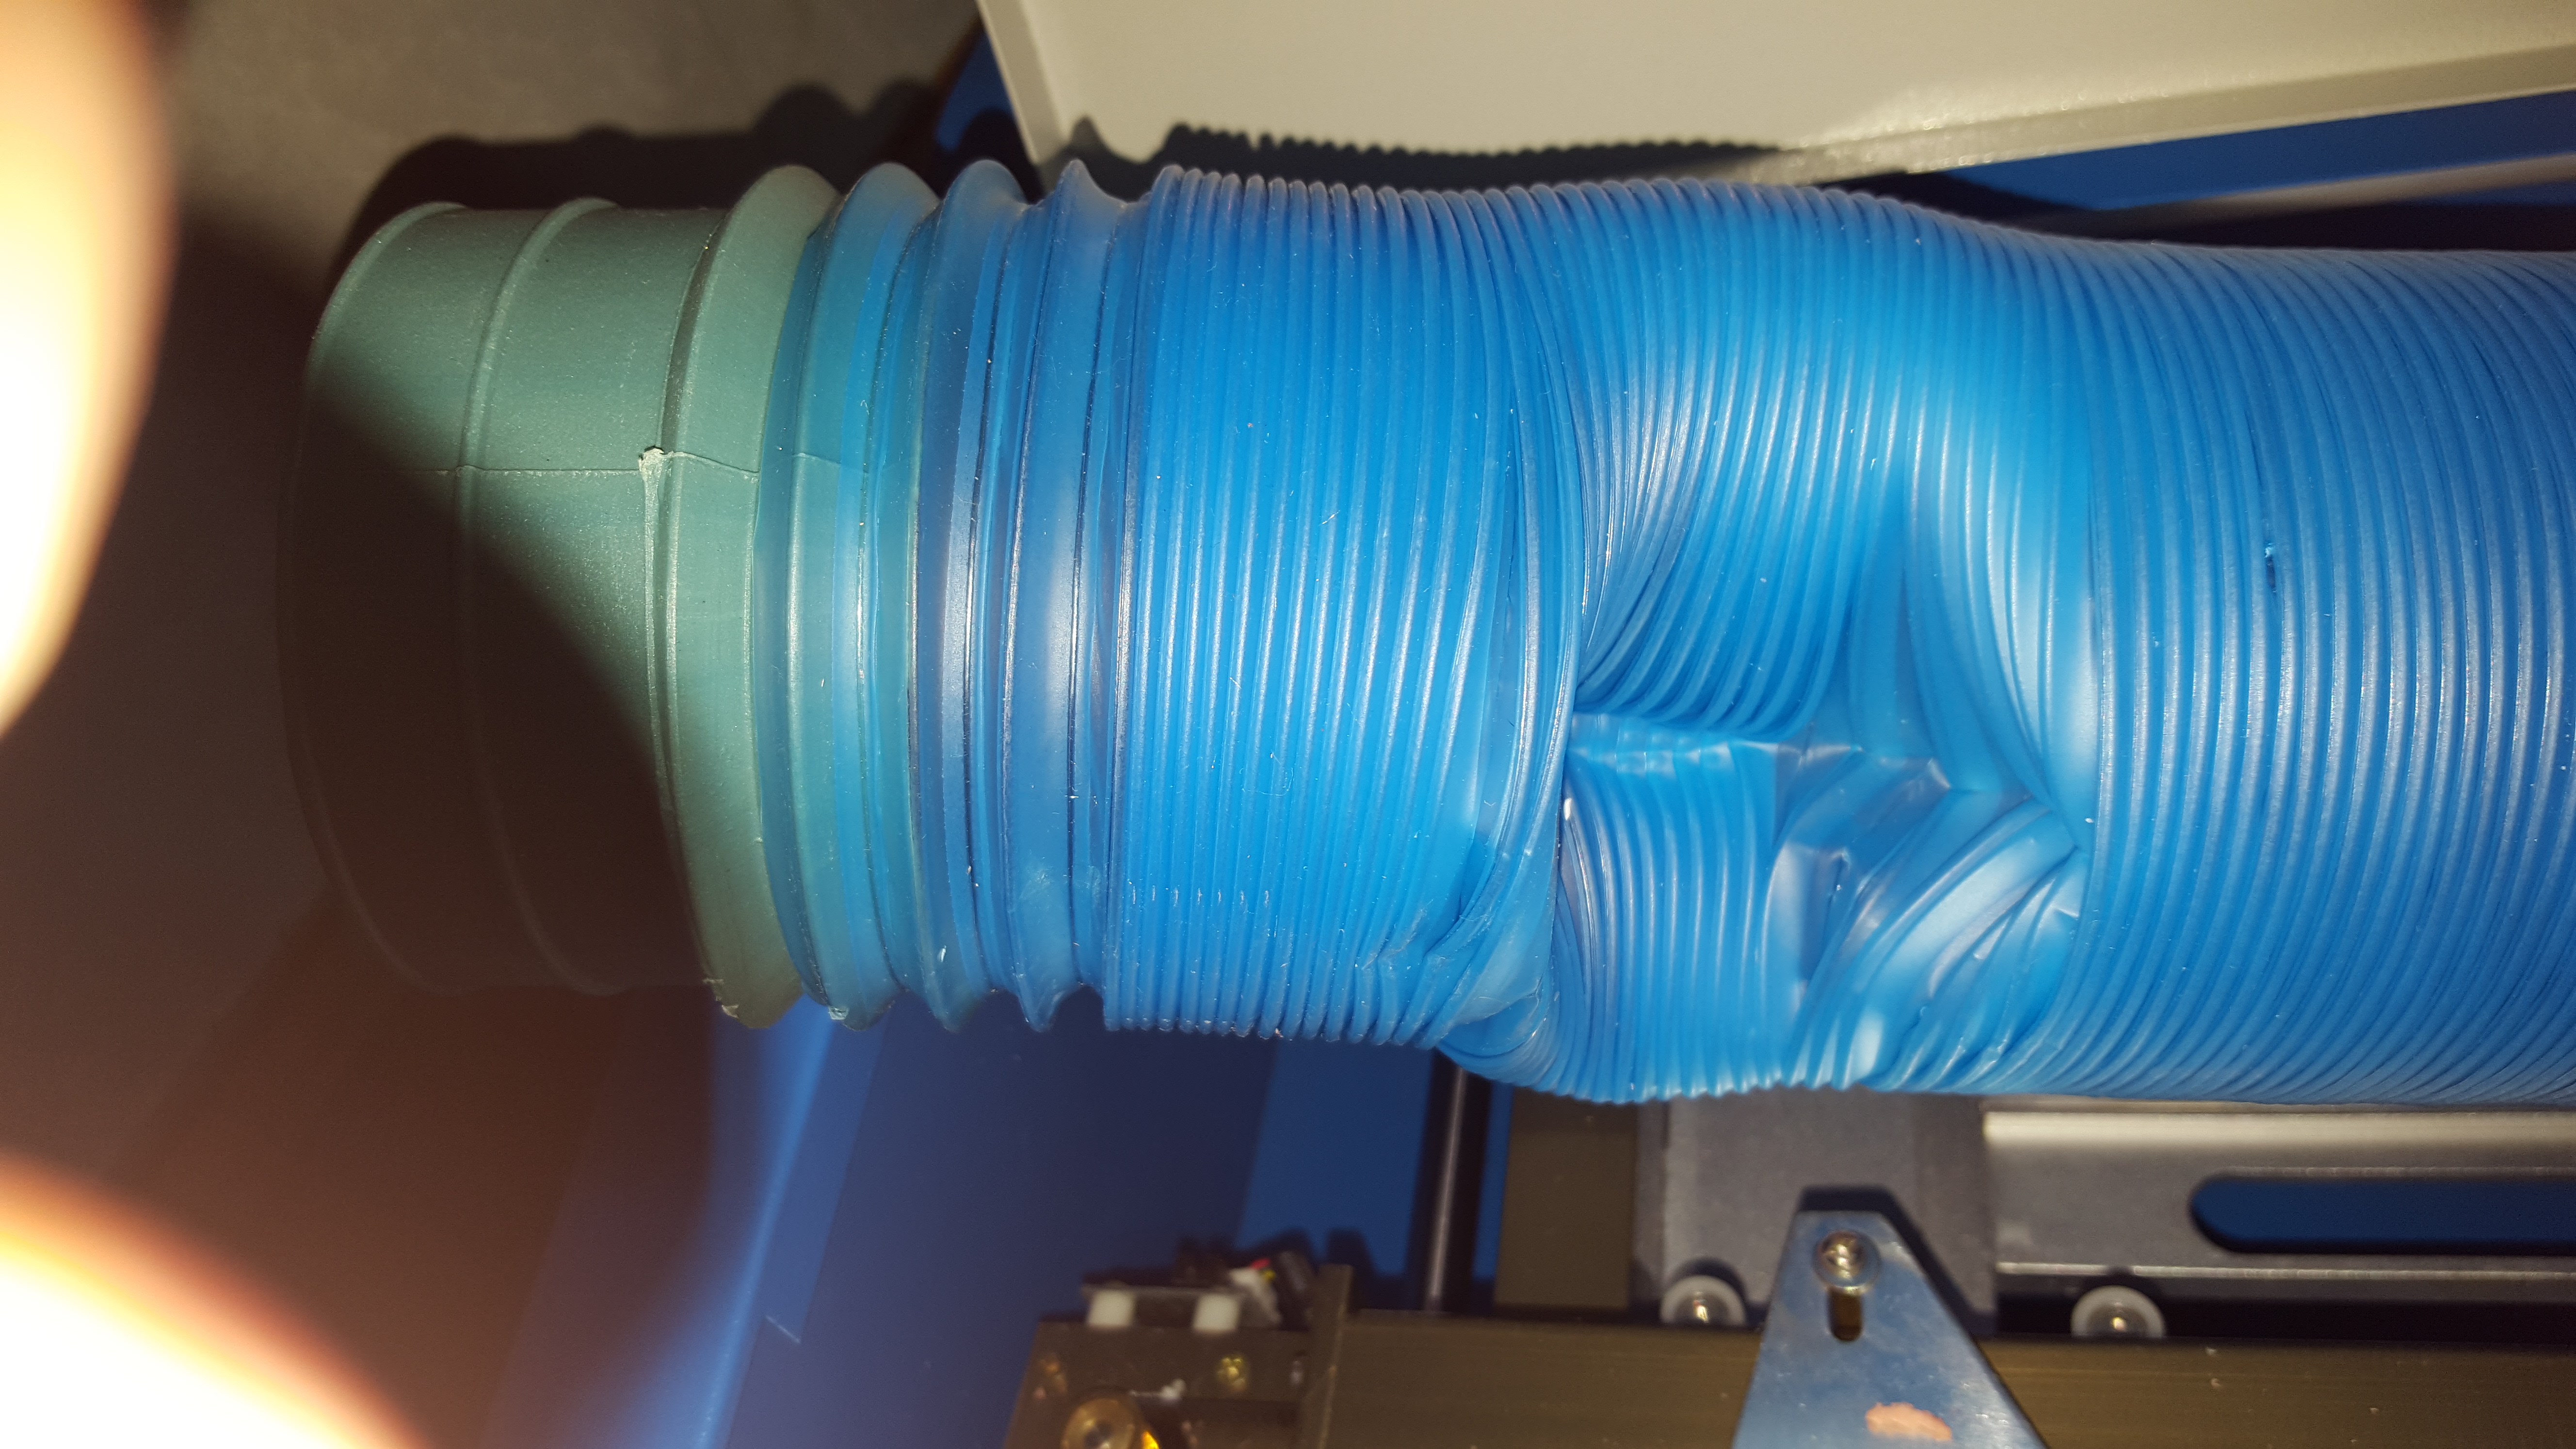
leaving a dented section and the Y stepper ribbon cable had pulled free.
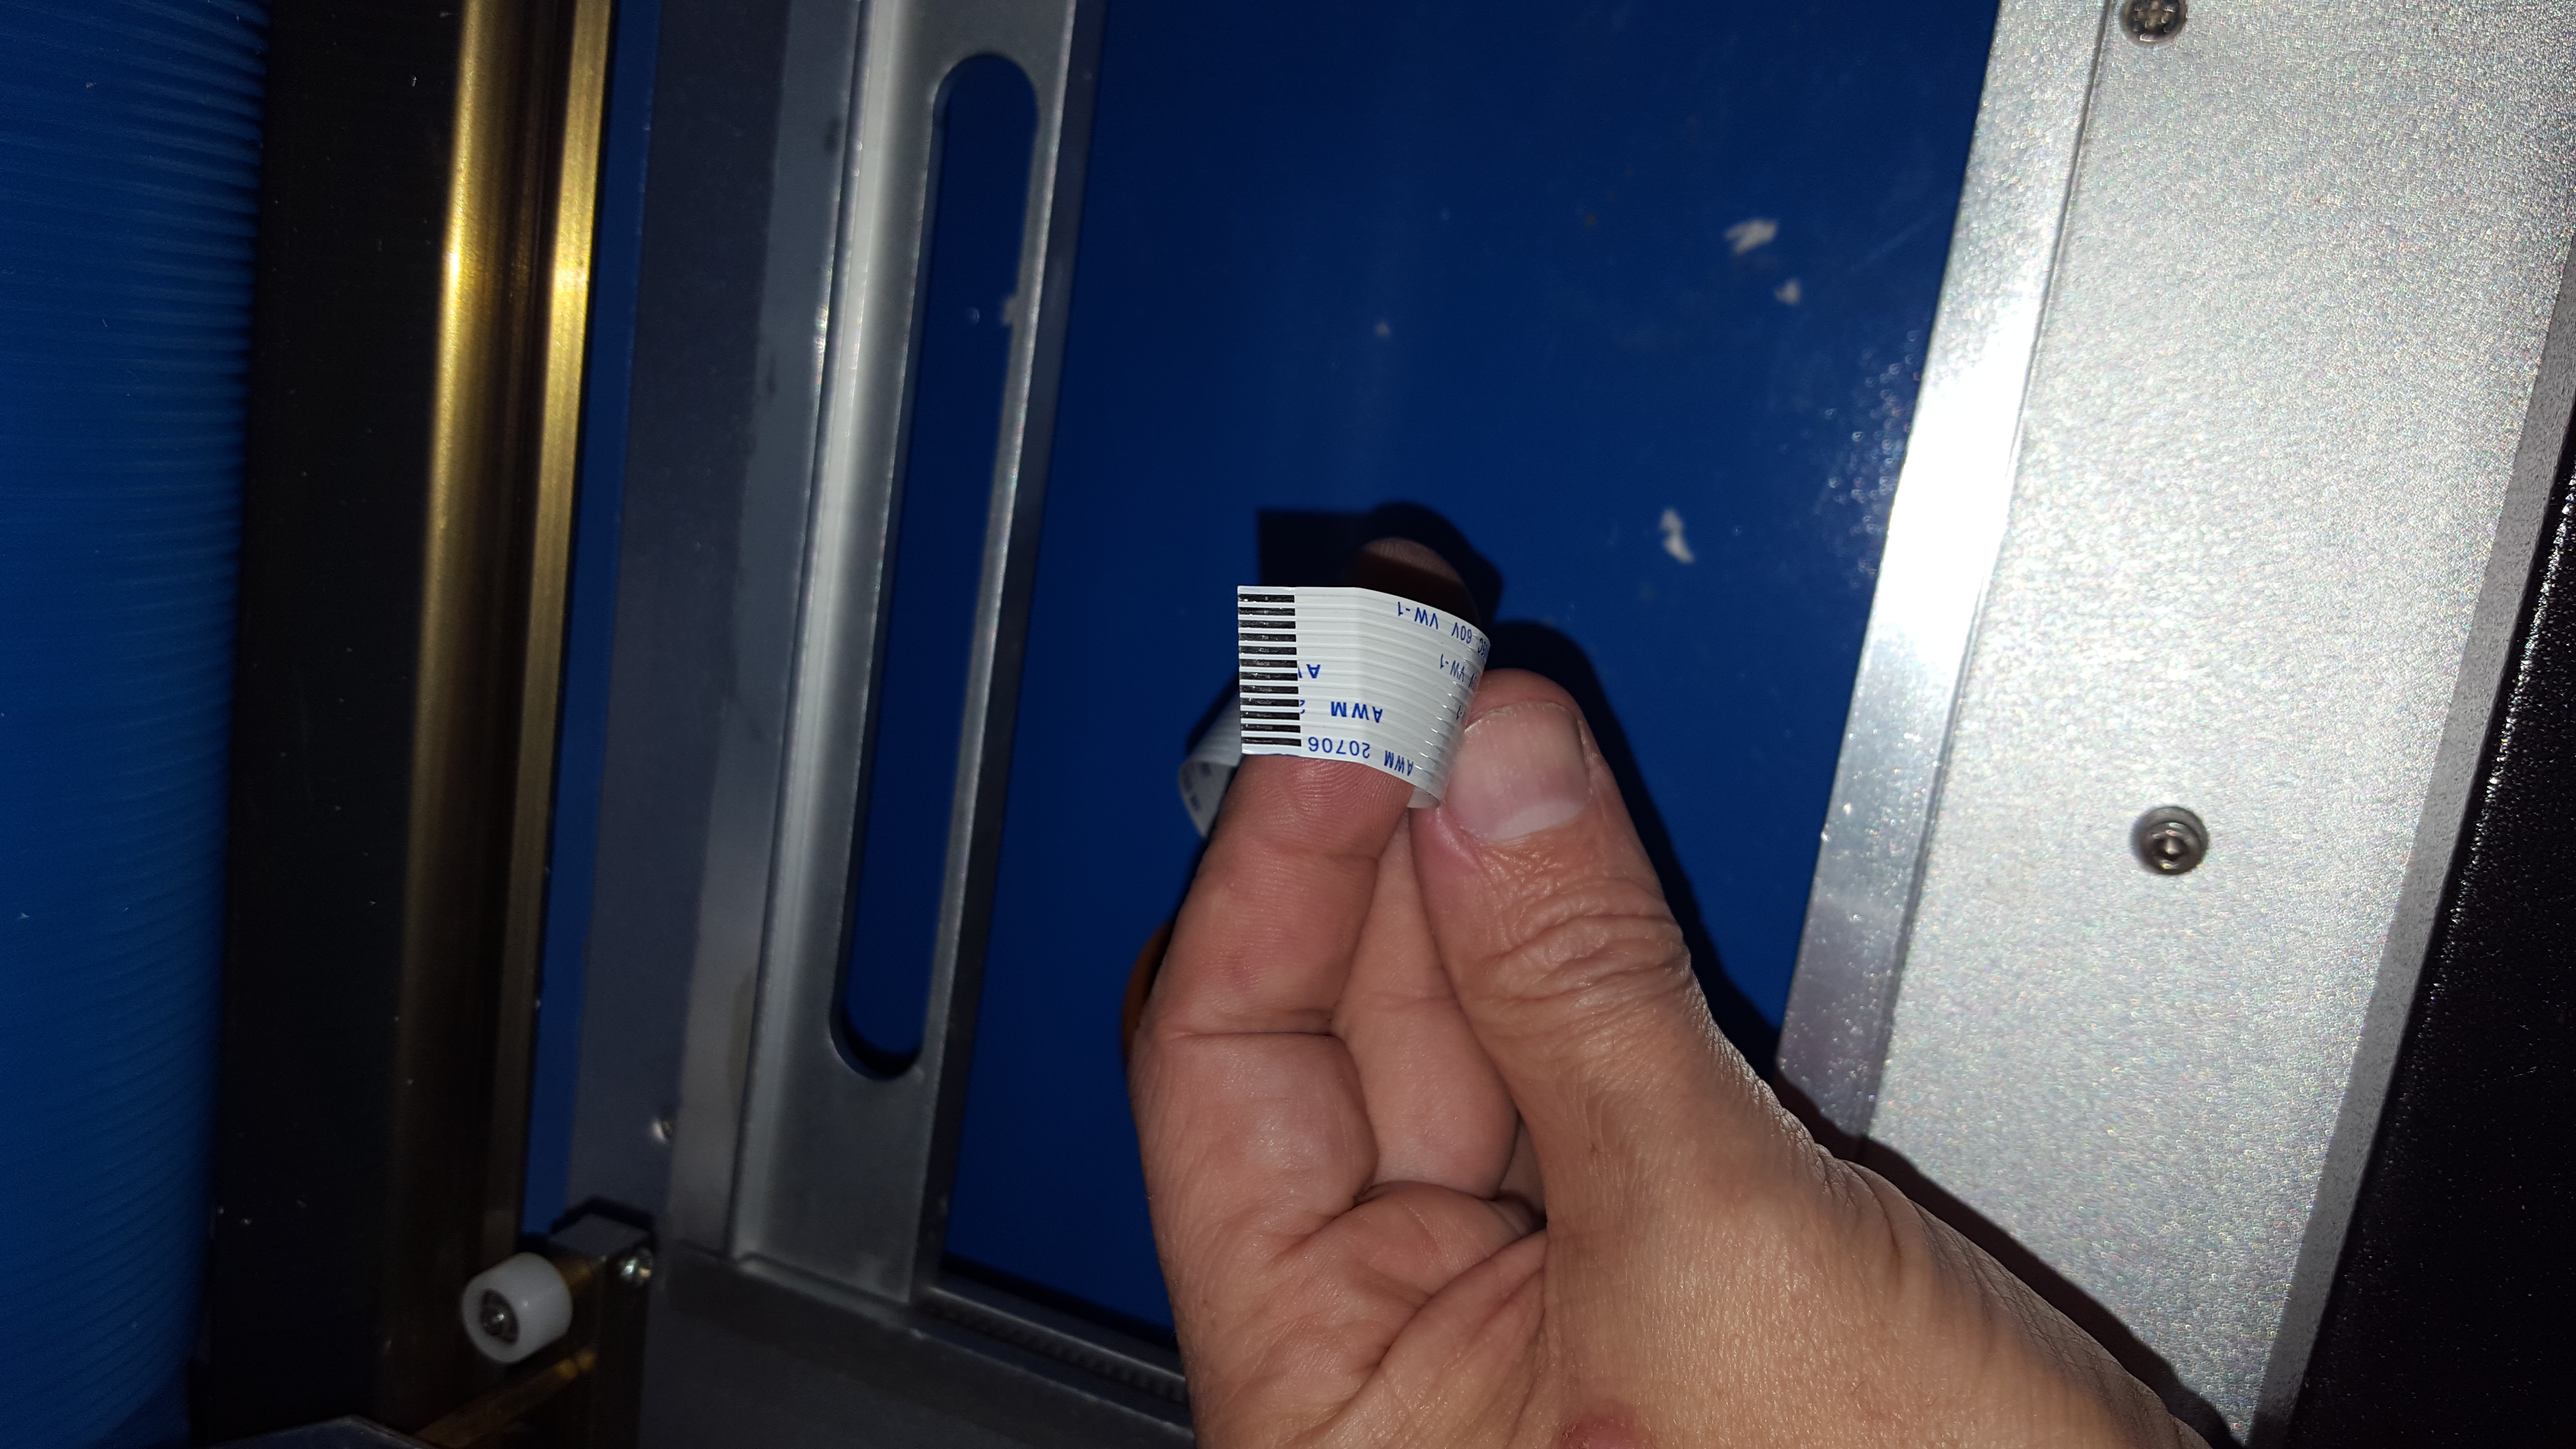
The cable was easy to replace, a couple of screws removed the stepper PCB, push the cable back in and re attach the PCB, but not a good start, I haven’t even powered it up yet!
When unpacking, ensure they you have found all of the packing, Un- screw all of the lids and check inside.
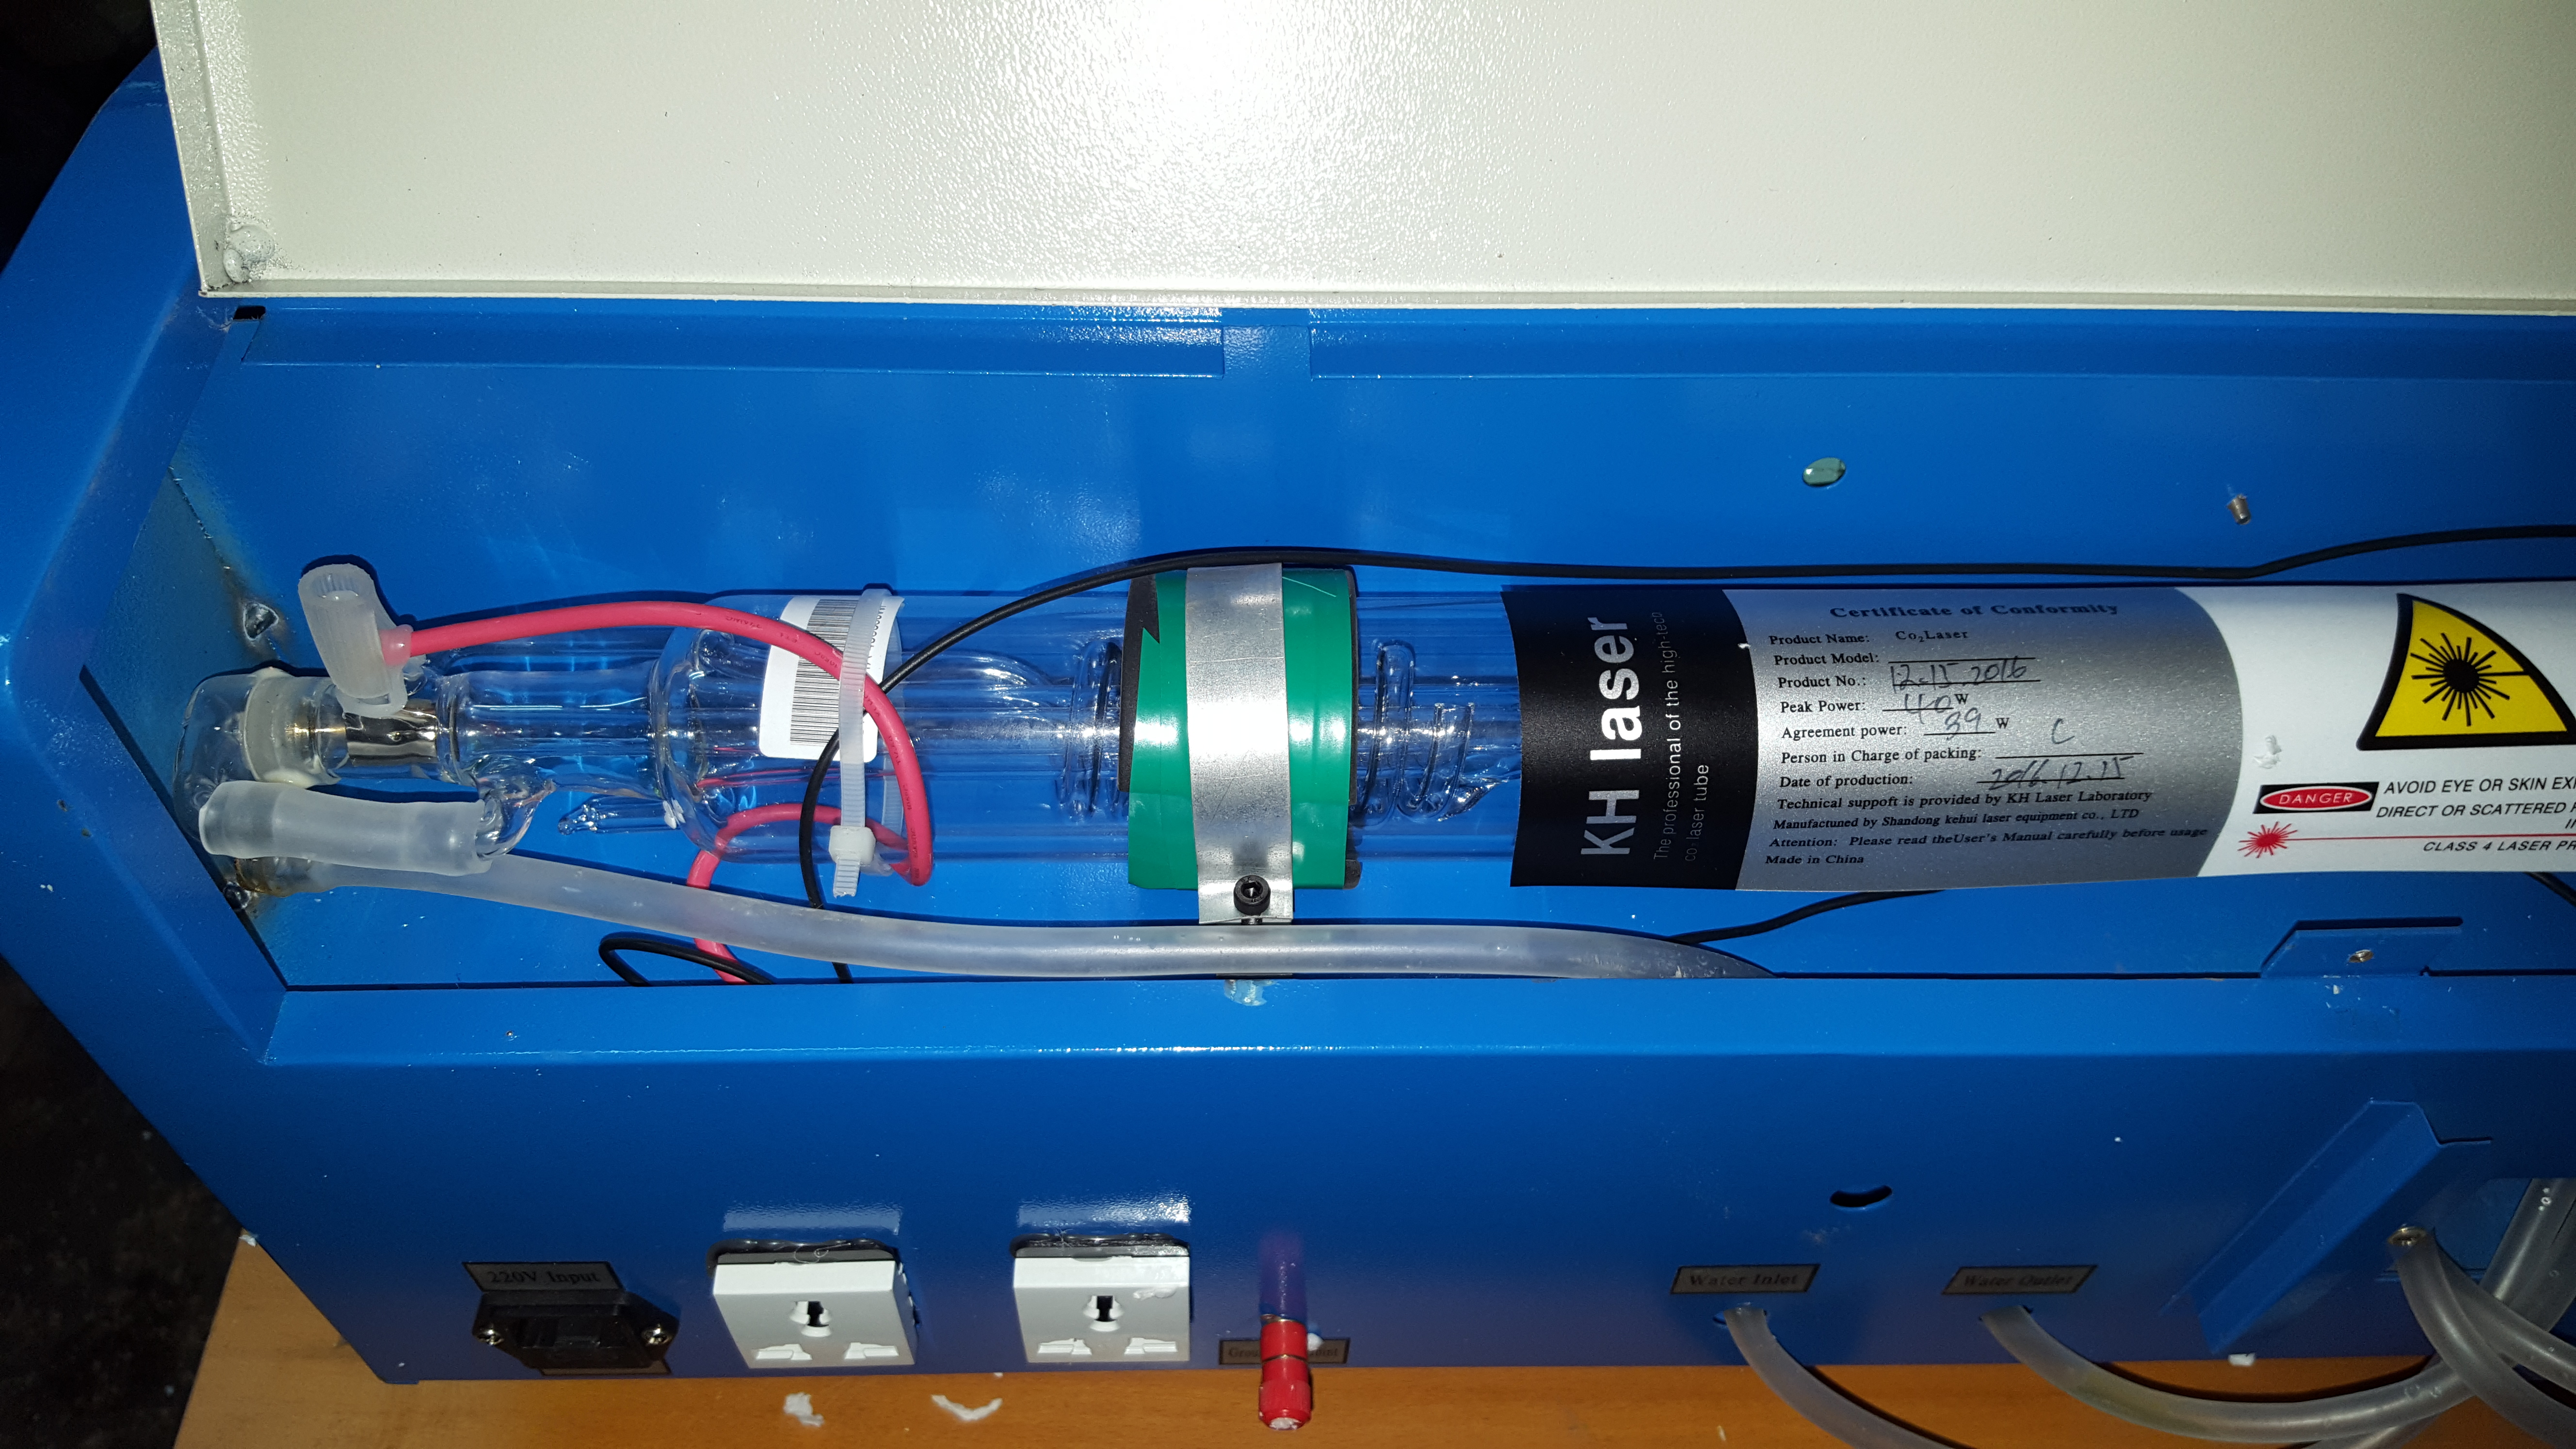
The laser compartment had a number of polystyrene pieces, that would instantly catch fire if the laser were powered up with them still in place. Also check that all of the cables (and tubes) are securely fastened. A stray lead with 20KV on it or water pumped into the case would not be a good thing. Mine was all good. One thing I have noticed is that the compartments now have alan key screws holding them down. I lieu of any safety switches on ANY of the lids this is probably shows that they have at least read some of the paperwork to gain CE certification.
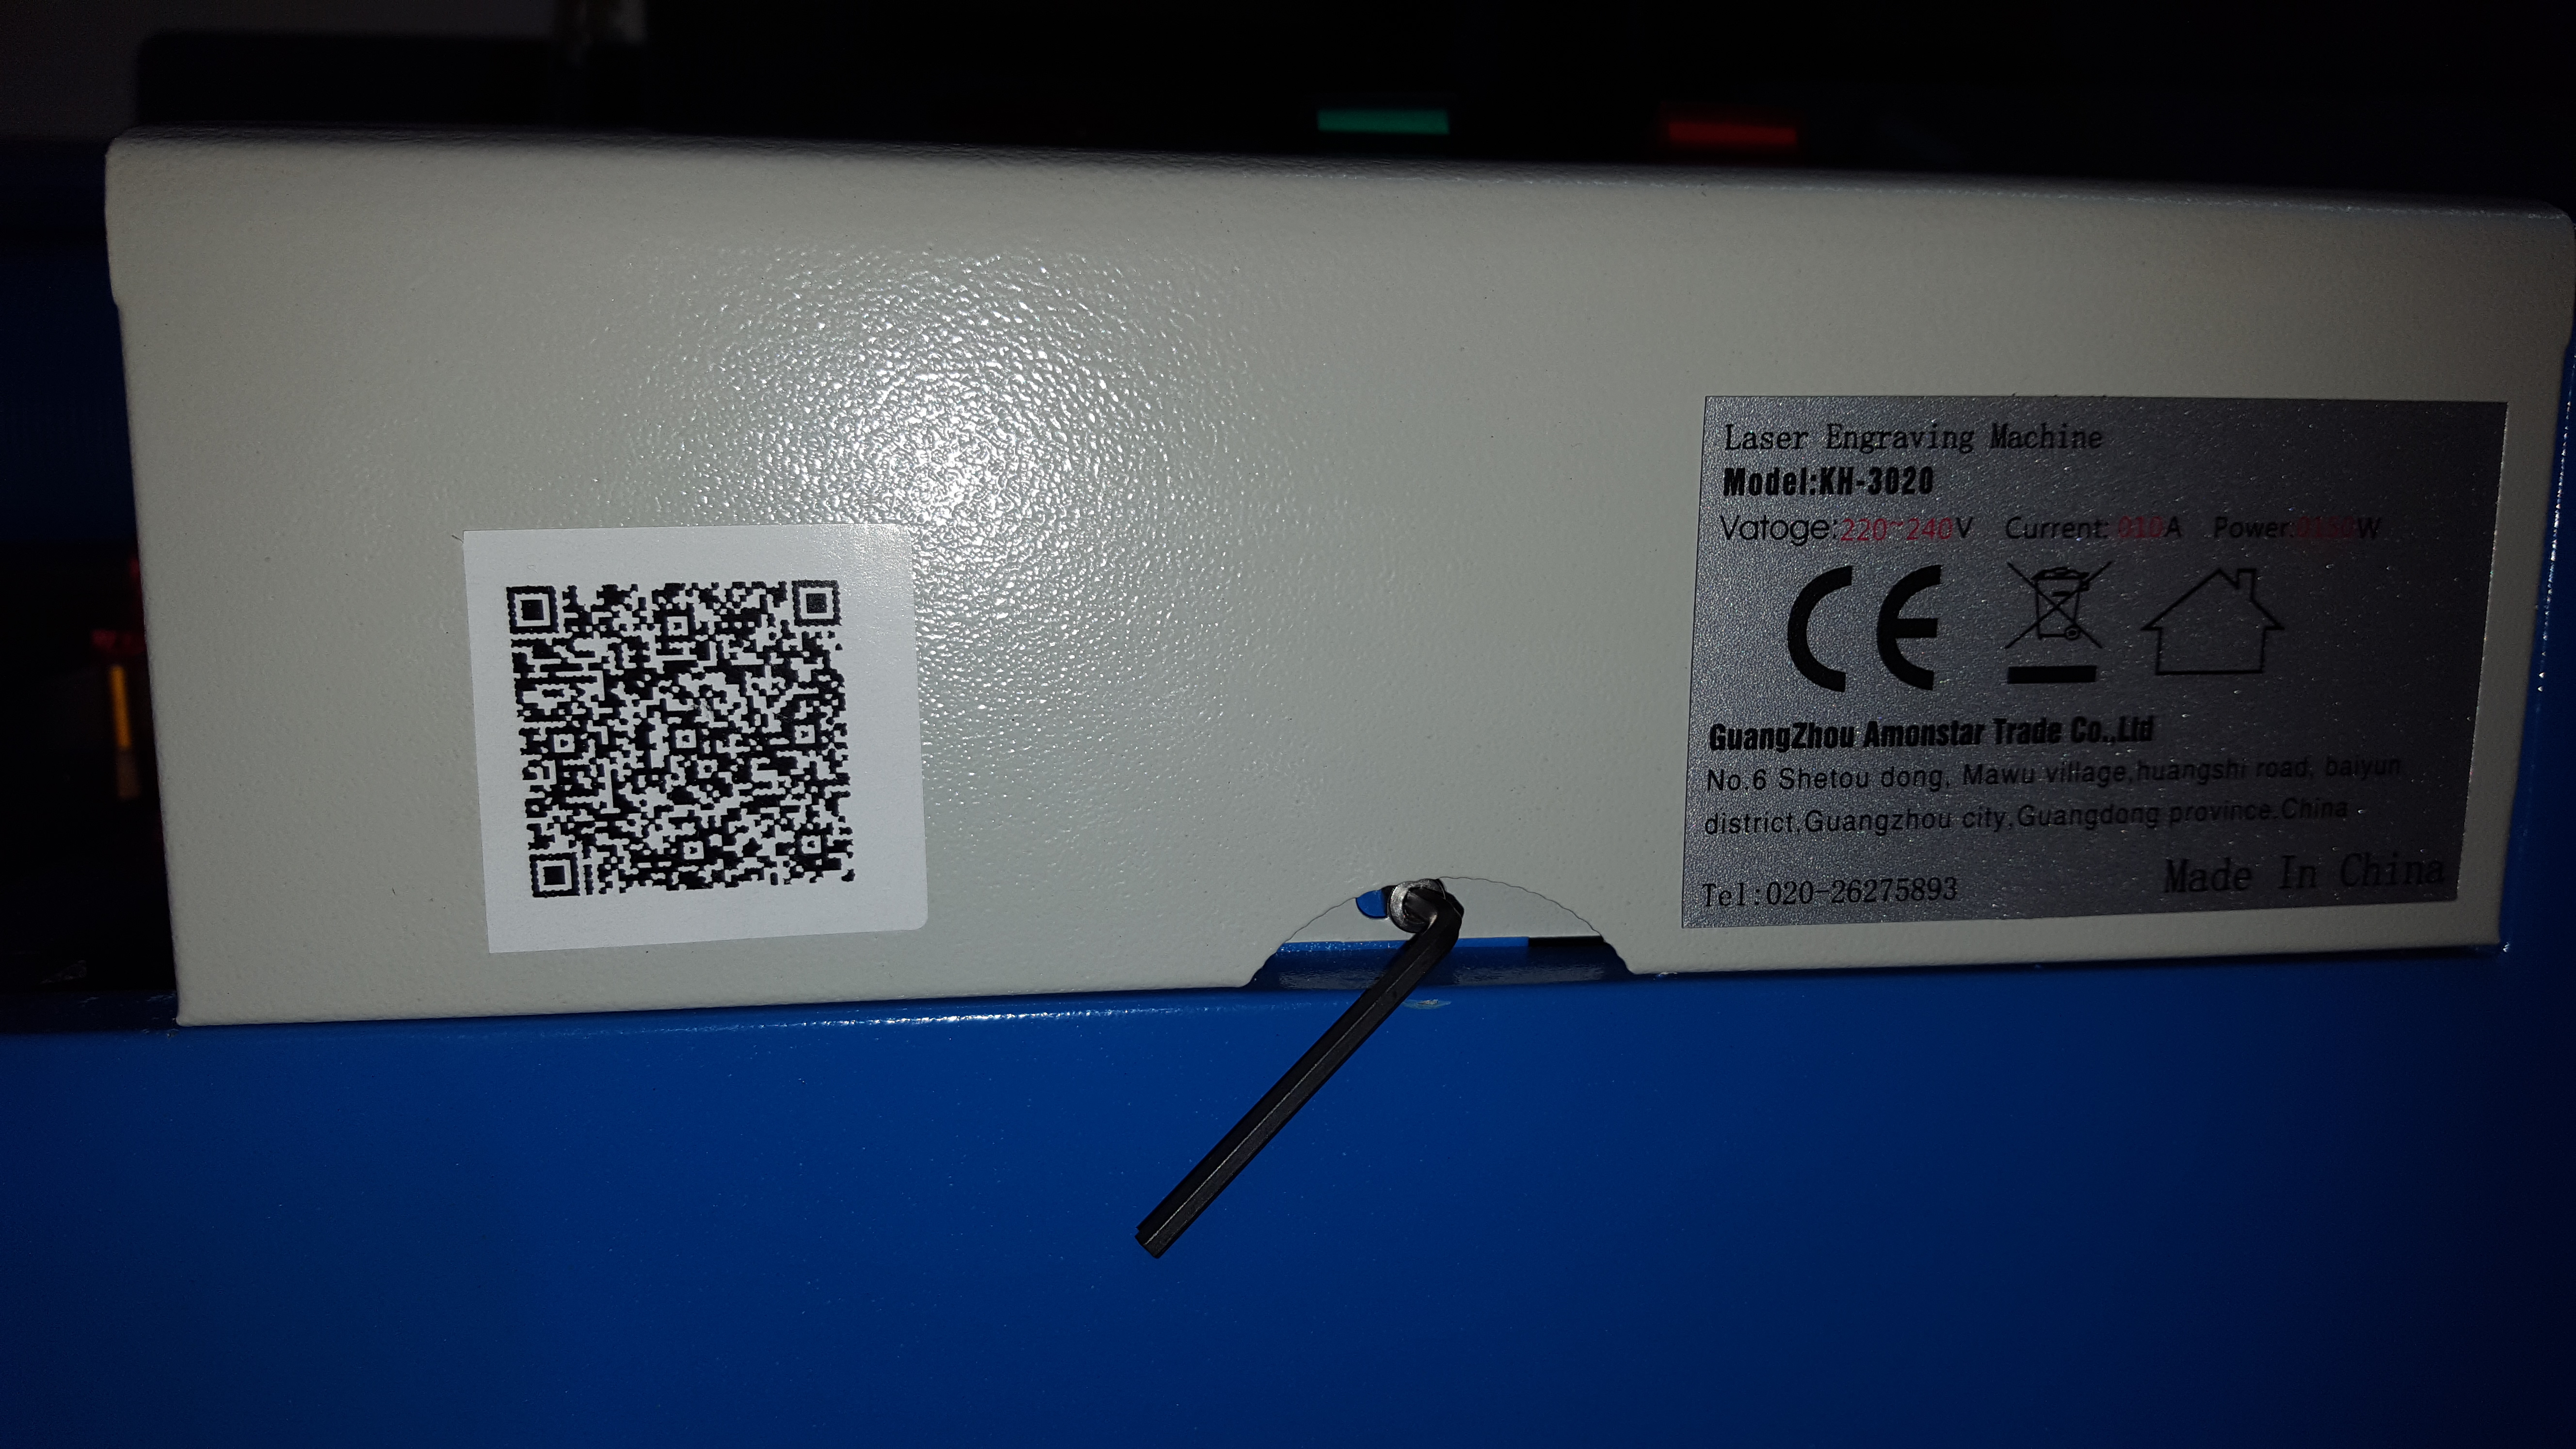
Look, its CE certified, it must be safe then….
My laser has had a number of additions which I though were a good idea.
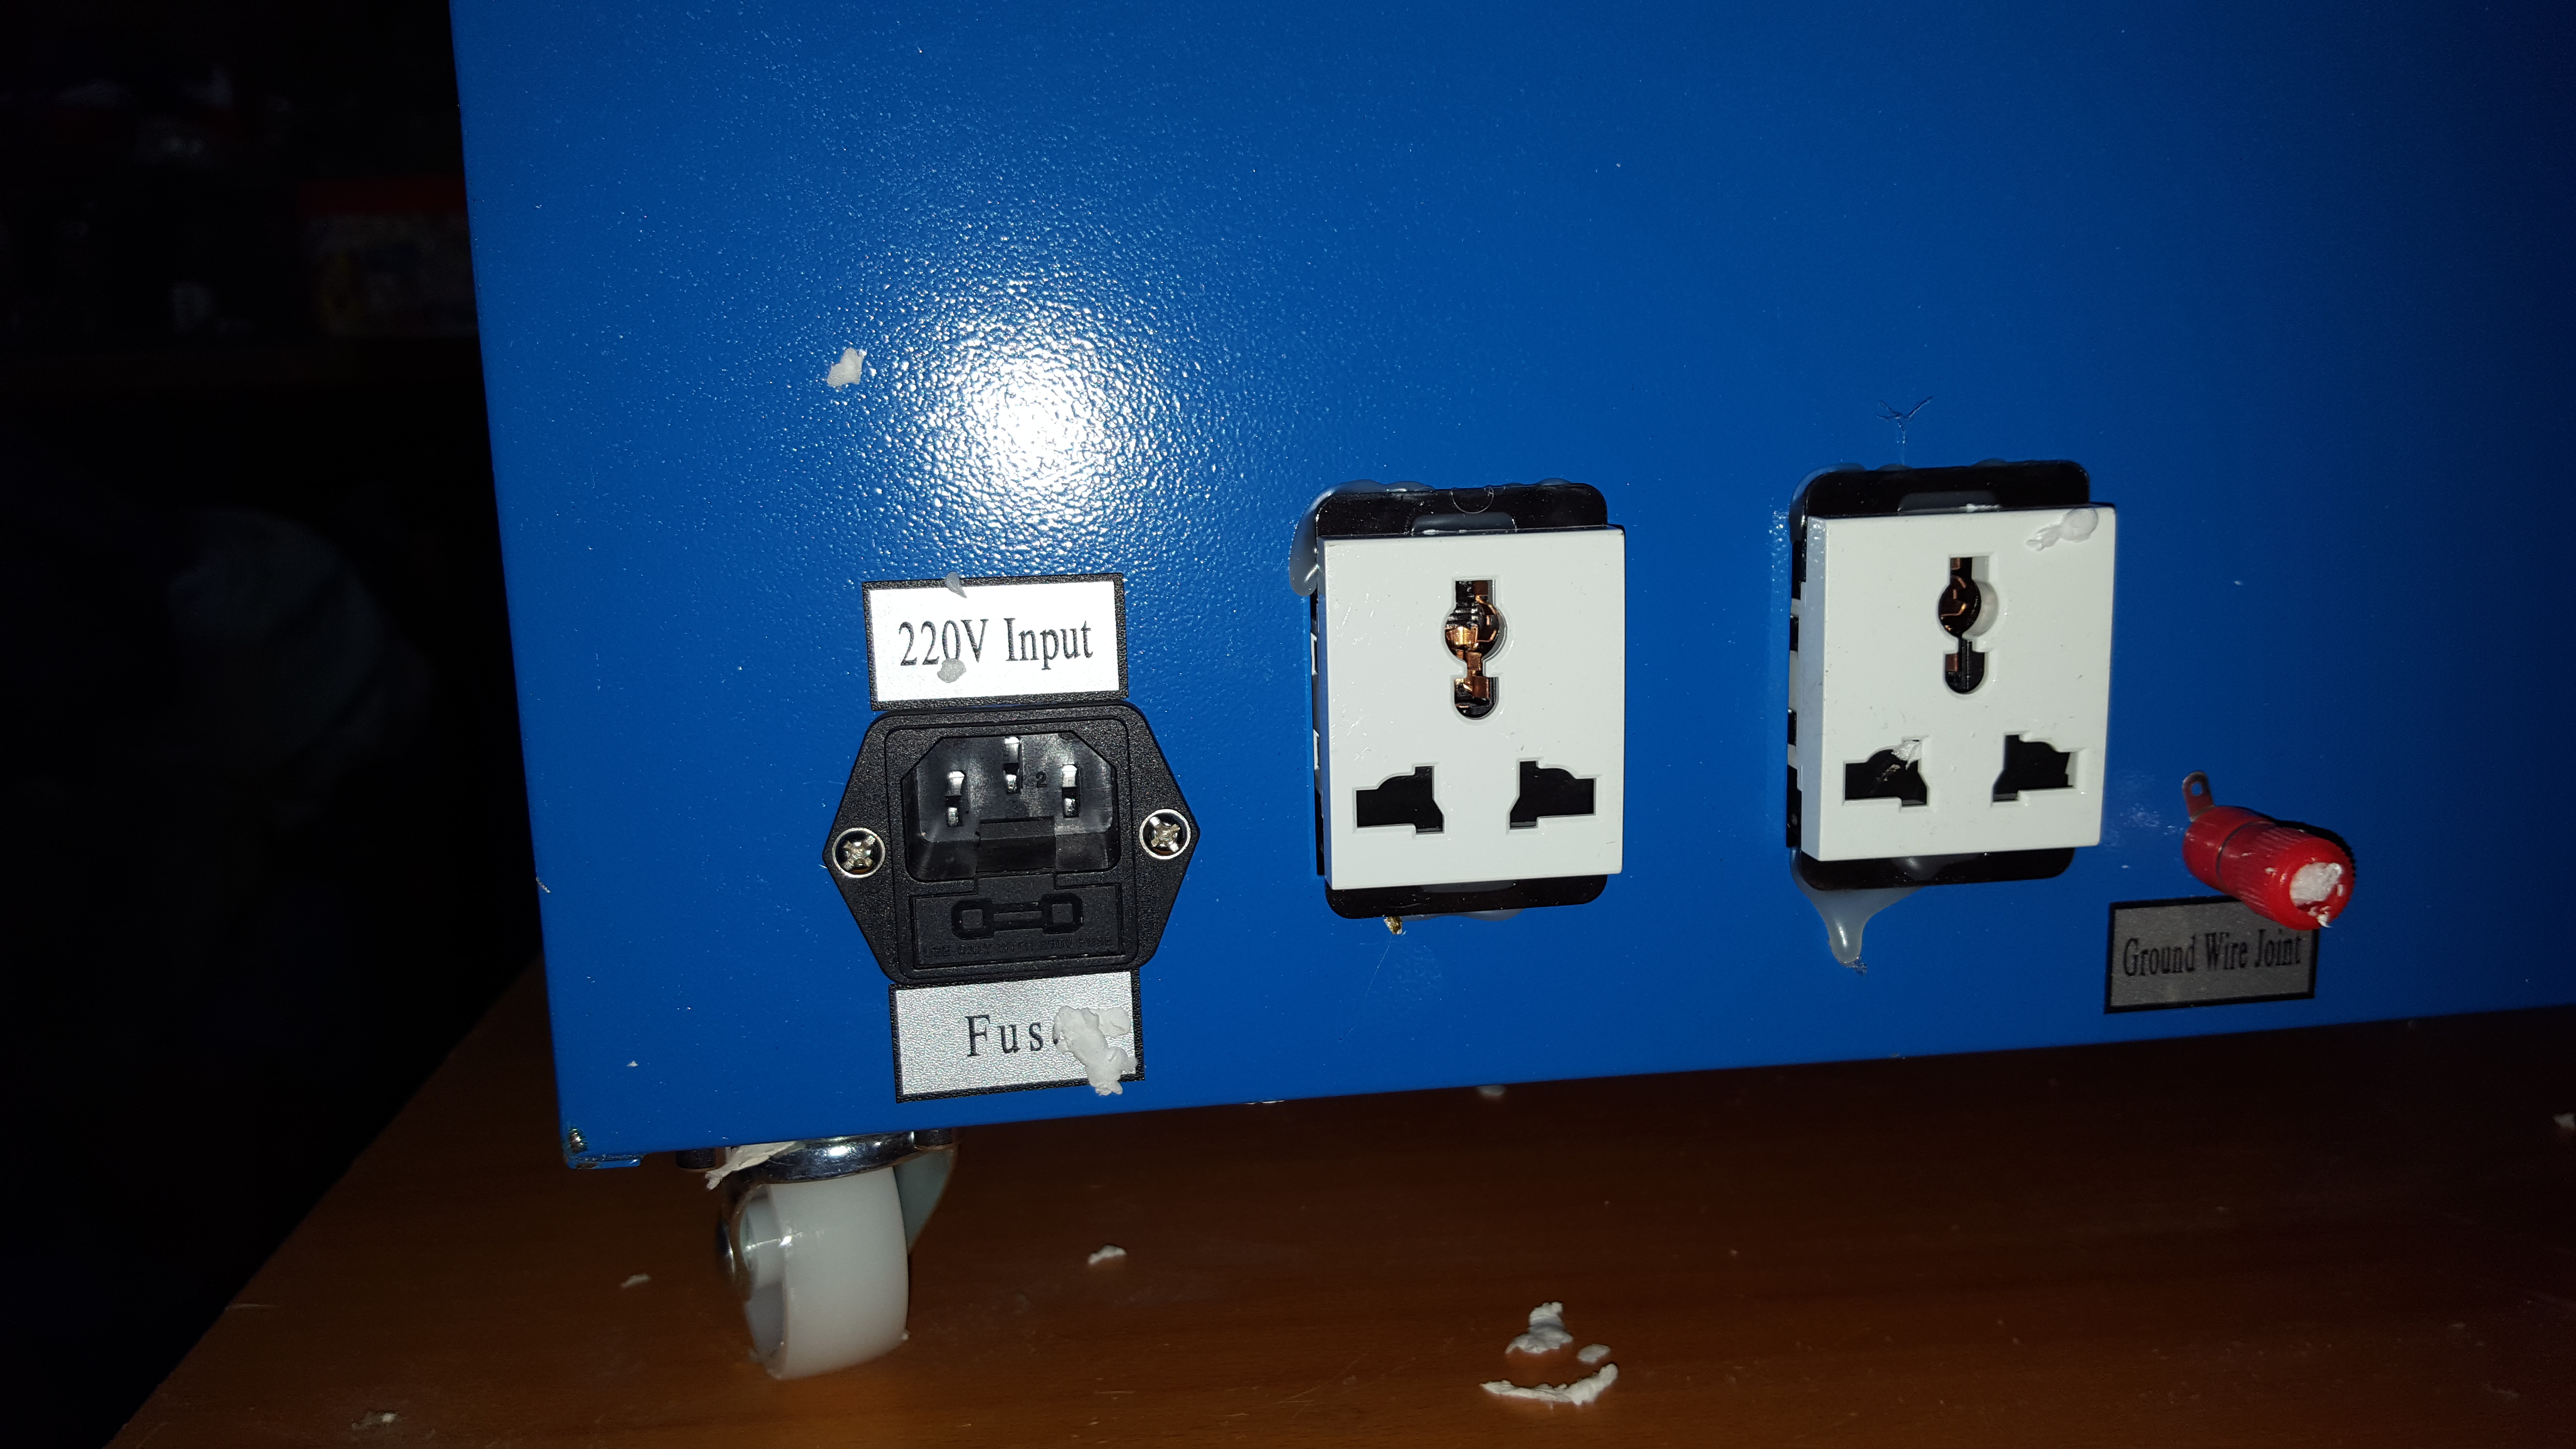
Twin sockets and an IEC mains inlet (some cutters have all sorts of connectors here) Note the earth. DO NOT TRUST THE EARTH PINS ON THE SOCKETS ARE CONNECTED TO ANYTHING. Check, AND make use of the extra case earth.

My cutter came with a emergency stop button and a on/off witch (yes some don’t even have that, remember these were addons..)
Checking these I found that neither had been tightened up and both rotated freely.
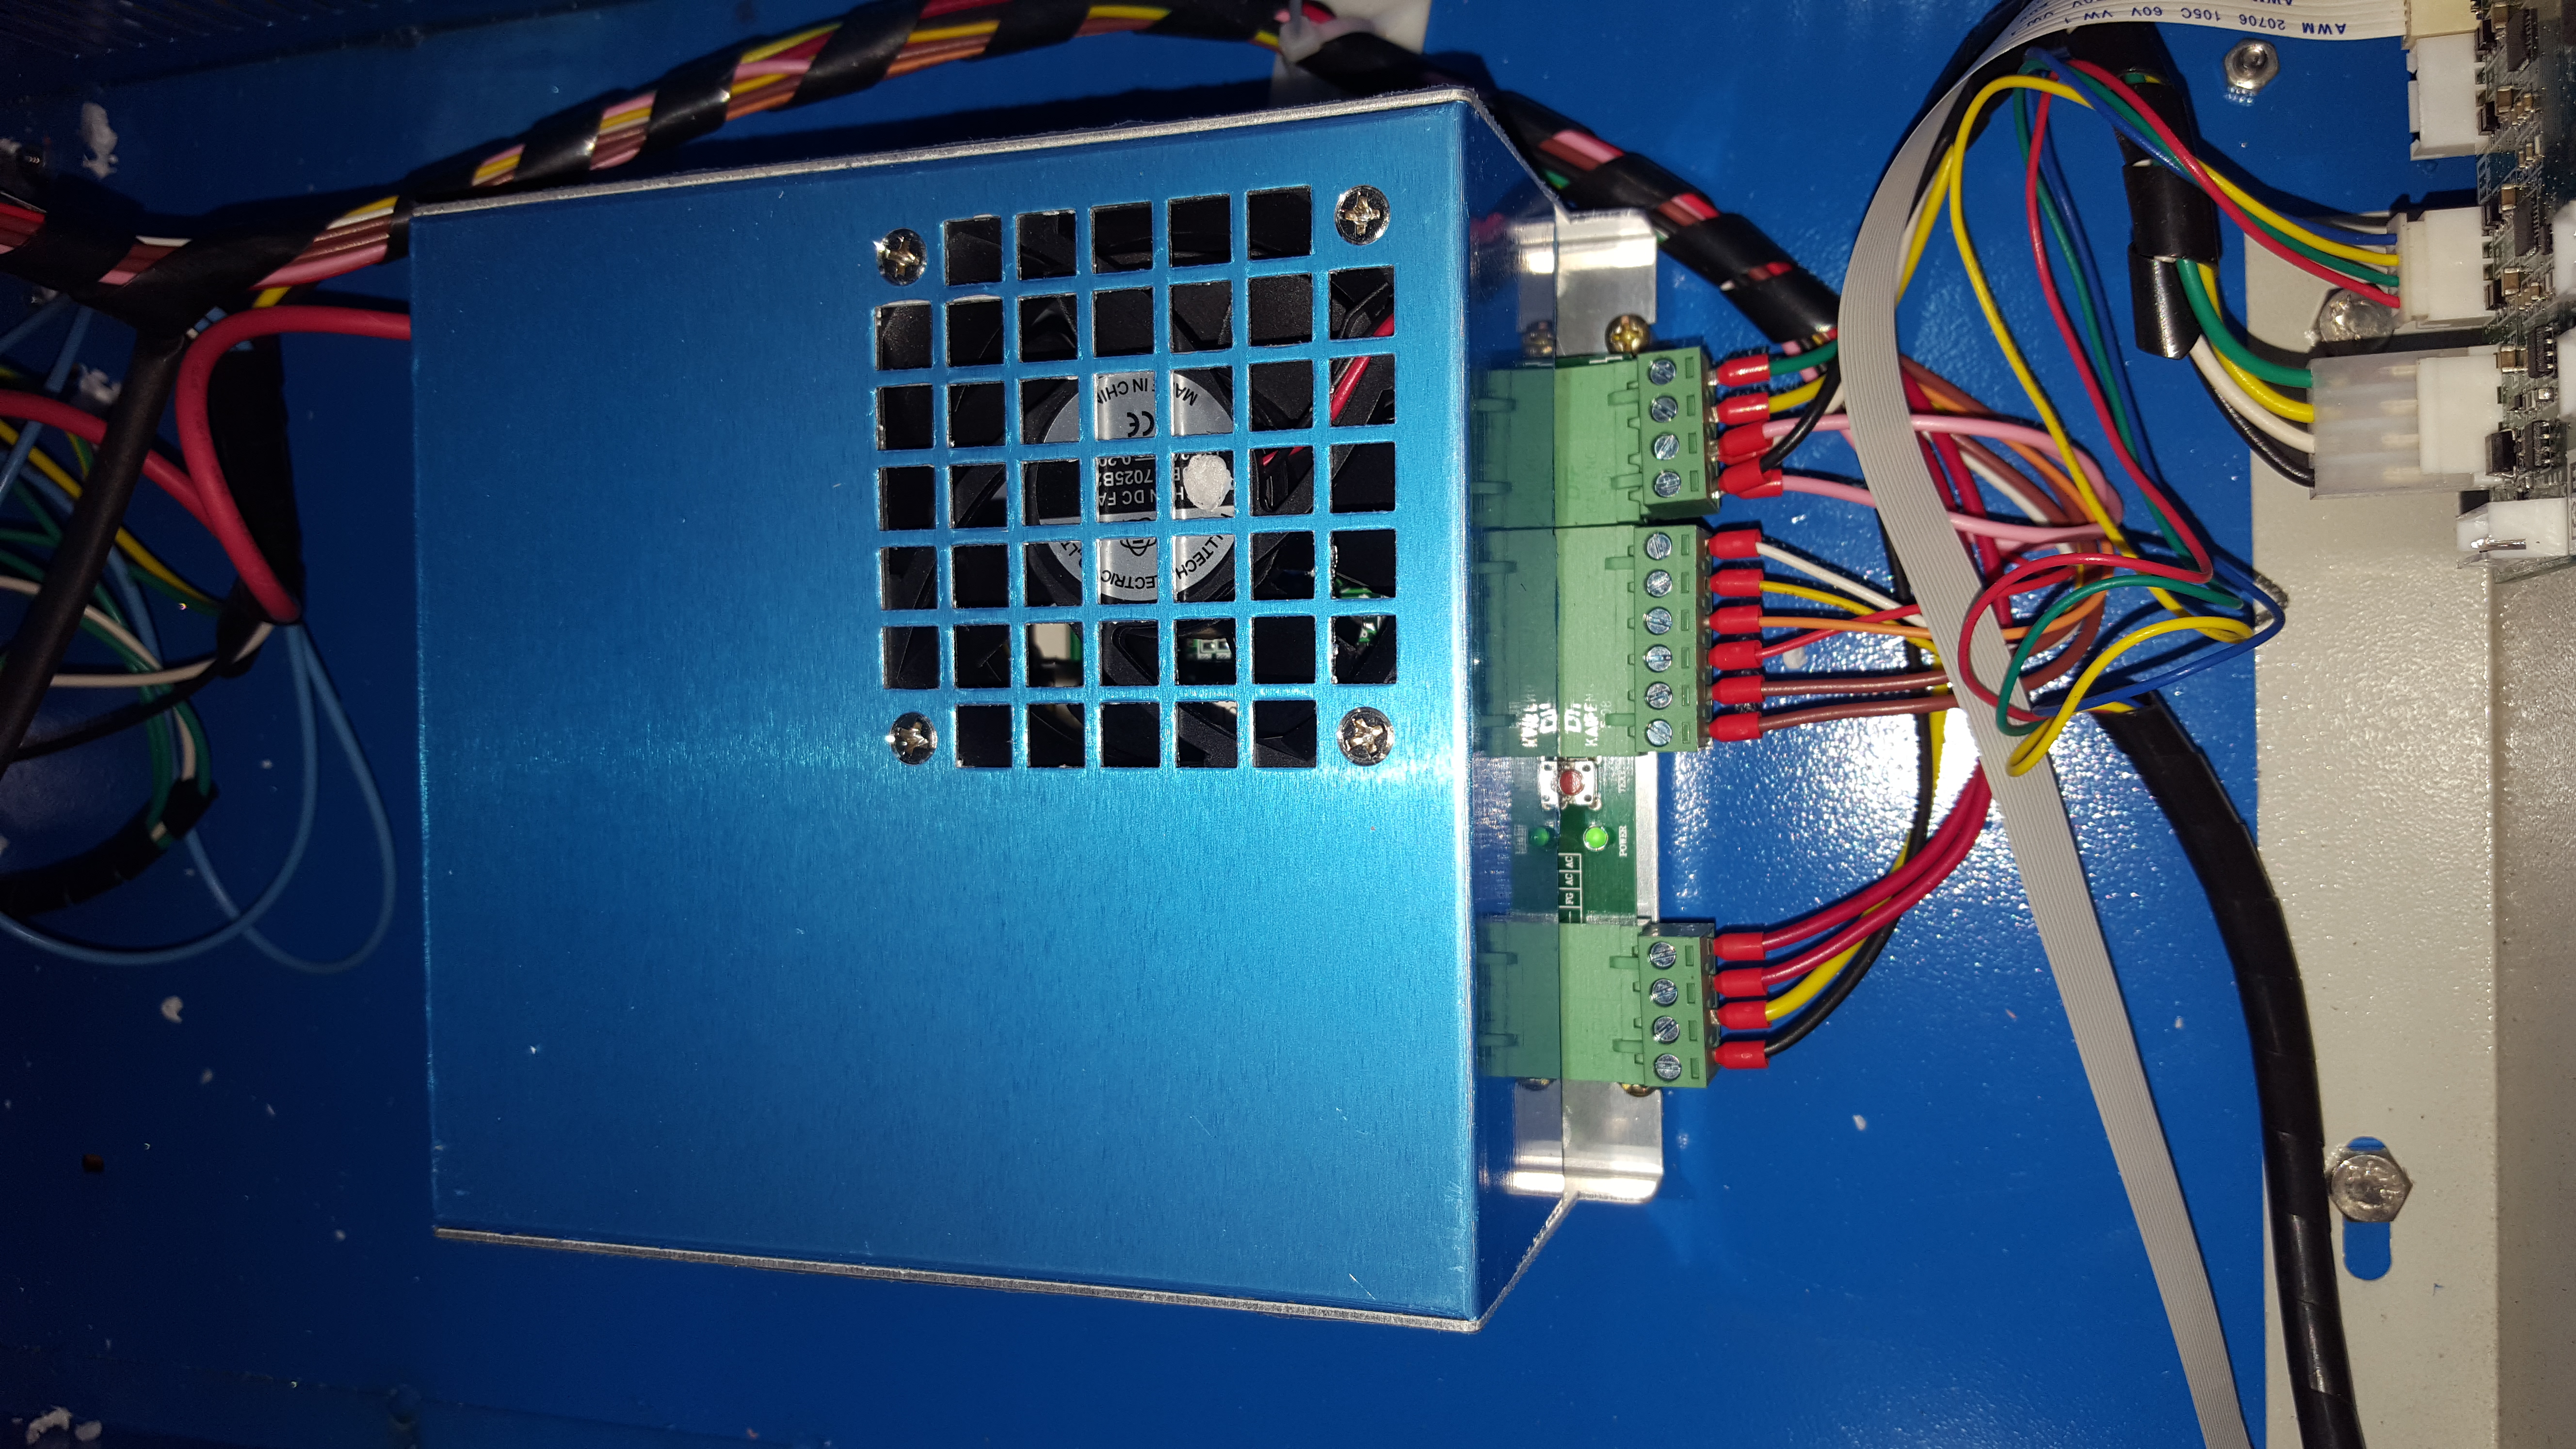
Power supply, actually quite nicely put together.
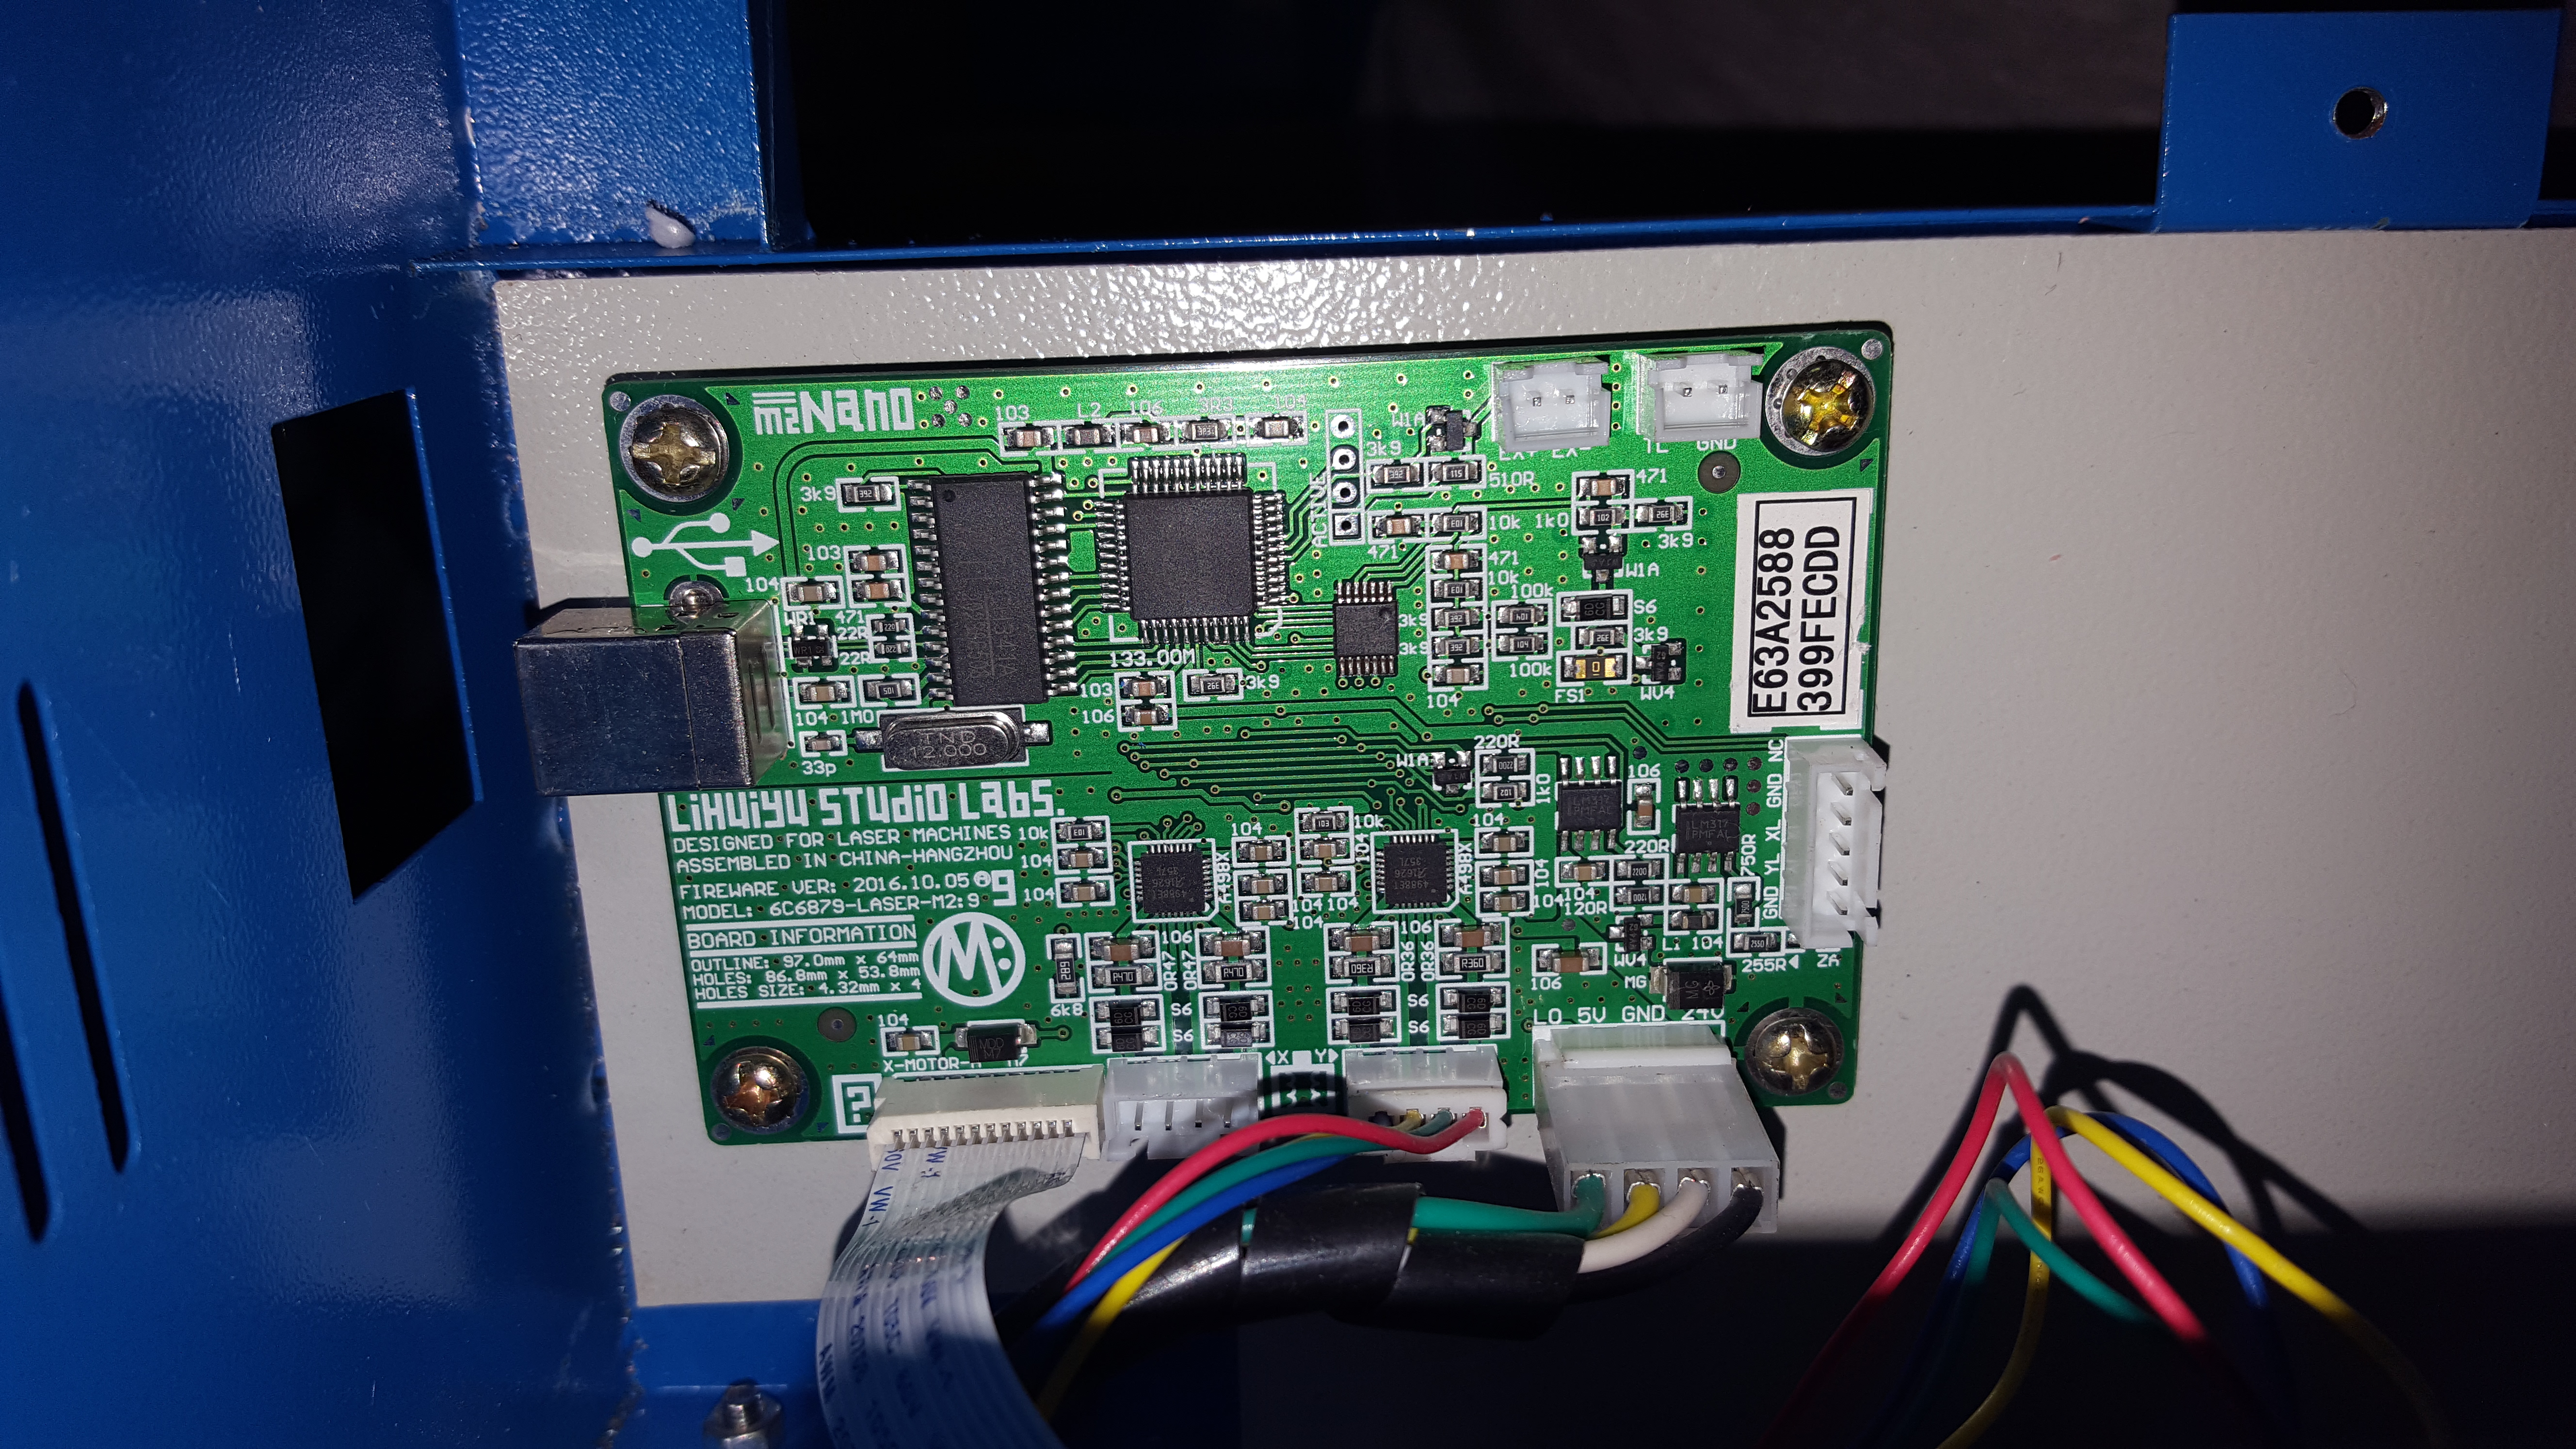
The controller board, on a flappy piece of metal. Make a note of the board numbers you will need them when you run the software.
The fume extractor fan slots loosly onto the rear of the unit
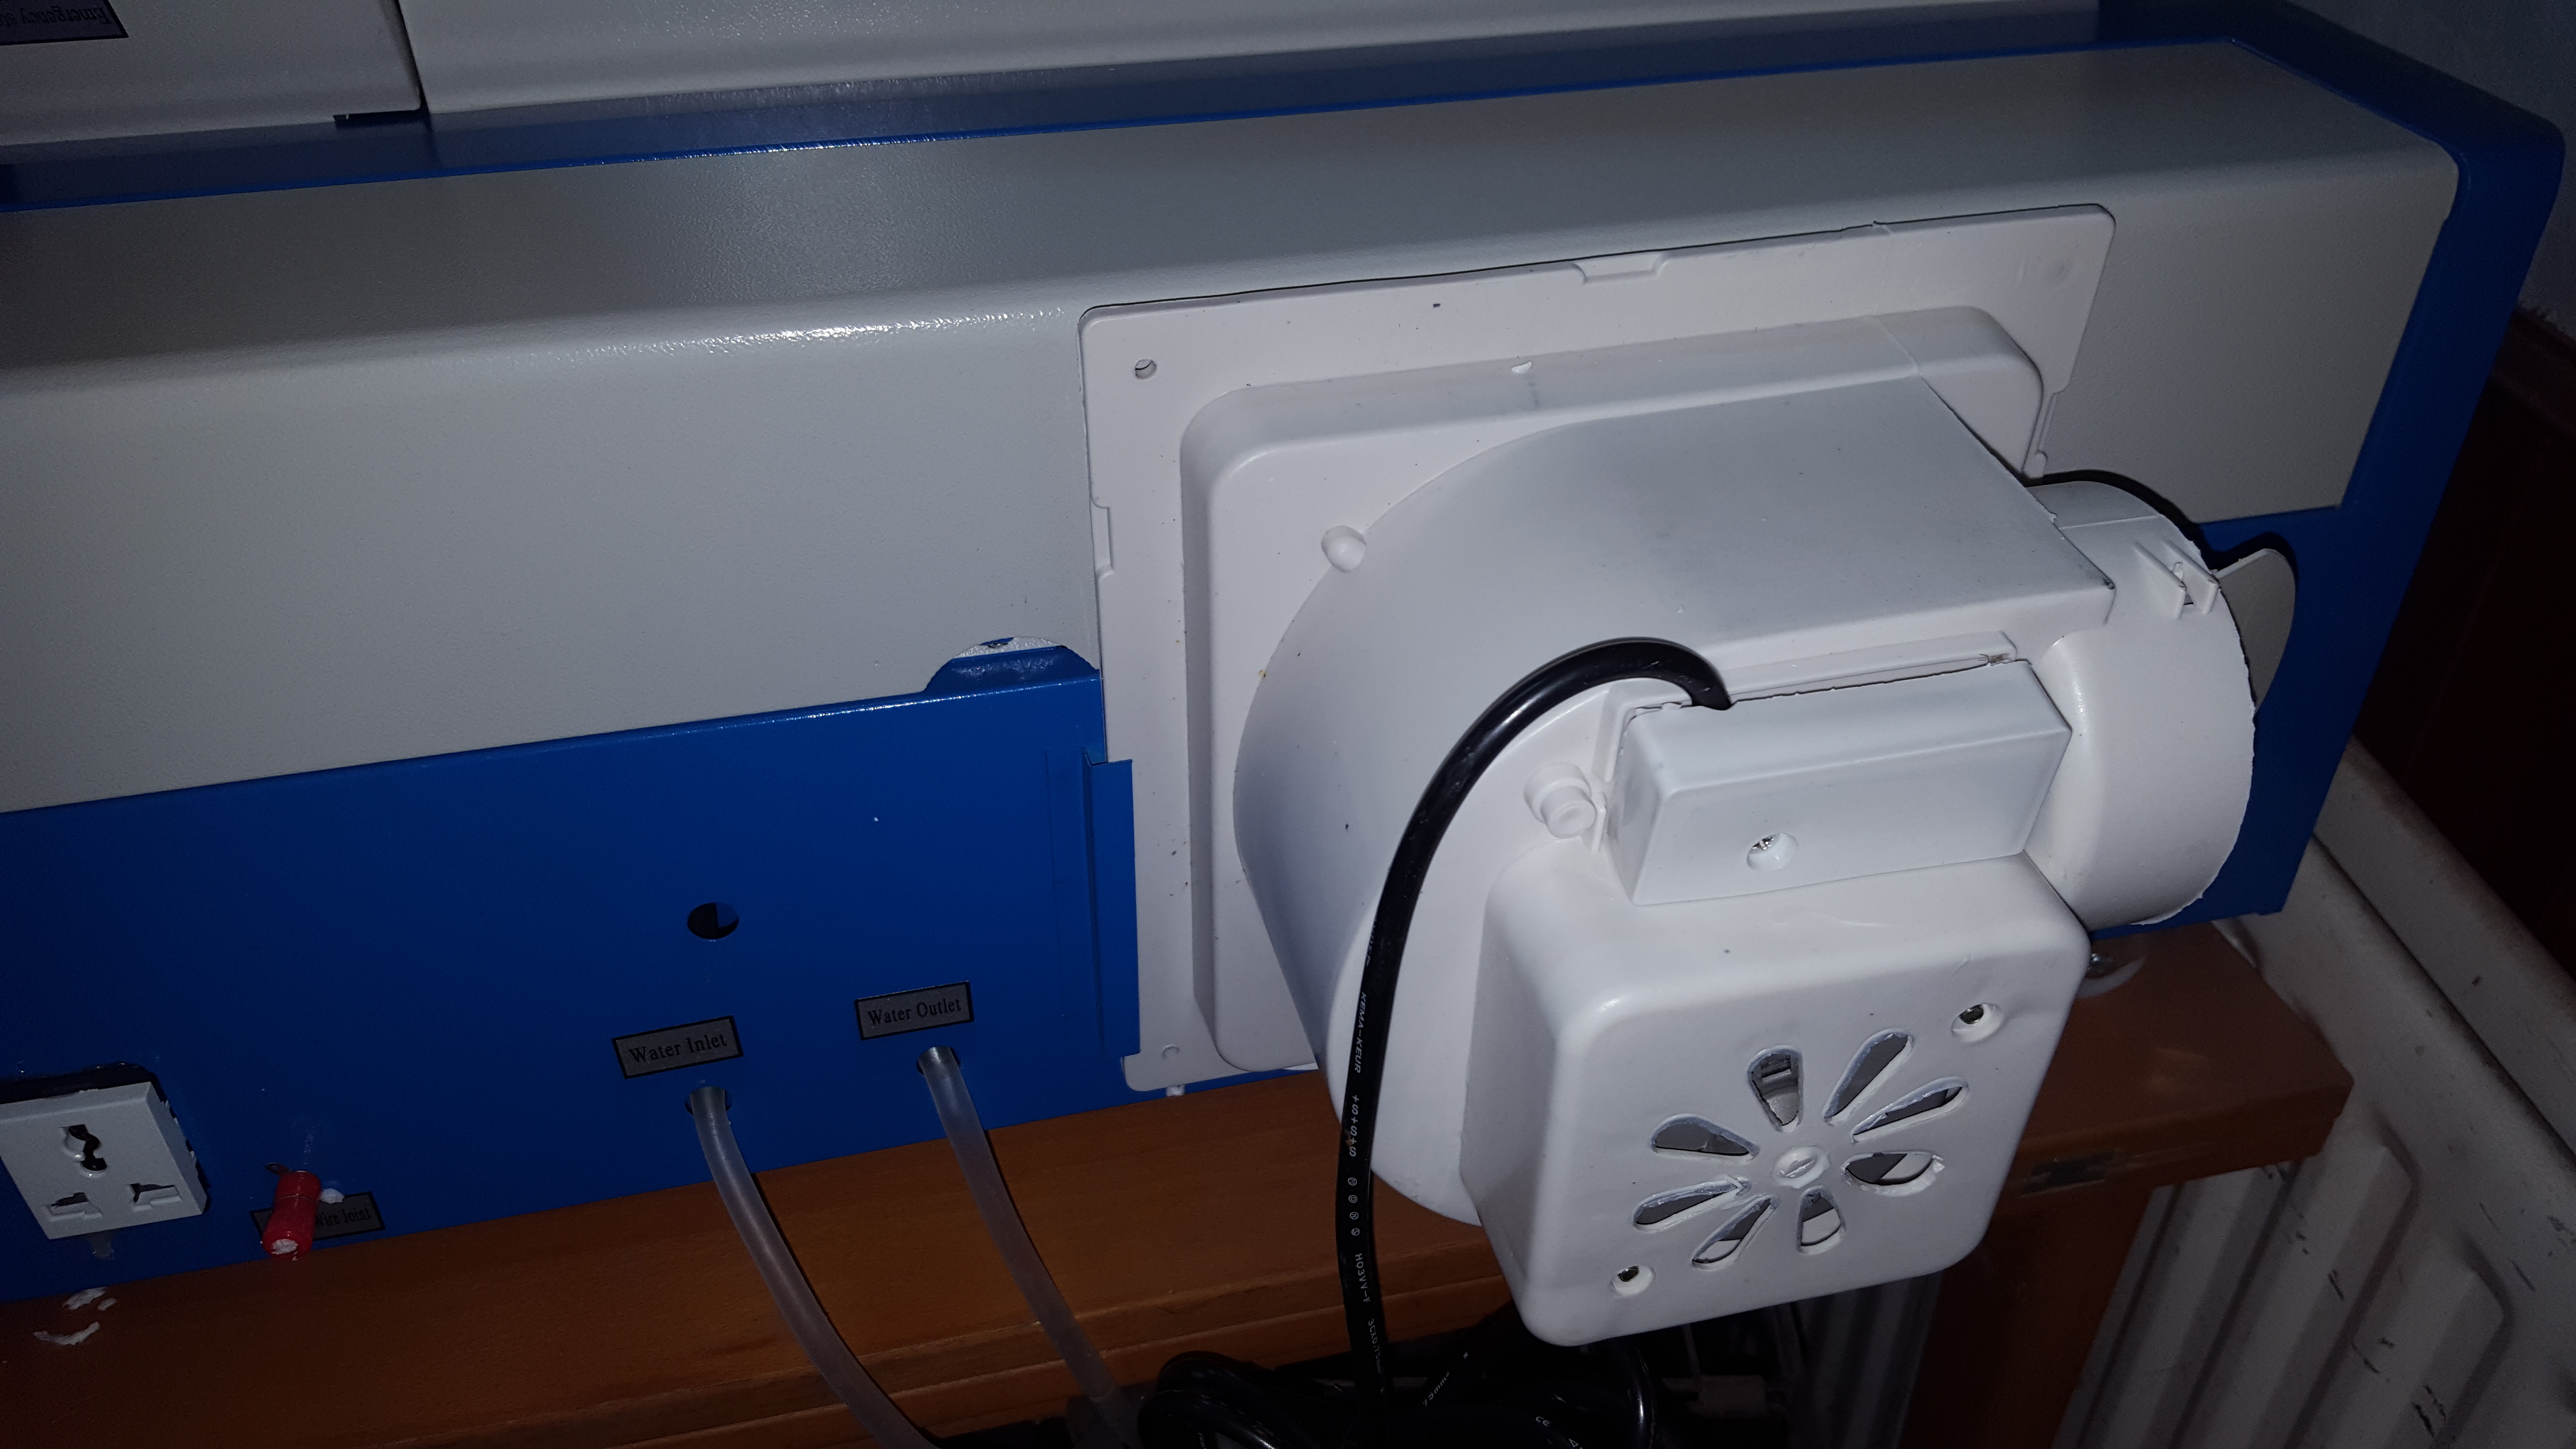
Yes This loosely.

A nice 10mm gap for the air to miss the cutter entirely.
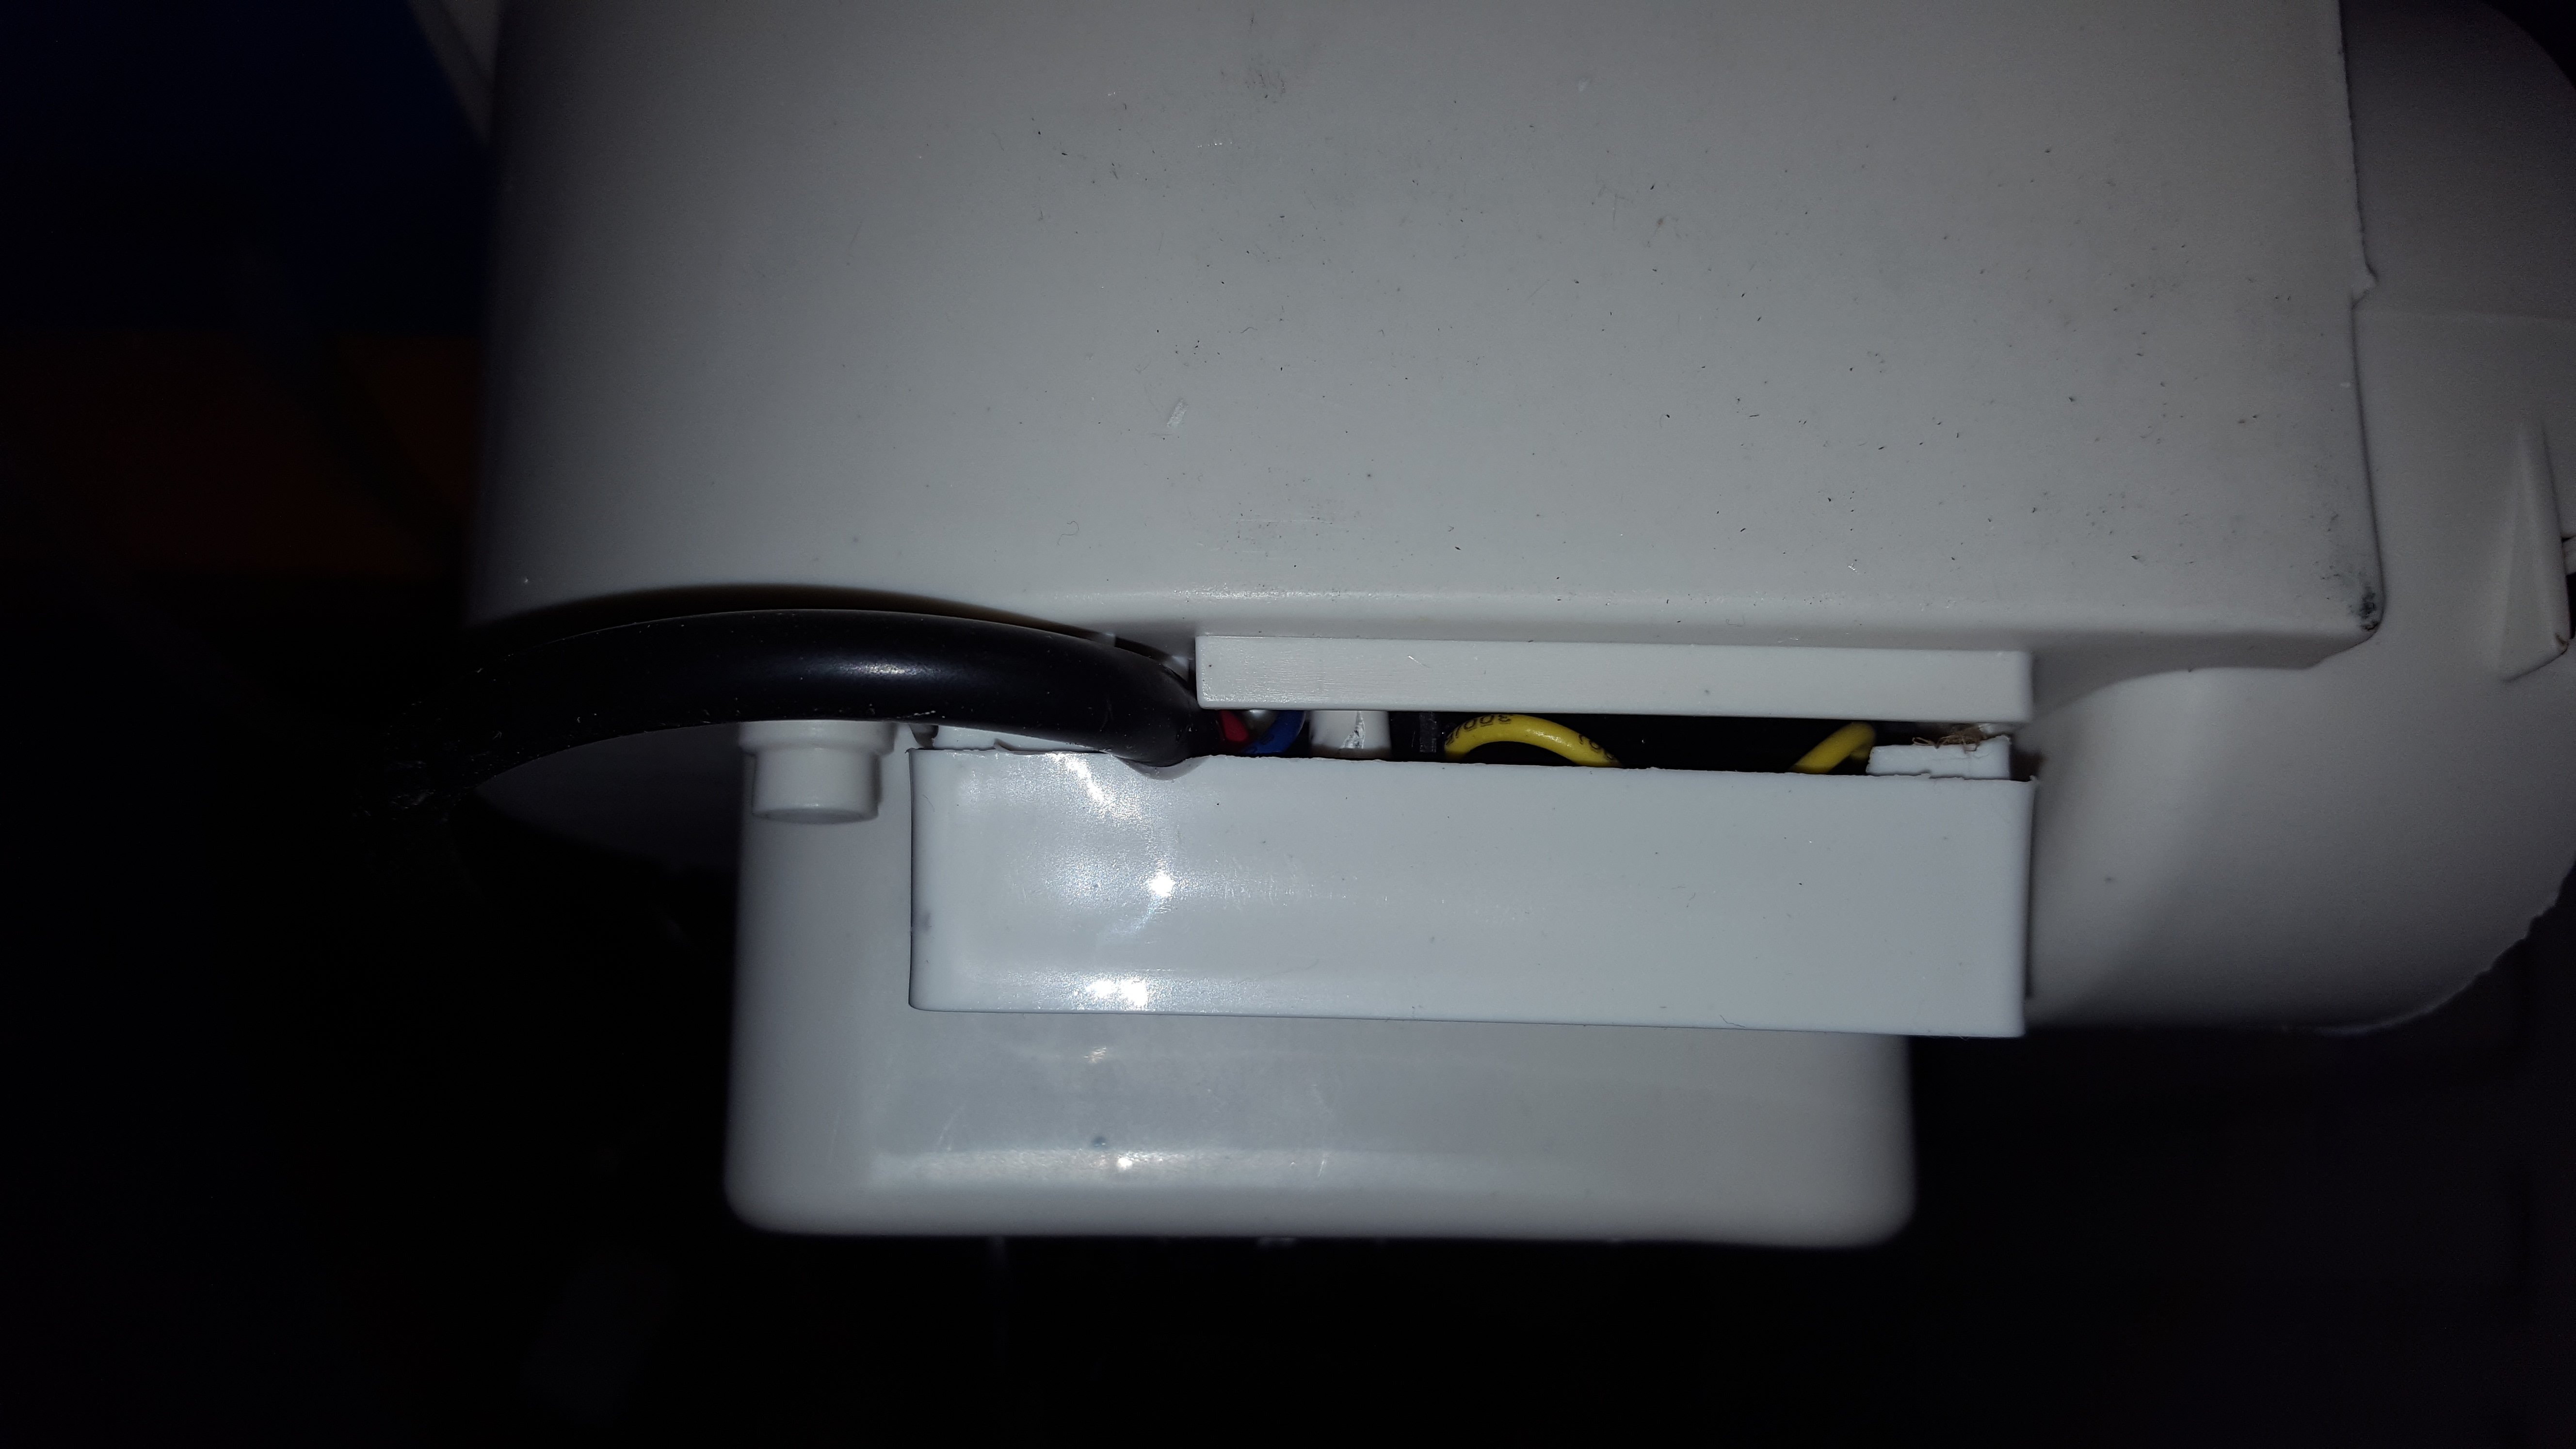
And a lid that doesn’t fit properly with the power connections behind it .
The fan has one more slight problem. It is clinically asthmatic.

The cooling water pump is just a small garden fountain pump, but it works you even get a good flow from a floor based water butt.

I used a 2 gallon box and made a reinforced plate to take the tubes. The lid keeps the water clean. The return tube is cable tied so it is above the level of the water. This gives a visual indication that the pump is running. The pink water is anti-freeze as the cutter will be run from an outside shed. Another of the add-ons for this cutter is a water temperature meter, useful as a check, but no cutout for lack of water, or over temperature.
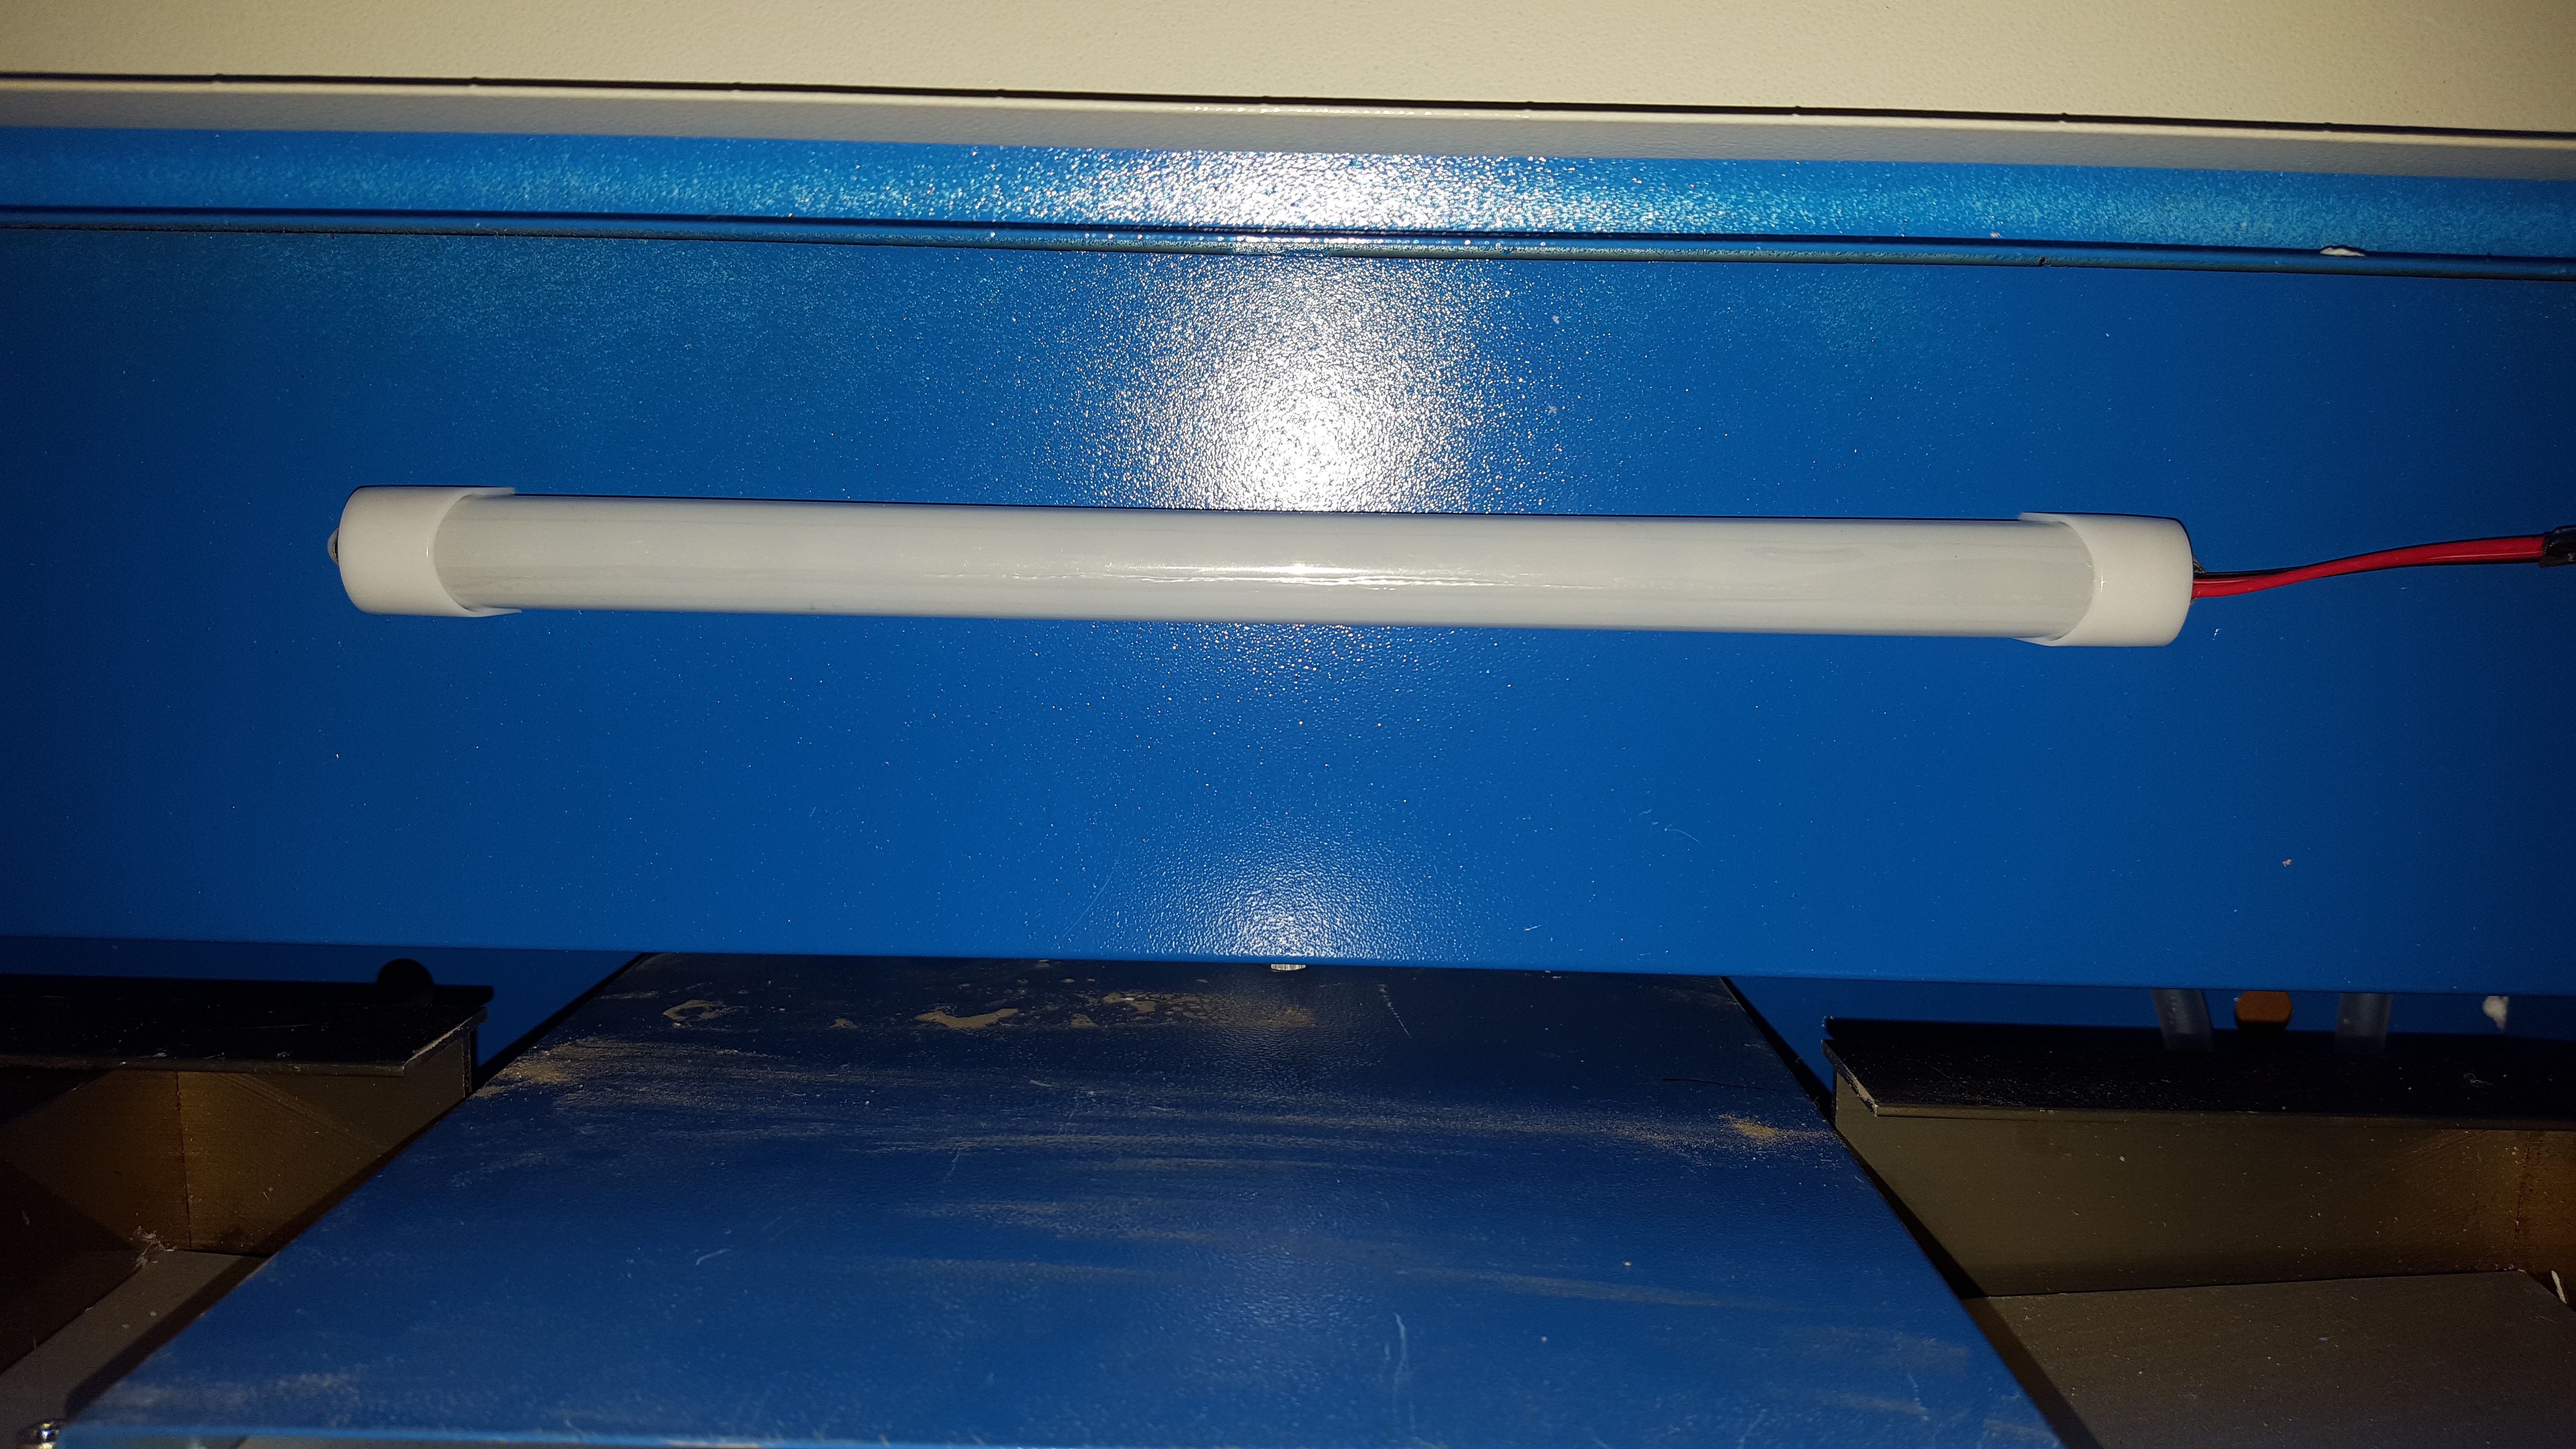
A nice addon touch is the lid light, a very good idea.
To Be Continued in Tales of a cheap Chinese laser cutter – Software