
Continued from Tales of a cheap Chinese laser cutter – Software
With the laser cutter now talking to my laptop. Time for some actual cutting.
Safety first, now is the time to don your goggles. Luckily, the light from CO2 lasers is absorbed by acrylic (If not it would be useless for cutting acrylic). So a good safety precaution is to use some good acrylic safety specs or goggles. IT WONT PROTECT YOU FROM A DIRECT STRIKE, but for unfocused reflections it will give a good level of protection.

Remember that this laser cutter has no safety lockouts, at all!
If you open the lid whilst the laser is on, you have the equivalent of a small, silent invisible chainsaw, with the safety guards removed.
Power OFF, Lid Open.
Lid Closed, Power On.
One of the reasons I opted for the modifications is mine comes with a physical laser On/OFF switch added, some don’t even have this basic protection.
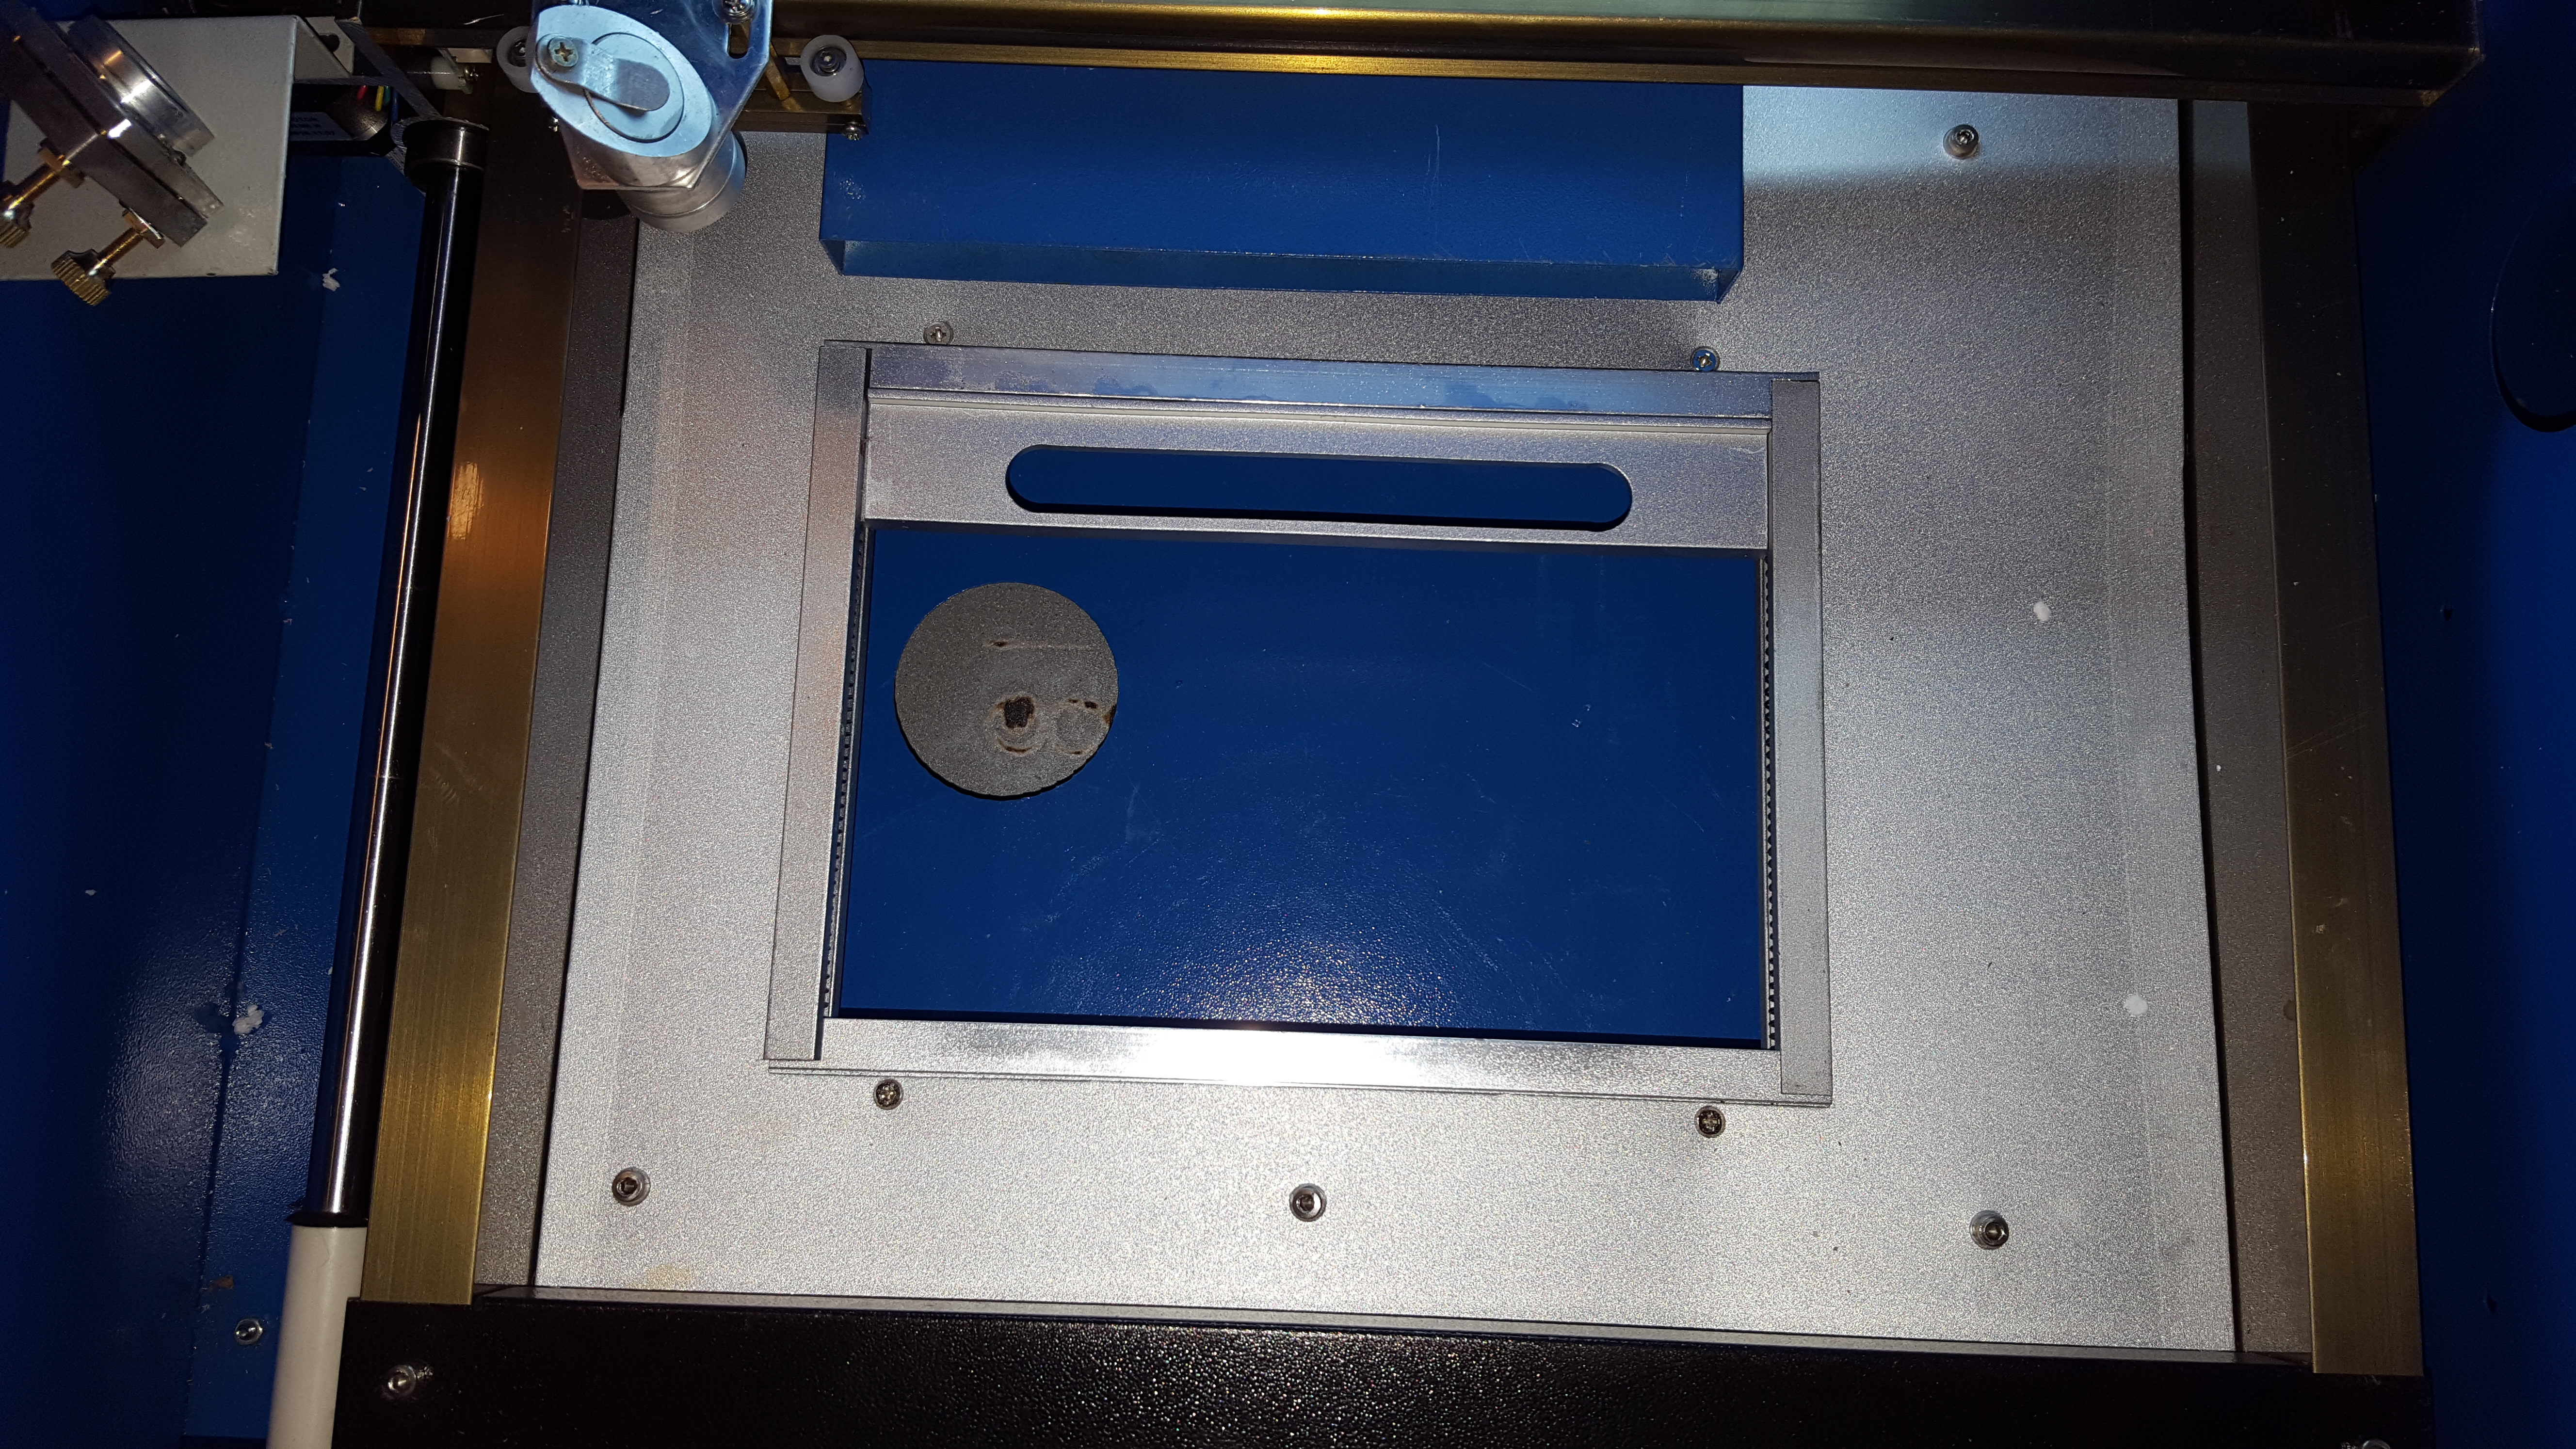
Under the XY bed of the cutter is the clamp for holding your work to be cut. It has a number of failings. It will only allow a sheet of material 90mm x 200mm, which for an A4 capable laser cutter is a bit mad. Also if you cut anything into pieces with small bits of waste, the spring is strong enough to bend the remaining acrylic so nothing is in the same place anymore, although the cutter keeps cutting. The clamp isn’t at the correct height for the focus of the laser. This took me a time to realise, the cuts I were doing were over 0.5mm wide and it made chocolate bar shaped pieces of acrylic when cutting, it was way out of focus.
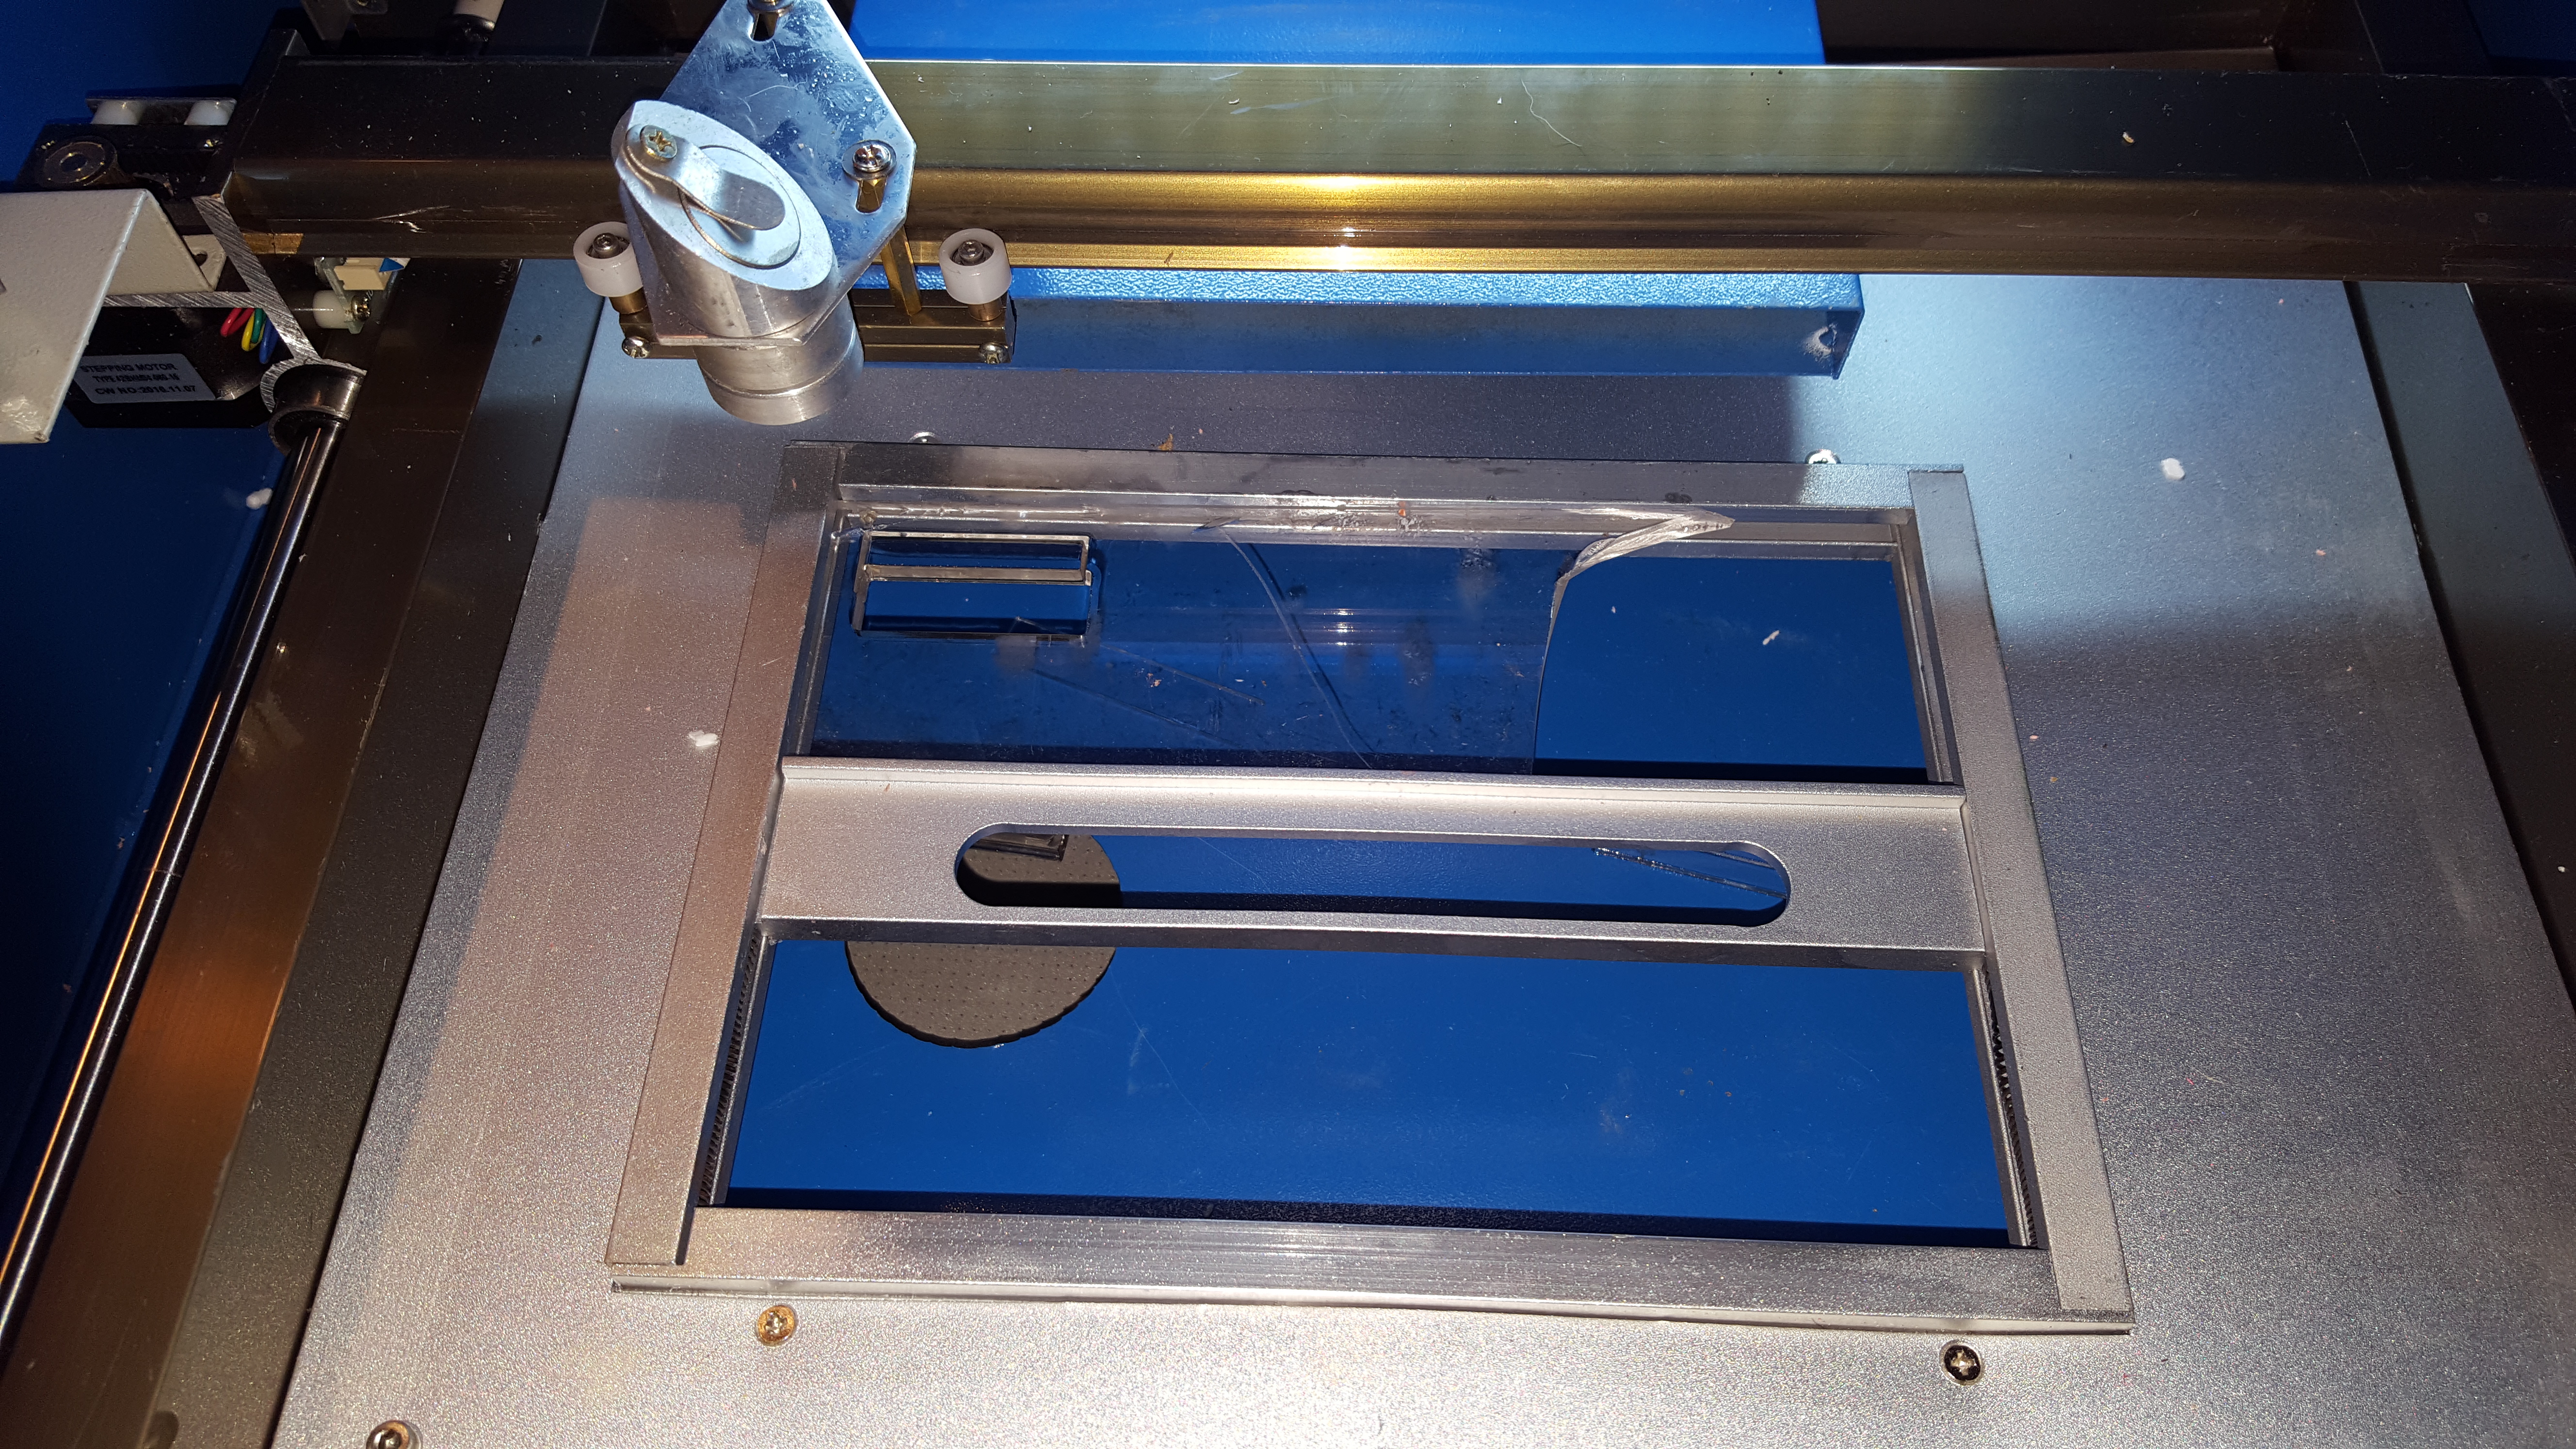
By using some scrap acrylic I did a ramp test (put a piece of acrylic in at an angle and cut a line) 
This showed that the focus was actually 8-10mm above this clamp.
So adding in a bed of 6mm scrap acrylic on top of the clamp has sorted this for now. But I need to sort out a metal grill bed to replace the ridiculous clamp (apparently these cutters are used in China for making stamps, the clamp holds a stamp at the correct height for engraving the rubber on top of the stamp)
Woohooo, it cuts and is usable….
Those issues fixed temporally I can now actually use the machine as a laser cutter.
Another superb design decision by the makers
Put a hole just under the top left corner (where all cuts start from) for cleaning out the bits that fall out of your cutting. But of course, if the laser goes through the target piece, it cuts a large hole in your table top. Putting this hole anywhere else on the bottom of the laser would have been such a better idea.
Another extra from the standard cutter was the addition of a set of roller wheels rather than feet. I have absolutely no idea why this is a good thing, all it means is the laser slowly moves across the desk when cutting. This does have one good side, which is it will help to even out the burn marks on the table over time.
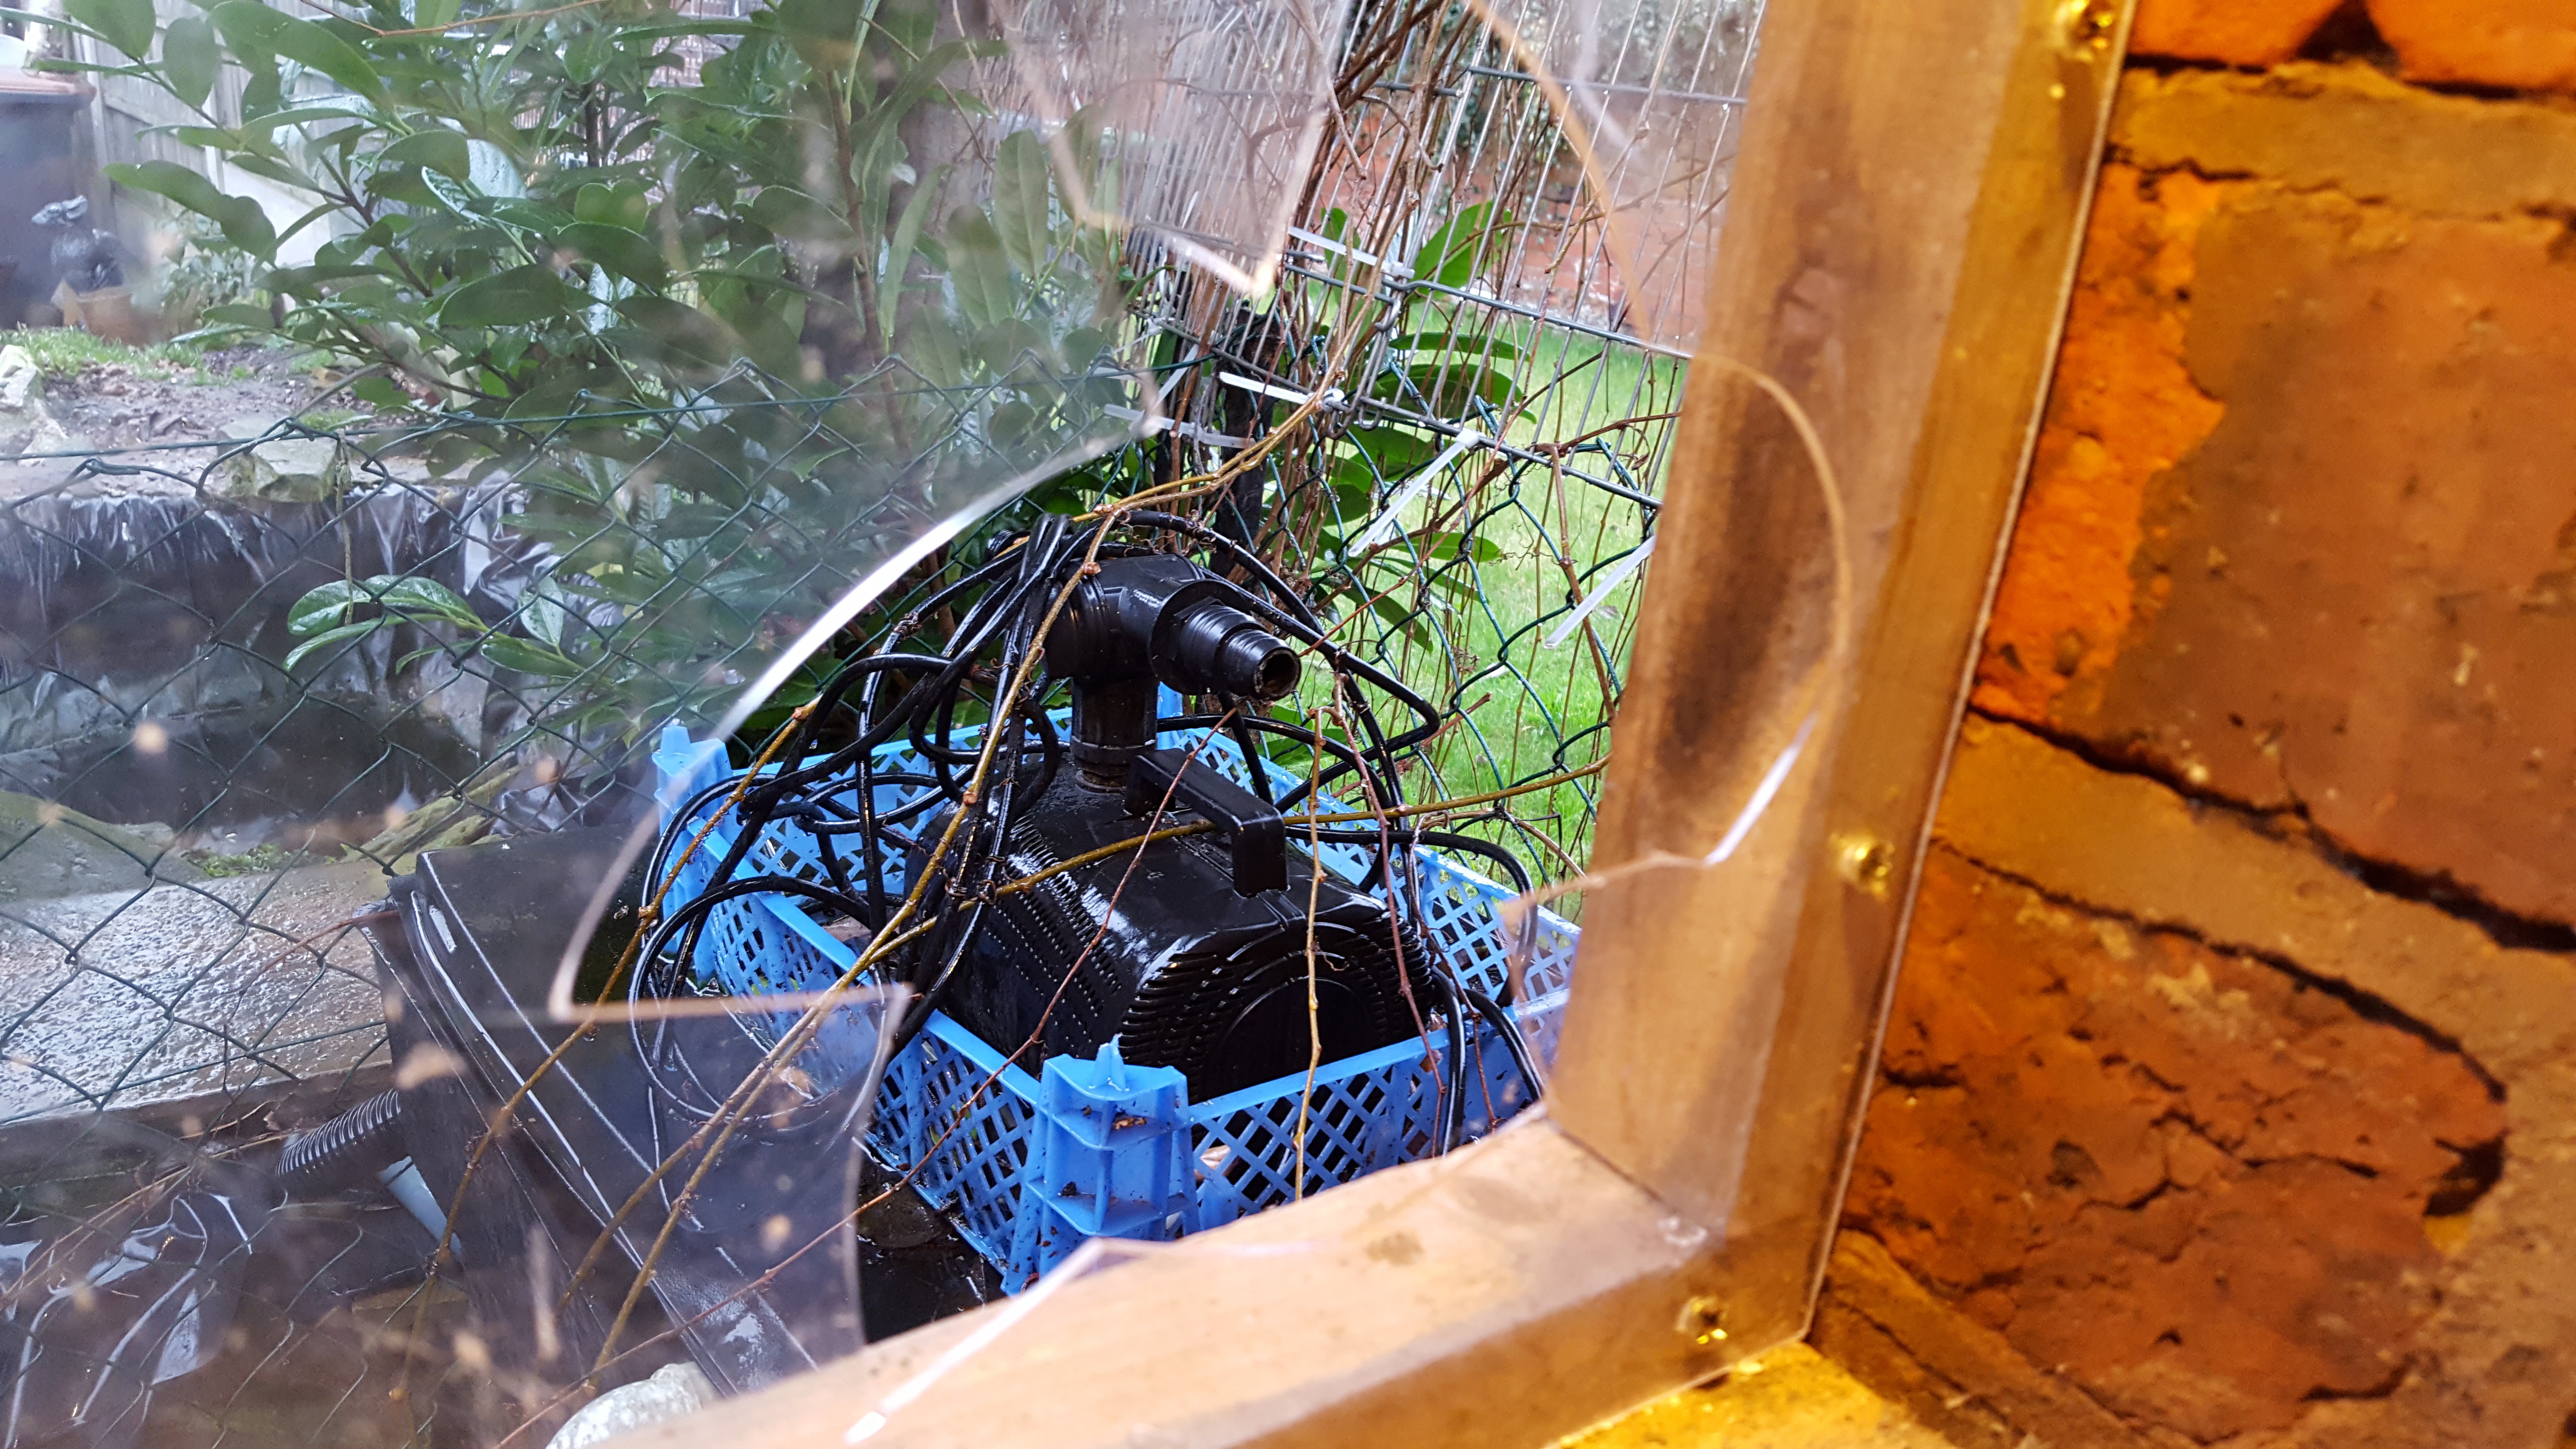
Ventilation, so, I’m in an outside shed, there is loads of draft, I had the extractor pipe just pointed out into the roof space thinking that this would be enough. After a couple of minutes it definitely wasn’t enough, this pipe needs to go outside. Luckily I have an acrylic window, not a problem 10 mins with a tank cutter.
Ok, so that didn’t go entirely to plan…
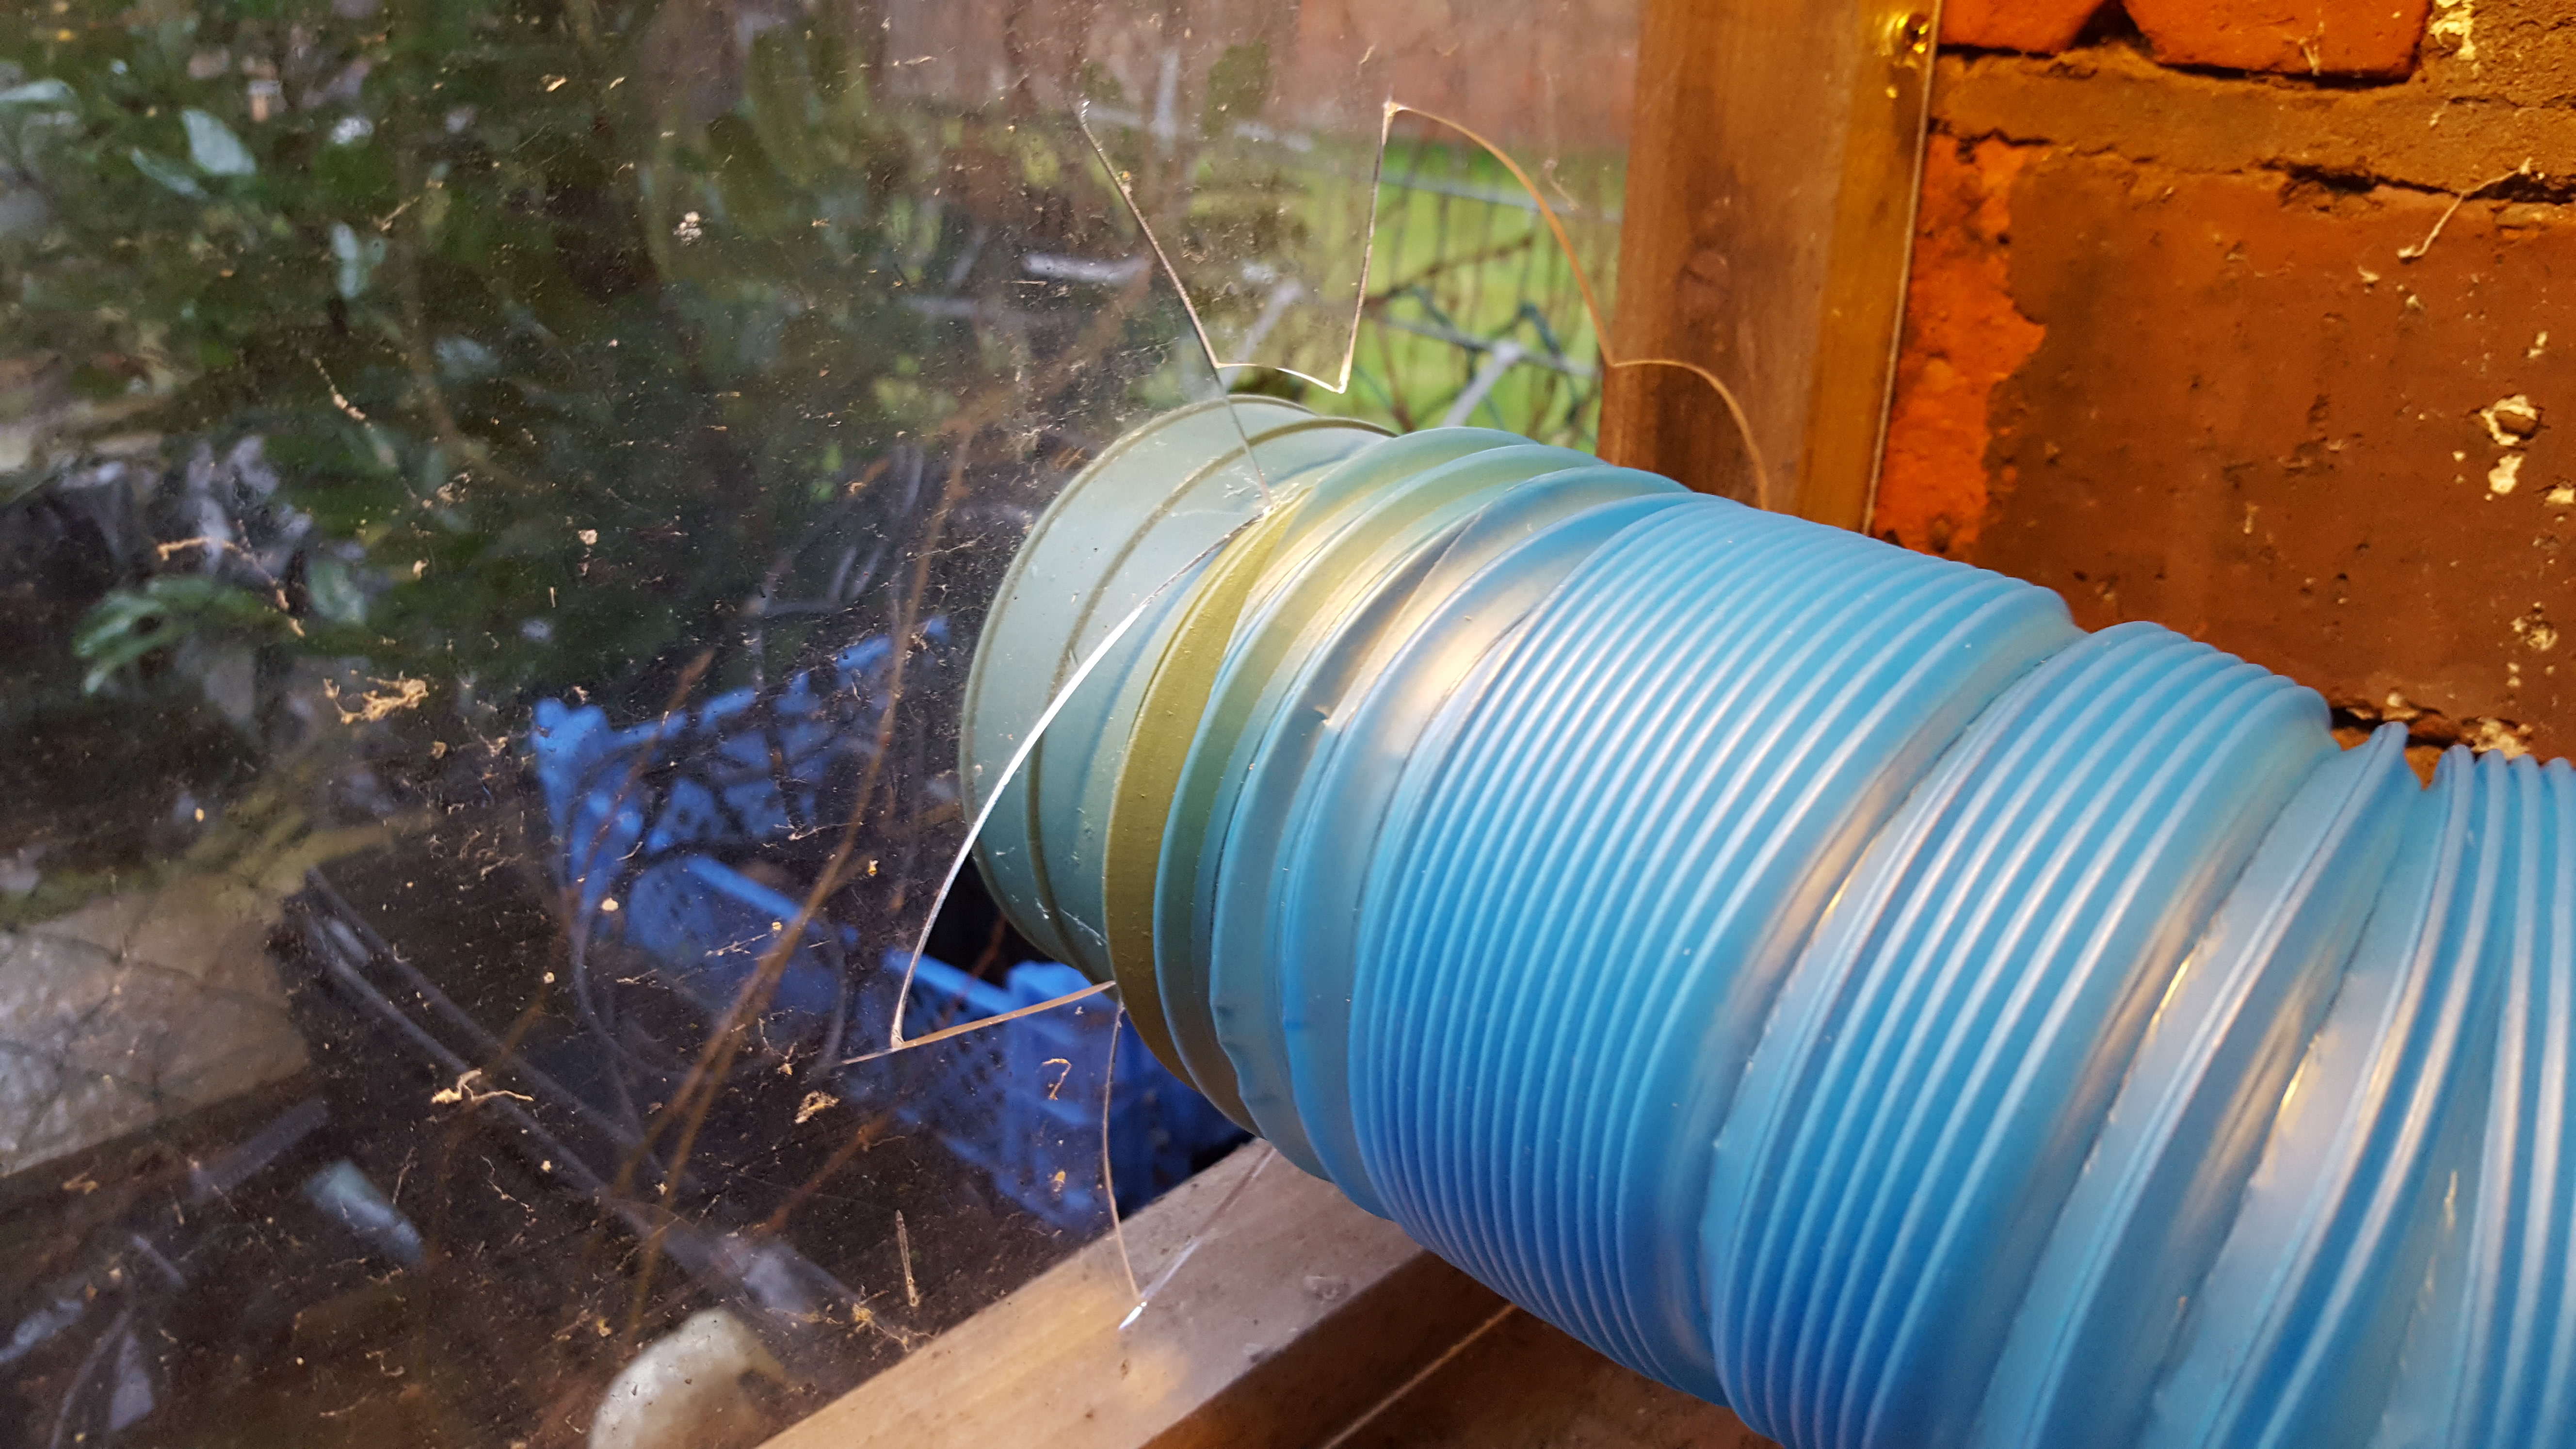
But the extractor pipe now fits perfectly, can’t see the join…
Add replacing a window to my list of jobs this laser cutter has created.
Continued in http://www.extremeelectronics.co.uk/tales-cheap-chinese-laser-cutter-bed-replacement/
Other useful K40 info sites and blogs Tales of a cheap Chinese laser cutter – External info Links